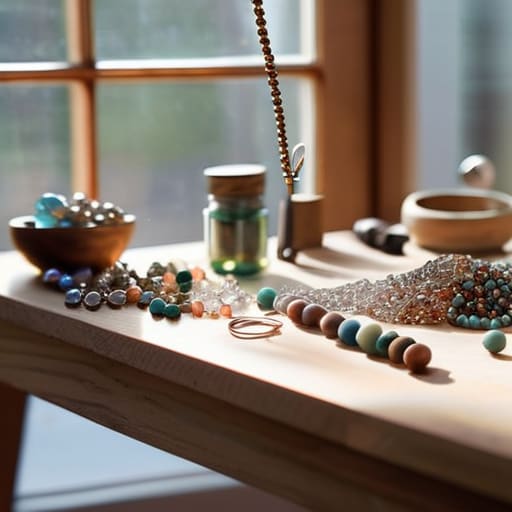
Stop scrolling through those Pinterest boards filled with $50 gold-plated beads and “aesthetic” workstation setups that look more like a museum than a workspace. Most people think diy jewelry making requires a massive investment in specialized tools and a mountain of supplies just to get started, but that’s a total lie designed to empty your wallet. I learned the hard way growing up in a tiny apartment that you don’t need a dedicated craft room or expensive kits to create something decent; you just need the right fundamentals and a bit of grit.
In this guide, I’m stripping away the fluff and showing you how to build pieces that actually last without the designer markup. We aren’t chasing fleeting trends that turn your skin green after two wears; we’re focusing on durable construction and smart material selection. I’ll walk you through the essential tools you actually need, how to source high-quality basics on a budget, and the technical steps to ensure your work doesn’t fall apart the moment you put it on. Let’s stop playing around with junk and start making things that actually work.
Guide Overview
Tools & Supplies
- Needle-nose pliers for gripping and bending wire
- Wire cutters for trimming metal and cord
- Beading mat to prevent rolling
- Assorted beads (1 pack of various sizes/colors)
- Jewelry wire or elastic cord (1 roll)
- Lobster clasps (5-10 pieces)
- Jump rings (1 pack)
Step-by-Step Instructions
- 1. First things first: stop buying those massive, pre-packaged “jewelry starter kits” from big-box craft stores. Most of those beads are cheap plastic junk that’ll turn your skin green in a week, and you’ll end up with a mountain of components you’ll never actually use. Instead, go to a dedicated bead supply shop or a reliable online wholesaler and buy exactly what you need: high-quality glass, semi-precious stones, or stainless steel findings. I’d rather have ten great beads than a thousand pieces of landfill.
- 2. Clear off a workspace that isn’t a total disaster, but don’t stress about it being “aesthetic.” Grab a small tray or even a flat Tupperware lid to act as your workstation boundary. This keeps your tiny components from rolling off the table and disappearing into the abyss of your floor—trust me, I’ve spent way too much time hunting for a single earring back under my desk.
- 3. Get your tools sorted, and keep it minimal. You don’t need a professional jeweler’s bench; you just need three basic things: needle-nose pliers, wire cutters, and a crimping tool. If you’re on a tight budget, even a decent pair of precision tweezers from a hardware store can get the job done in a pinch. Just make sure they’re sturdy enough that you aren’t fighting the tool while you’re trying to focus on the craft.
- 4. Lay out your design pattern before you even touch the wire. I like to use a bead mat or even a piece of felt to map out the sequence of your beads. This prevents the “oops, I ran out of the blue ones” mistake halfway through. If the pattern doesn’t look balanced on the table, it definitely won’t look balanced on your neck, so fix the logic before you commit to the stringing.
- 5. When you start stringing, pay close attention to your tension. If you pull the wire too tight, the jewelry will be stiff and awkward; too loose, and it’ll look like a limp noodle. You want it to have a natural drape that moves with you. If you’re using cord or wire, give it a little tug every few inches to make sure you’re maintaining a consistent flow throughout the piece.
- 6. Secure your ends using crimp beads or jump rings, but don’t skimp on the quality here. This is the structural integrity part of the project—the “systems administration” of jewelry making, if you will. If your connections are weak, the whole thing is useless. Use your pliers to firmly compress the crimps so they won’t slip, and always give the finished piece a gentle stress test by pulling on it before you call it finished.
Only the Essential Bead Supplies You Actually Need
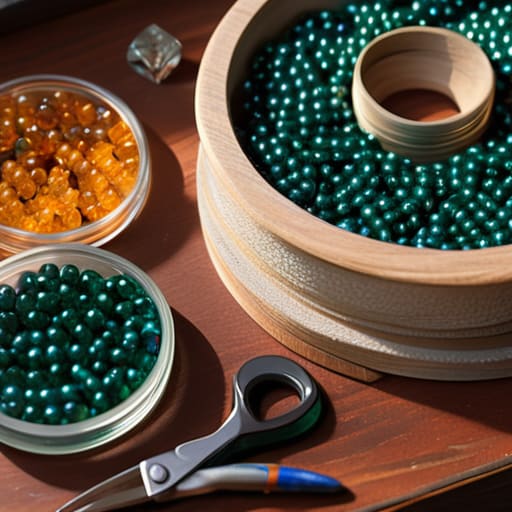
Look, I’ve seen those massive, $200 “all-in-one” starter kits online, and honestly? Most of them are a total scam. They’re packed with cheap, plastic junk that’ll break the second you actually try to use it. If you want to start crafting handmade accessories without flushing your paycheck down the toilet, you need to be strategic. Skip the glittery nonsense and focus on high-quality glass or stone beads. They have weight, they look expensive, and they won’t chip if you accidentally bump your wrist against your desk while you’re working.
When it comes to essential bead supplies, don’t go overboard with colors. Grab a handful of neutrals—matte black, cream, or metallic silver—and build from there. You can mix and match these with a few statement pieces later once you actually know what your style is. As for the hardware, don’t skimp on the findings. Cheap earring hooks or clasps will irritate your skin or just fall off, and then you’re back to square one. Invest in a decent set of jewelry making tools for beginners, specifically a solid pair of needle-nose pliers and wire cutters. If your tools feel flimsy, your finished product will too. Keep it functional, keep it durable, and stop buying stuff just because it looks cute in a photo.
Smart Jewelry Making Tools for Beginners That Last
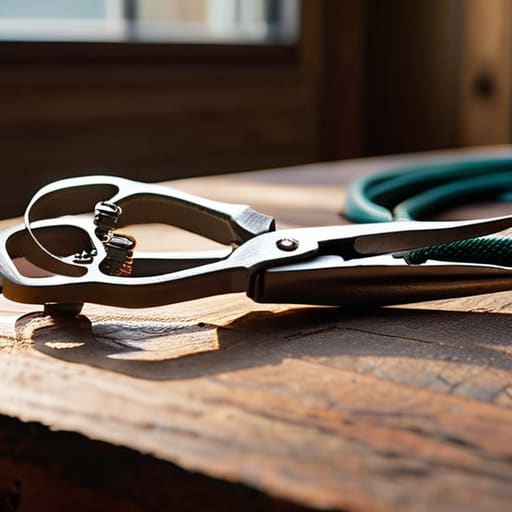
Look, I’ve seen so many people get sucked into those massive, $100 “all-in-one” starter kits you see in targeted ads. Most of that stuff is junk—plastic-handled pliers that slip the second you apply any real pressure. If you want to actually master jewelry making tools for beginners, stop buying the cheap sets and just buy three decent things: a pair of chain-nose pliers, round-nose pliers, and a wire cutter. I learned this the hard way when I tried to force a cheap cutter through some heavy-gauge wire and ended up nearly snapping the tool in half. It’s better to have three solid, ergonomic tools that feel good in your hand than a drawer full of flimsy metal that’s going to frustrate you before you even finish your first piece.
Once you have the basics, don’t go overboard with specialized gear. You don’t need a professional workbench or a high-end lamp to start crafting handmade accessories. A steady desk and a decent LED task light are plenty. If you’re feeling ambitious and want to try more complex jewelry design ideas, maybe look into a small bead mat to keep your workspace from becoming a chaotic mess of rolling beads. Keep it simple, keep it functional, and only upgrade your kit when your current tools literally can’t handle the job anymore.
Stop Wasting Money: 5 Rules for Making Jewelry That Doesn't Fall Apart
- Skip the “mystery metal” kits on Amazon. If the listing doesn’t explicitly say “stainless steel” or “sterling silver,” it’s probably cheap alloy that’s going to turn your skin green in three days. Save your money and buy decent base metals once rather than buying cheap junk twice.
- Don’t get distracted by the “aesthetic” bead organizers. Those acrylic rotating towers are cute for TikTok, but they take up way too much desk space. Use small, clear plastic tackle boxes or even repurposed pill organizers—they do the exact same job for a fraction of the cost.
- Learn the difference between crimping and just squeezing. If you’re using pliers to smash your crimp beads and they keep popping open, you’re doing it wrong. Invest in a proper crimping tool; it’s a one-time purchase that prevents your entire project from ending up in the trash because a clasp failed.
- Stop buying massive multi-color bead sets. You’ll end up with 90% colors you never use and 10% that you’ll run out of immediately. Buy small quantities of specific colors and textures that actually work together. It’s more efficient and keeps your workspace from becoming a cluttered mess.
- Test your tension before you call it finished. I’ve seen so many people finish a bracelet only to have it snap the moment they put it on because the wire was too thin or the tension was off. Always give your piece a firm (but not violent) tug to make sure your connections are actually solid.
The Bottom Line: Stop Overcomplicating Your Setup
Don’t fall for the “starter kit” trap; most of those pre-packaged sets include cheap, flimsy tools you’ll throw away in a week. Buy individual, high-quality basics instead.
Quality over quantity is the only rule that matters. One set of decent stainless steel pliers is worth more than a drawer full of plastic junk that ruins your beads.
If a supply doesn’t serve a specific, repeatable function in your workflow, don’t buy it. Your budget and your workspace will thank you.
Stop Chasing Trends and Start Building
Look, at the end of the day, you don’t need a massive, overpriced kit or a studio filled with every bead color under the sun to make something decent. We’ve covered the essentials: stick to high-quality basics that won’t tarnish, invest in a few solid, multi-use tools rather than cheap plastic junk, and keep your workspace organized so you aren’t hunting for a crimp bead for twenty minutes. The goal here wasn’t to turn you into a professional jeweler overnight; it was to give you the functional foundation to create pieces that actually last and look good without draining your bank account.
Don’t let the “perfect” DIY tutorials on social media intimidate you. Most of those creators are just selling an aesthetic, but real crafting is often a bit messy and involves a lot of trial and error. If your first necklace looks a little wonky, who cares? You didn’t spend a fortune on it, and you learned something in the process. Just focus on the utility and durability of what you’re making. Once you master the basics, you’ll realize that the most rewarding part isn’t having the trendiest jewelry—it’s knowing you built something actually worth wearing from scratch.
Frequently Asked Questions
How do I keep my jewelry from turning my skin green after just two wears?
Look, the “green skin” thing is usually just copper oxidizing when it hits your sweat. If you’re on a budget, don’t buy expensive gold-filled pieces yet, but stop using cheap mystery metals. The easiest fix? Clear nail polish. Paint the inside of the ring or the back of the pendant to create a barrier between the metal and your skin. It’s a quick, cheap hack that actually works.
Is it actually worth buying a professional-grade crimping tool, or can I just wing it with pliers?
Look, I get the temptation to just grab your needle-nose pliers and hope for the best, but honestly? Don’t do it. You’ll end up with crushed, uneven crimp beads that look messy and, worse, snap off after two wears. If you’re serious about making stuff that actually lasts, buy a decent crimping tool. It’s a one-time cost that saves you from the headache of re-doing entire projects because a clasp failed.
Where can I find decent beads without spending my entire paycheck at a craft boutique?
Look, skip the local boutique unless you’re buying a single specific piece for a project. Those markup prices are insane. If you want volume without the sting, hit up Etsy for small-batch creators or dive into the bulk sections on AliExpress if you don’t mind the shipping wait. Honestly? Check thrift stores or estate sales for old jewelry you can deconstruct. It’s cheaper, more unique, and way more sustainable than buying plastic junk.
How do I organize all these tiny components when I’m working in a tiny apartment with zero storage?
Look, I get it. I grew up in a shoebox apartment, so I know the struggle of tiny-component chaos. Forget those expensive, bulky craft organizers that take up half a desk. Grab a cheap magnetic tray for your metal findings—it keeps them from rolling onto the floor—and use old pill organizers or clear fishing tackle boxes for your beads. They stack easily, they’re translucent so you actually see what’s inside, and they won’t eat your floor space.
