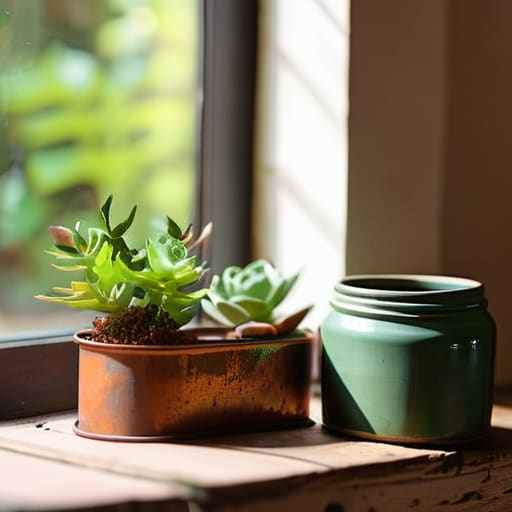
I was staring at a $45 ceramic pot in a boutique shop last week, thinking about how much basil I could actually grow for that price. It’s ridiculous. Most people think you need a massive budget or a Pinterest-perfect backyard to start an indoor garden, but that’s a total lie. I grew up in a tiny apartment where every square inch was a battleground, so I learned early on that if you want greenery, you don’t buy it—you engineer it. Using diy planters isn’t about making something that looks like a professional photoshoot; it’s about finding a vessel that holds soil, drains water, and doesn’t cost you a week’s worth of groceries.
In this guide, I’m skipping the aesthetic fluff and getting straight to the mechanics. I’m going to show you how to repurpose actual household junk—think old tin cans, plastic containers, and even cracked mugs—into functional diy planters that won’t kill your plants. We’ll cover the essential hardware you need (like making sure you don’t rot the roots) and how to keep things low-maintenance. No fancy kits, no expensive decor, just practical setups that work.
Guide Overview
Tools & Supplies
- Measuring tape for sizing materials
- Drill for creating drainage holes
- Sandpaper for smoothing edges
- Wooden crate or cedar planks (1 set)
- Potting soil (1 bag)
- Drill bits (1 set)
- Waterproof sealant (1 small can)
- Small plants or seeds (3-5 units)
Step-by-Step Instructions
- 1. First, scavenge your recycling bin for anything that can hold soil. I’m talking yogurt tubs, large tomato sauce cans, or even those plastic milk jugs that usually just sit in the bin. Just make sure you scrub them out thoroughly with some hot soapy water; nobody wants mold growing in their new herb garden because of leftover pasta sauce.
- 2. Grab your multi-tool or a pair of heavy-duty scissors and get ready to make some drainage holes. This is the part people skip, and it’s why their plants die. Use a nail or the tip of your tool to poke at least three or four holes in the bottom of whatever container you chose. If you don’t have drainage, the roots will just sit in a swamp and rot.
- 3. If you’re using metal cans, you need to sand down the edges. I hate it when I’m repotting something and end up with a sliced finger. Take a bit of sandpaper or even a rough stone and smooth out those jagged rims so they aren’t a hazard to you or your plants.
- 4. If you actually care about the look (and don’t want your windowsill to look like a literal trash heap), grab some leftover spray paint or even just some twine. I usually just wrap twine around my tin cans to give them a bit of texture, but honestly, if you’re just doing this to save money, skip the decor and just get straight to the dirt.
- 5. Grab a bag of decent potting mix—don’t bother with “garden soil” from the yard unless you want to deal with random bugs and weeds in your apartment. Fill your container about three-quarters of the way up, leaving enough room at the top so that when you water it, the soil doesn’t overflow and make a mess on your desk.
- 6. Gently pop your plant into the container and fill in the gaps around the sides with more soil. Give it a firm (but not aggressive) press to get rid of big air pockets, then water it immediately. If you see water trickling out of those holes you poked earlier, you know you’ve actually done it right.
Upcycled Container Gardening Turning Trash Into Real Value
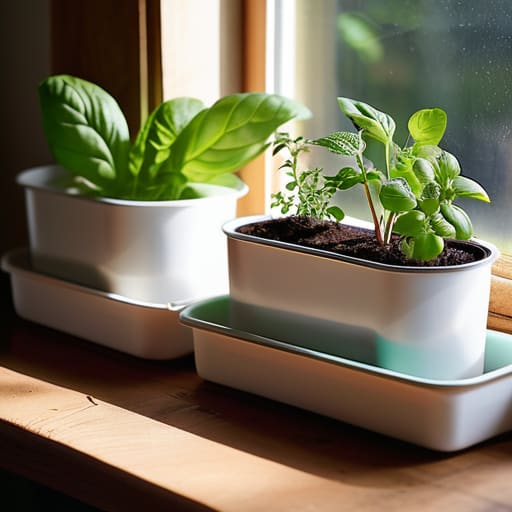
Look, I’m going to be real with you: if you’re scrolling through Pinterest looking for those perfectly matching terracotta pots, you’re basically throwing money down the drain. Most of those “aesthetic” setups are just expensive ways to hold dirt. If you want to actually get into upcycled container gardening without breaking your budget, you need to start looking at your recycling bin differently. I’ve been using old yogurt tubs and even large sour cream containers for my own indoor herb garden diy projects, and honestly, the plants don’t care if the vessel is designer or something I found in the trash. Just make sure you use your multi-tool or a heated screwdriver to actually drill drainage holes in the bottom. If you don’t, you’re just creating a swamp that’ll kill your herbs in a week.
If you have a bit more space or some scrap lying around, don’t overlook the potential of bigger items. I’ve seen people go crazy for expensive hanging planter tutorials, but you can often just repurpose old colanders or even sturdy plastic jugs. For something a bit more substantial, look for discarded crates or old pallets; these can become the foundation for rustic wooden planter builds that look intentional rather than messy. The goal isn’t to make it look like a professional landscaping catalog—it’s to create a system that grows food and looks decent while doing it.
Recycled Plastic Bottle Planters for Zero Cost Growth
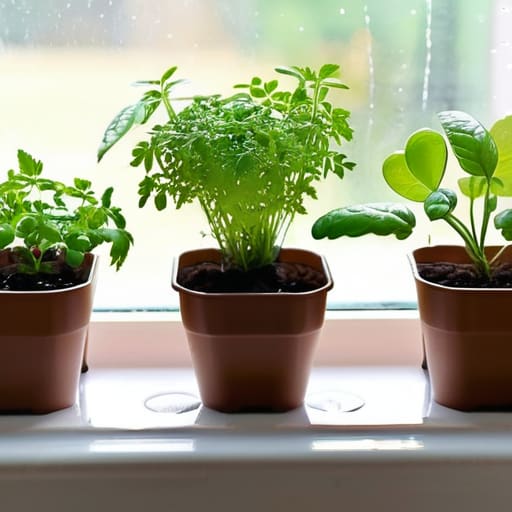
Look, if you’ve got a stack of empty soda or water bottles in your recycling bin, you’re basically looking at free inventory for an indoor herb garden diy. Don’t just toss them; they are perfect for small-scale growing because they’re lightweight and easy to manipulate. My go-to move is cutting them horizontally to create a trough, or cutting them in half to make small starter pots. The only thing you actually need to do is grab your multi-tool or a pair of scissors and ensure you poke some drainage holes in the bottom. If you don’t drain the water, your roots are going to rot, and then you’ve just wasted your time and your seeds.
If you’re short on windowsill space, you can easily turn these into vertical setups. By tying some twine to the neck of the bottle, you can create a makeshift hanging system that saves precious desk or counter space. This is one of those recycled plastic bottle planters hacks that actually works for people living in cramped apartments like I do. It’s not about making them look like something from a Pinterest board; it’s about getting your basil or mint to grow without spending a dime on expensive ceramic pots.
5 Things I Wish I Knew Before I Started Making My Own Planters
- Stop obsessing over aesthetics and prioritize drainage. If you don’t drill actual holes in the bottom of your container, your plants are going to rot, and you’ll be wasting money on dead seedlings.
- Don’t use “dirt” from your backyard for small containers. It’s usually too heavy and compacts like concrete; spend the few bucks on a decent bag of potting mix so your roots can actually breathe.
- Test your container’s weight before you commit. If you’re using heavy ceramic or large metal bins, remember you’ll eventually have to move them to water them—don’t make your life harder than it needs to be.
- Layering rocks at the bottom is a myth that doesn’t work. It actually creates a “perched water table” that keeps the soil too wet; just stick to proper drainage holes and good soil.
- Keep your DIY projects modular. Use containers that can be easily moved or grouped together so you can adjust your setup as your herb garden grows or as you need more desk space.
The Bottom Line: Stop Overcomplicating Your Greenery
Forget the aesthetic Pinterest pots; if it holds soil and has drainage holes, it’s a planter.
Your biggest enemy isn’t a lack of space, it’s wasting money on stuff you can find in your recycling bin.
Prioritize function over looks—a dented tin can with a hole poked in it works just as well as a $20 ceramic pot.
The Bottom Line on Budget Planting
Look, at the end of the day, you don’t need a massive backyard or a credit card with no limit to grow something green. We’ve covered how to turn yogurt tubs into functional pots and how to repurpose plastic bottles so they actually work for your plants instead of just sitting in a landfill. The goal here wasn’t to make your windowsill look like a Pinterest board; it was to show you that upcycling is a legitimate survival skill for anyone living on a budget. Whether you’re using tin cans or old containers, the only thing that actually matters is that you’ve created a functional space for your herbs or veggies to thrive without draining your bank account.
Stop waiting for the “perfect” setup or the expensive ceramic pots that look great in photos but cost a week’s worth of groceries. Just grab your multi-tool, find some scrap, and start digging. Life is messy and space is usually tight, but you can always find a way to make things work if you stop obsessing over the aesthetic and start focusing on the utility of what you have. You don’t need a curated lifestyle to have a successful garden; you just need a little bit of grit and some recycled materials. Now, go get your hands dirty.
Frequently Asked Questions
How do I stop my DIY planters from leaking all over my floor or desk?
Look, there is nothing worse than a DIY project turning into a literal puddle on your desk. If you’re using upcycled containers, you need a drainage strategy that actually works. Don’t just rely on a few holes; layer some coarse gravel or even broken-up pieces of old terracotta at the bottom before adding soil. This prevents the bottom from getting swampy and keeps the water flowing. Also, grab some cheap plastic saucers or even just old Tupperware lids to catch the overflow. Functional, cheap, and saves your furniture.
Will these recycled containers actually hold up, or will they rot and fall apart in a few months?
Look, I’m not going to lie to you—if you just throw dirt into a cardboard box, it’s going to turn into mush in a week. But if you’re using plastic, tin, or glass, you’re solid. For plastic bottles or yogurt tubs, just make sure you aren’t using anything super thin that cracks under sun exposure. If you’re worried about rot, just line the bottom with some gravel for drainage. It’s about being smart, not perfect.
What’s the best way to keep bugs and gnats from moving into my homemade setups?
Look, nothing ruins the vibe of a DIY setup faster than a swarm of fungus gnats. If you’re seeing them, your soil is staying too wet. Stop overwatering—let the top inch of soil dry out completely before you touch it again. I also swear by a thin layer of sand or fine gravel on top of the soil; it acts as a physical barrier so they can’t lay eggs. Simple, cheap, and it actually works.
Do I really need to buy special soil, or can I just use whatever is cheap?
Look, I get it—the “premium organic potting mix” labels are basically a tax on people who want nice plants. But here’s the reality: don’t just grab random dirt from your backyard or the cheapest, most compressed bag at the store. It’ll turn into a brick and suffocate your roots. If you’re on a budget, buy a basic, mid-range potting mix and “hack” it by mixing in some perlite or even crushed dried leaves to help with drainage. It’s about function, not brand names.
