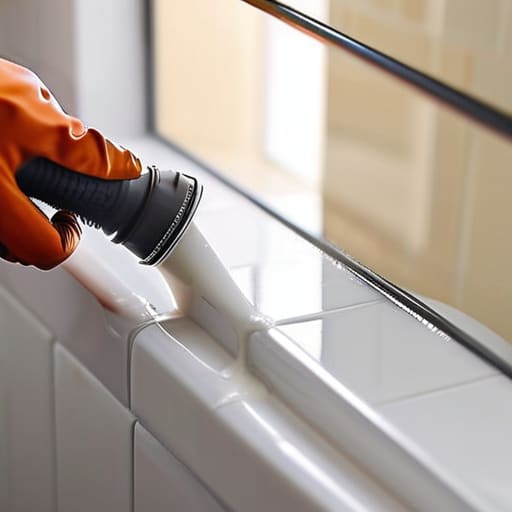
I was staring at a growing, black-molded crack between my kitchen backsplash and the counter, wondering why I hadn’t just fixed it months ago. Every time I cleaned, I felt that tiny, annoying drip, and every “professional” DIY video I watched made it look like some high-stakes art project involving expensive specialized tools and perfect lighting. Honestly? That’s a lie. Learning how to caulk isn’t about achieving some Pinterest-perfect aesthetic; it’s about stopping water from rotting your cabinets and saving you a massive headache down the road. I spent way too many years in cramped apartments learning the hard way that if you don’t seal those gaps, you’re basically inviting mold to move in and stay.
Forget the fancy, overpriced sealant kits that promise “pro-level” results but end up being a sticky, expensive mess. In this guide, I’m stripping away the fluff to show you the actual, gritty way to get it done without wasting your entire Saturday. I’ll show you which basic supplies you actually need, how to handle the mess so you aren’t scrubbing silicone off your floor for hours, and the real trick to getting a clean line. We’re focusing on functional results that actually last, so you can fix the leak and get back to your life.
Guide Overview
Tools & Supplies
- Caulking gun for dispensing sealant
- Caulk removal tool or utility knife for cleaning old residue
- Paper tape or painter's tape for creating clean lines
- Wet rag or sponge for smoothing and cleanup
- Caulk tube (silicone or acrylic based on surface type)
- Caulk remover or chemical stripper if replacing old caulk
Step-by-Step Instructions
- 1. First things first, you have to get rid of the old junk. If you try to layer new caulk over the crusty, peeling stuff that’s already there, it’s going to fail almost immediately. Grab a putty knife or a dedicated caulk removal tool—and if you’re on a budget, a steady hand with a utility knife works too—and scrape every bit of that old residue out of the gap. If you don’t get it completely clean, the new stuff won’t stick, and you’ll be doing this all over again in two months.
- 2. Once the gap is empty, you need to clean the surface like your life depends on it. Use a damp cloth or a bit of isopropyl alcohol to wipe away the dust, soap scum, or grease that’s hiding in the cracks. I usually keep a spray bottle of rubbing alcohol in my cleaning kit for this because it dries fast and actually kills the bacteria that causes mold. If there’s still grime in there, your caulk is just going to sit on top of the dirt instead of actually sealing the leak.
- 3. Now, grab your caulk gun and cut the nozzle at a slight angle. Don’t go overboard here; you don’t want a massive, gaping hole in the tube. A small, diagonal slit is all you need to control the flow. If you’re using silicone, make sure you’ve checked that it’s actually the right type for the job—like using kitchen/bath silicone for wet areas—otherwise, you’re just wasting your money on a product that won’t handle the moisture.
- 4. When you’re ready to apply, aim the tip into the corner and apply steady pressure as you move along the line. Don’t try to do the whole room in one go; work in small, manageable sections. You want to push the caulk into the gap rather than just laying a bead on top of it. It’s a bit like loading a printer—if you don’t feed it consistently, you’re going to end up with air bubbles and a mess.
- 5. This is the part where people usually mess up, so pay attention: smooth it out immediately. You don’t need fancy professional tools; a wet finger or a damp rag works perfectly fine. Dip your finger in a little water (or a tiny bit of dish soap if you want to be extra) and run it along the bead in one continuous motion to flatten it. The goal is to create a clean, concave shape that looks intentional, not like a glob of toothpaste exploded on your wall.
- 6. Finally, just leave it alone. This is the hardest part if you’re a perfectionist, but you have to let it cure. Check the tube for the “dry to touch” time, but honestly, just give it at least 24 hours before you let any water hit that area. If you touch it too early, you’ll ruin the seal and end up with a streaky, ugly mess that looks amateur. Go grab a coffee, work on your keyboard, or tend to your herbs—just stay away from the wet caulk.
Choosing Your Weapon Silicone vs Acrylic Caulk
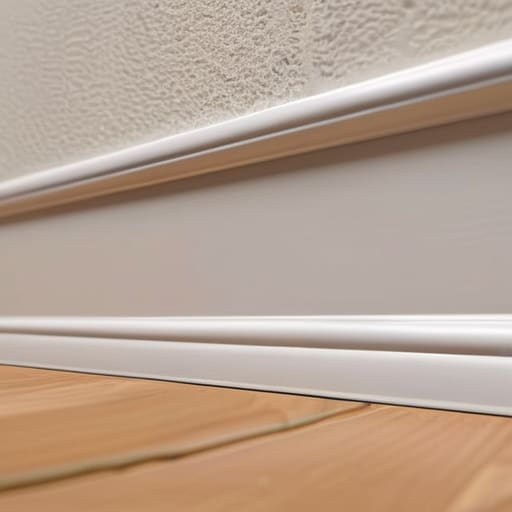
Look, don’t walk into the hardware store and just grab whatever tube looks the cheapest or has the prettiest packaging. You’ll regret it by Tuesday. The biggest mistake I see is people trying to use the wrong stuff for the job. When you’re silicone vs acrylic caulk, it really comes down to where the moisture is going to live. Acrylic is fine for things like baseboards or cracks in your drywall where you might want to paint over it later. It’s easier to work with, but it’s not going to hold up if it gets soaked.
If you’re caulking bathroom seams or anything around a sink or tub, stop everything and get the silicone. It’s a beast to work with and it’s a nightmare if you try to paint over it, but it’s the only way to ensure a legit waterproof sealant application. Silicone is basically the heavy hitter of the DIY world; it stays flexible and won’t crack when your house shifts or the water temperature fluctuates. Just a heads up: if you’re replacing old stuff, make sure you’re thorough with removing old caulk first. If you layer new silicone on top of the old junk, it’s going to peel off in a week, and then you’re just wasting your time and money.
The Fast Way to Master Smooth Caulk Bead Technique
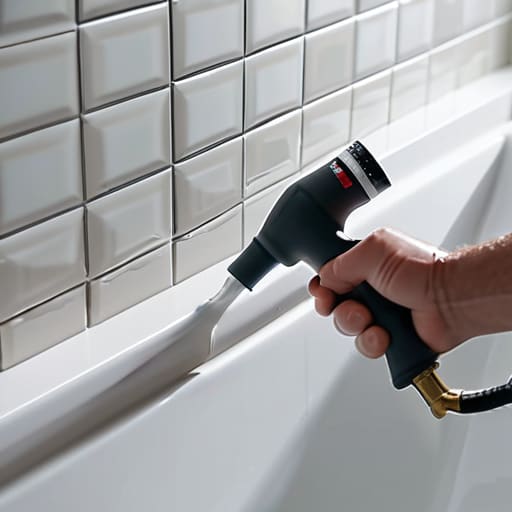
Look, nobody actually enjoys the part where you’re fighting the gun, but if you want a clean line, you have to control the flow. The biggest mistake I see is people treating the caulk gun like a trigger on a toy; you can’t just squeeze wildly and hope for the best. For a proper smooth caulk bead technique, you need to maintain a steady, consistent pressure. If you pump the trigger too fast, you’ll end up with a massive blob that looks like a mistake, and then you’re just spending more time cleaning up the mess than you would have spent doing it right the first time.
Once you’ve actually laid the bead down, don’t just stare at it. This is where the magic happens. I always keep a small bucket of warm, soapy water and a rag right next to me. Instead of using your finger (which is messy and honestly kind of gross), dip your finger in the solution and lightly run it along the bead in one continuous motion. This helps with waterproof sealant application by smoothing out the edges so the water actually slides off rather than pooling in ridges. It’s all about momentum and minimal movement—don’t overwork it, or you’ll just pull the sealant right out of the gap.
Pro Tips to Save You from a Total Mess
- Clean the surface like your security deposit depends on it. If you try to caulk over old, crusty residue or dust, that new bead is going to peel off in a week and you’ll be right back where you started.
- Don’t get stingy with the caulk gun. If you’re squeezing too hard or too soft, you’re going to end up with a jagged mess that looks amateur. Find a steady rhythm so the bead stays consistent.
- Use a spray bottle with soapy water to smooth things out. Instead of trying to use your finger and getting gunk everywhere, a little bit of cheap dish soap on a finger or a tool makes the smoothing process way easier and much cleaner.
- Stop overthinking the “perfect” line. If you mess up a small section, don’t try to patch it with more caulk—that just creates a thick, ugly lump. Wipe it clean and start that specific section over.
- Check the drying time before you get impatient. I know we all want to be done, but if you touch it or run water over it too early, you’ve basically just ruined all your hard work. Read the tube and actually wait.
The Bottom Line: Don't Overcomplicate It
Stop obsessing over the perfect bead; if it’s sealed and looks decent, you’ve won. The goal is to keep water out, not to win an interior design award.
Spend the extra five bucks on the right material the first time. Using cheap acrylic where you need silicone is just a fast track to doing the job twice, and I don’t have time for that.
Prep is everything. If you try to caulk over old, crusty residue or a dusty surface, it’s going to peel off in a month and you’ll be right back where you started.
Don't Overthink It, Just Seal It
Look, at the end of the day, you don’t need a professional contractor or a massive budget to keep your place from falling apart. You just need to pick the right tool for the job—silicone for the wet stuff like showers, and acrylic for everything else—and actually take the time to clean those surfaces before you start. Remember, it’s not about getting a perfectly straight line that looks like a Pinterest photo; it’s about creating a solid barrier that keeps water where it belongs. If you mess up a bead, don’t freak out. Just wipe it away and try again. The goal is functionality over perfection, so once that gap is sealed and the mess is cleaned up, call it a win and move on with your life.
I know DIY projects can feel like a massive drain on your limited free time, especially when you’re already juggling a job and trying to keep your head above water. But there is a specific kind of satisfaction that comes from fixing something yourself instead of letting it rot and waiting for a disaster to happen. You’re building actual competence here, one small repair at a time. Stop waiting for the “perfect” moment or the “perfect” setup to tackle your home maintenance. Grab your multi-tool, get the caulk gun, and just get it done. Your future self—the one who isn’t dealing with moldy walls or expensive water damage—will seriously thank you.
Frequently Asked Questions
How do I know if I actually need to scrape out the old caulk first or if I can just layer new stuff on top?
Look, if you try to layer new caulk over the old stuff, you’re just setting yourself up for a massive, expensive headache later. It won’t bond, it’ll peel, and then you’re back to square one. If the old stuff is cracked, peeling, or moldy, you have to scrape it out. Use a utility knife or a dedicated scraper—don’t be lazy. It’s a pain now, but it saves you from doing this entire job again in three months.
Is there a way to fix a massive, ugly mess if I slip and put too much caulk in one spot?
Look, we’ve all been there. You’re trying to be precise and suddenly you’ve got a giant, gloopy mountain of silicone staring you in the face. Don’t panic and definitely don’t try to smear it flat with your finger—that just makes it look like a disaster. If it’s still wet, grab a putty knife or even a credit card to scrape the excess away. If it’s already dried? You’re going to have to carefully cut it out with a utility knife and start that section over. It sucks, but it’s better than living with an eyesore.
How long do I really have to wait before I can get it wet or start using the shower again?
Look, I know you want to jump back in that shower immediately, but don’t be that person. If you’re using silicone, give it at least 24 hours before you let any water touch it. If you went with the cheaper acrylic stuff, you might need to wait even longer—sometimes up to 48 hours. Just let it cure. If you rush it, the seal will fail, and then you’re back to fixing leaks.
What’s the cheapest way to clean up the excess without wasting a whole roll of paper towels?
Look, don’t go grabbing a fresh roll of paper towels for every little smudge; that’s just throwing money down the drain. Grab an old, beat-up rag or a piece of an old cotton T-shirt you were going to toss anyway. Keep a bucket of warm, soapy water nearby. Use the rag to wipe the excess, rinse it, and keep going. It’s more efficient, saves you cash, and keeps the clutter down.