I was halfway through trying to prune my basil plants when my kitchen shears decided to quit on me, hacking uselessly at the stems instead of cutting them. It’s that specific, soul-crushing moment when you realize you’re working twice as hard because your gear is garbage. Most people think you need to go out and drop fifty bucks on a fancy electric grinder or some high-end professional service, but that is a total lie. Learning how to sharpen tools isn’t about buying more stuff; it’s about mastering the basic physics of an edge so you can stop fighting your equipment and actually get things done.
I’m not going to bore you with the history of metallurgy or show you some aesthetic, slow-motion video of a craftsman in a workshop. We don’t have time for that. Instead, I’m giving you the stripped-back, functional methods I use to keep my own kit in working order on a budget. I’ll show you exactly which stones matter, how to find the right angle without a degree in engineering, and how to avoid the common mistakes that ruin your blades forever. Let’s stop wasting energy on dull edges and get to work.
Guide Overview
Tools & Supplies
- Chisel (Flat edge metal tool)
- Utility Knife (Retractable blade tool)
- Whetstone (1 dual-grit stone)
- Honing Oil or Water (1 small bottle)
- Leather Strop (1 piece)
- Microfiber Cloth (1 piece)
Step-by-Step Instructions
- 1. First things first, you need to figure out what kind of edge you’re actually dealing with. Don’t just grab the first stone you find in a junk drawer; check if you’re working with a kitchen knife, a garden trowel, or some heavy-duty pliers. I always check the bevel angle—that slanted part where the edge meets the metal—because if you try to sharpen at the wrong angle, you’re just going to ruin the tool instead of fixing it.
- 2. Grab a whetstone and get it ready. If you’re using a water stone, soak it in a bowl for about 10 to 15 minutes until the bubbles stop rising. If you’re using an oil stone, just slather on a bit of honing oil. Whatever you do, don’t skip this step; trying to sharpen on a bone-dry stone is a fast track to uneven edges and a massive headache.
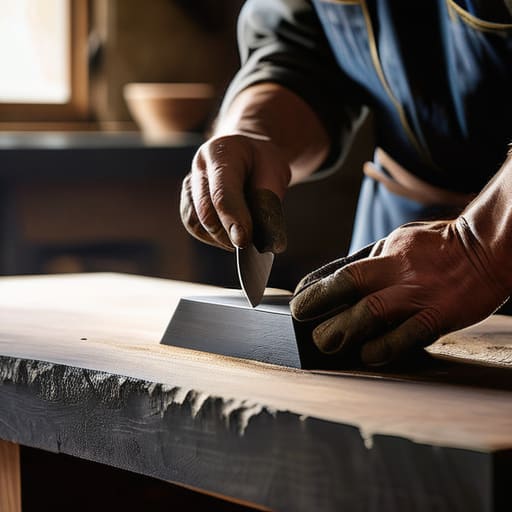
- 3. Find your grip and get steady. I like to clamp my tool down if I have a vice, or at least rest my hand firmly on the table so I don’t slip. If you’re doing a knife, hold the handle with your dominant hand and use your other hand to apply consistent pressure on the blade. You want to feel the friction, not just see it.
- 4. Now, start with the coarse side of the stone. This is the “heavy lifting” phase where you’re actually removing metal to reshape the edge. Move the tool across the stone in a smooth, sweeping motion, maintaining that bevel angle you identified earlier. You’re looking for a burr to form—that’s a tiny, rough lip of metal on the opposite side of the edge that tells you you’ve actually reached the point of contact.
- 5. Once you feel that burr along the entire length of the edge, flip the stone over to the fine-grit side. This is where the magic happens and you transition from “functional” to “actually sharp.” Use lighter pressure here and focus on polishing out the scratches left by the coarse stone. This part takes a bit more patience, but it’s what prevents the edge from rolling the next time you use it.
- 6. Test your progress, but don’t be reckless about it. I don’t do the whole “slicing through paper” thing because I’m terrified of a slip, but I will try to shave a tiny bit of hair off my arm or see if the tool bites into a piece of cardboard without sliding. If it still feels “toothy” or catches, go back to the fine grit for a few more passes.
- 7. Finally, clean everything off. Wipe the tool down with a rag to get rid of any metal filings or stone grit. If it’s a tool you use for gardening or cooking, a tiny drop of mineral oil on the edge can go a long way in preventing rust, especially if you live in a humid area like I do. Now you’re actually ready to get to work.
Mastering Whetstone Sharpening Techniques Without the Fluff
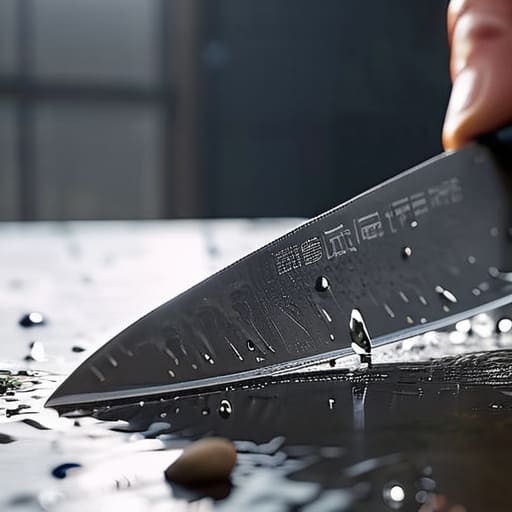
Look, you don’t need a massive kit of expensive gadgets to get a professional edge, but you do need to understand the physics of what you’re doing. When we’re talking about whetstone sharpening techniques, the biggest mistake I see is people treating the stone like a piece of sandpaper. It’s not about brute force; it’s about consistency. You need to find the right sharpening angle for different tools—like keeping your kitchen knives at about 15-20 degrees while giving your heavy-duty garden shears a steeper, more rugged angle. If you wobble, you’re just creating a jagged mess that’ll be a nightmare to fix later.
Also, let’s clear up the confusion between honing steel vs sharpening. A honing rod isn’t actually removing metal to create a new edge; it’s just realigning the microscopic teeth of the blade that got bent out of shape during use. Think of it like straightening a bent wire rather than cutting it. If you want to actually maintain blade edge longevity, you use the stone to fix the edge and the rod to keep it straight between deep sessions. It’s a simple distinction, but mastering it saves you from ruining your good steel by over-sharpening when you really just needed a quick realignment.
Finding the Right Sharpening Angle for Different Tools
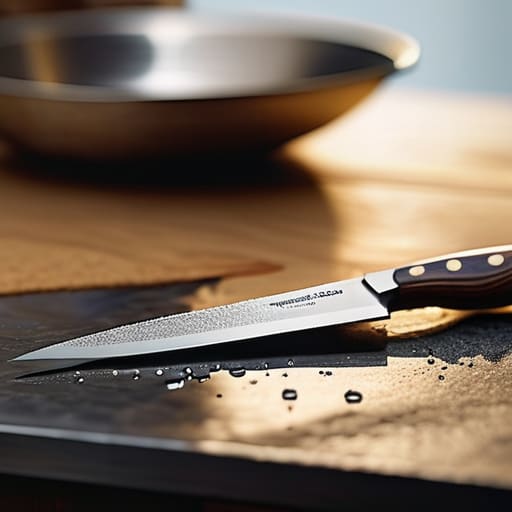
Look, one of the biggest mistakes I see people make is treating every blade like it’s the same. You can’t just pick a random angle and hope for the best; if you mess up the sharpening angle for different tools, you’re basically sabotaging your gear. For your kitchen knives, you’re usually looking at a 15 to 20-degree angle. If you go too steep, you’ll struggle to slice through a tomato; too shallow, and the edge will roll the second it hits a cutting board. On the flip side, if you’re working on heavy-duty garden shears or a pocket knife, you need a beefier angle—around 25 degrees—to ensure you’re actually maintaining blade edge longevity during heavy use.
Don’t get caught in the “honing steel vs sharpening” trap either. A honing rod isn’t a magic wand that fixes a dull blade; it just realigns the edge. If your tool is actually blunt, you need to get back to the stones. I used to think I could just “feel” the angle, but honestly, it’s much easier to use a guide or even a scrap piece of wood to steady your hand until it becomes muscle memory. Stop guessing and start being precise, or you’re just wasting your time.
Pro-Tips to Stop You From Ruining Your Tools
- Stop treating your tools like they’re indestructible. If you’re using a cheap, heavy-handed approach, you’re going to grind away more metal than necessary. Slow, controlled strokes are the only way to actually shape an edge without turning your good knife into a useless piece of scrap.
- Don’t skip the cleaning phase. If there’s grit, grease, or old residue on your blade before you start, you’re just dragging that junk across your sharpening stone. You’ll end up scratching the metal instead of smoothing it, and that’s a massive waste of time.
- Test your edge with something low-stakes first. Don’t go straight to your expensive kitchen knives or precision tech tools. Grab an old screwdriver or a cheap utility knife to get the feel of the angle right. It’s better to mess up a $2 tool than a $100 one.
- Keep your stone wet. If you’re using a whetstone and it’s getting dry, you’re basically just sanding your metal with sandpaper. You need that slurry to work; it carries the tiny metal particles away so you can actually see the progress you’re making.
- Listen to the sound, not just your eyes. There’s a specific “scritch” sound that tells you you’ve hit the right angle. If it sounds inconsistent or too loud, you’re wobbling. Consistency is the difference between a razor edge and a jagged mess.
The Bottom Line: Stop Guessing and Start Sharpening
Don’t buy a bunch of expensive, specialized gadgets you’ll only use once; a decent whetstone and a little patience will do more for your tools than any “magic” sharpening machine.
Consistency is everything—it’s better to hold a steady, mediocre angle than to constantly hunt for a “perfect” one that you can’t actually maintain while you’re working.
If a tool feels like it’s fighting you, it’s not broken, it’s just dull; spend ten minutes fixing the edge now so you don’t waste an hour struggling with it later.
Stop Settling for Gear That Fails You
Look, at the end of the day, sharpening your tools isn’t some high-brow ritual or a way to spend your entire Saturday afternoon. It’s about maintenance. We’ve covered the essentials: picking the right grit, finding that specific angle for your specific blade, and actually putting in the work with a whetstone instead of reaching for a cheap pull-through gadget that ruins your steel. If you do these things, you aren’t just making a knife sharper; you are extending the life of your gear and saving yourself the headache of buying replacements every six months. It’s about being smart with your money and your time, ensuring that when you actually need to get a job done, your tools don’t become the very thing slowing you down.
Don’t let the intimidation factor stop you from trying this. I know it feels a bit messy and technical at first, but once you get the rhythm down, it becomes second nature. There is a massive sense of satisfaction in taking something dull and useless and turning it back into a precision instrument. My advice? Don’t wait until your tools are completely useless to start caring about them. Build the habit now. Stop letting mediocre equipment dictate how much work you can actually get done and start taking control of your toolkit. You’ve got this—now go get to work.
Frequently Asked Questions
How often do I actually need to sharpen my tools before I start doing more damage than good?
Look, don’t wait until you’re sweating and hacking away at a project just to realize your tool is basically a blunt club. If you’re forcing the blade, pushing harder to get through a cut, or seeing jagged edges in your work, stop. That’s your signal. For tools I use daily, I check them weekly. If it feels like you’re fighting the material instead of letting the tool do the work, it’s time to sharpen.
Is it worth buying a high-end sharpening kit, or can I just get by with some cheap sandpaper and a flat surface?
Look, don’t drop a paycheck on some fancy, gold-plated sharpening kit just because an influencer said so. If you’re on a budget, sandpaper and a flat surface—like an old glass cutting board—will absolutely get the job done. It’s not as pretty, but it works. Save your money for better tools or actual food. Just make sure you’re consistent with your strokes, or you’re just wasting your time.
What do I do if I accidentally mess up the angle and ruin the edge of my tool?
Don’t panic—you haven’t killed it, you’ve just reset your starting point. If you’ve ground a weird notch or messed up the bevel, stop what you’re doing. You need to go back to a coarser grit stone and “re-profile” the edge. This means grinding a bit more metal away until you’ve established a new, consistent angle across the whole blade. It takes a little more elbow grease, but it’s better than working with a jagged mess.
Are there specific ways to store my tools after sharpening so they don't go dull the second I use them again?
Look, there’s no point in spending twenty minutes perfecting an edge if you just toss your tools into a junk drawer where they bang against everything. That’s how you end up with micro-chips and a dull blade. If you’re tight on space, get some magnetic strips for your walls or even just some simple tool rolls. Keep the sharp edges covered or separated. Protect the work you just did—don’t let laziness undo your progress.
