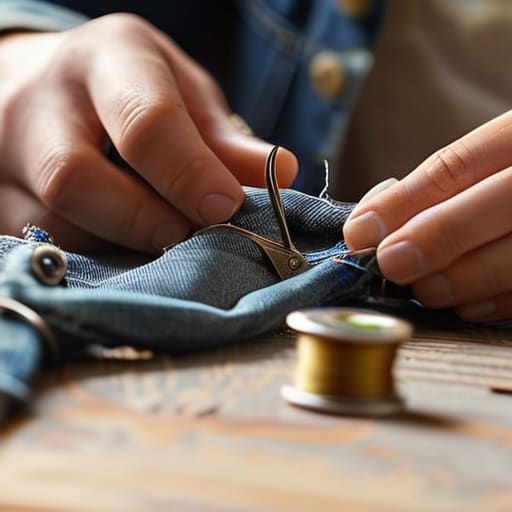
I was staring at a massive, jagged tear in my favorite heavy-duty denim jeans last Tuesday, and my first instinct wasn’t to go shopping—it was to reach for my multi-tool and a sewing kit. Most people think that once a seam pops or a fabric thins out, that piece of clothing is officially dead and destined for the landfill, but that is a total lie. Learning how to mend clothes isn’t about becoming a master tailor or starting some expensive, aesthetic hobby; it’s about refusing to let a five-dollar fix turn into a fifty-dollar replacement. I grew up in a house where we didn’t just toss things because they were “broken,” and honestly, that’s the only way to actually stay on top of a budget.
In this guide, I’m skipping the fluff and the complicated embroidery tutorials you see on Pinterest. I’m going to show you the most efficient, low-effort ways to patch holes, fix loose threads, and reinforce seams so your gear actually stays functional. We are focusing on practical repairs that take ten minutes or less, using basic tools you probably already have lying around. No fancy machines required—just straight-up methods to make your wardrobe last longer without wasting your time.
Guide Overview
Tools & Supplies
- Hand sewing needles (various sizes)
- Fabric scissors (sharp blades for clean cuts)
- Seam ripper (to remove old, damaged threads)
- Sewing thread (matching colors of your garments)
- Fabric patches (various sizes for holes)
- Embroidery floss (for decorative visible mending)
Step-by-Step Instructions
- 1. First things first, you need to gather your gear. Don’t go out and buy some massive, expensive sewing kit just because you saw one on Pinterest; you literally just need a needle, some decent thread that matches your fabric, and a pair of small scissors. I always keep a few extra needles in my desk drawer because losing them is a rite of passage.
- 2. Inspect the damage to figure out your game plan. If it’s just a small hole or a loose seam, you can fix it in five minutes. If it’s a massive rip, you might need to do a patch, but for now, let’s stick to the basics. Turn the garment inside out so your stitches don’t show on the front, because nobody wants to see your handiwork staring back at them.
- 3. Thread the needle and tie a knot at the end of the string. If you’re struggling with the thread being too thin, try running it through a bit of beeswax or even just rubbing it between your fingers to smooth out the fraying. Once it’s ready, anchor your thread by making a few small stitches in the fabric where the hole starts, pulling it tight enough to hold but not so tight that you bunch up the material.
- 4. Start the actual repair using a “running stitch” for simple fixes. Basically, you’re just weaving the needle in and out of the fabric in a straight line. If you’re fixing a seam that popped open, make sure you’re catching both sides of the fabric so the connection is solid. Don’t rush this part; if you go too fast, your stitches will look like a mess and they’ll just pop open again the next time you sit down.
- 5. For bigger holes where the fabric is actually missing, you’ll need to do a “darning” technique. This is basically weaving your thread back and forth across the hole to create a new “patch” of thread. It looks a bit like a tiny grid. It’s not going to look like the original fabric, but it’s functionally sound and keeps your clothes out of the landfill.
- 6. Once the hole is closed up, don’t just rip the thread out. You need to “backstitch” at the beginning and the end of your repair to lock everything in place. This is the most important part if you actually want the fix to last more than one wash. Tie a couple of small knots on the inside of the garment and snip the excess thread with your scissors.
- 7. Finally, give the piece a quick check. Tug on the area gently to make sure nothing is pulling or feeling weird. If it feels sturdy, you’re good to go. Now, get back to your life and stop stressing about a little bit of wear and tear; your clothes are meant to be used, not just looked at.
The Only Sewing Kit Essentials You Actually Need
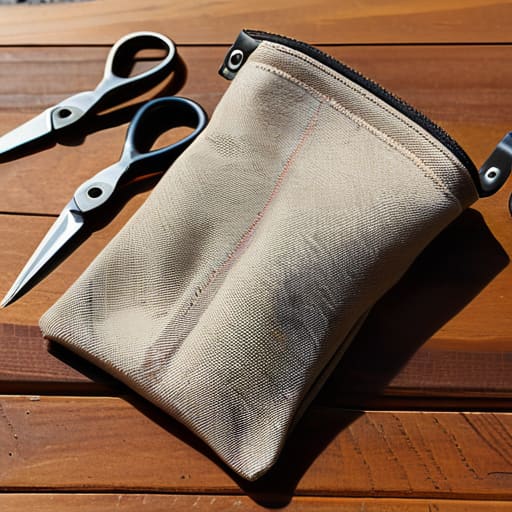
Look, you don’t need to drop fifty bucks on a massive, organized sewing box that’s mostly filled with useless plastic bits you’ll never touch. Most of those “all-in-one” sets are just clutter. If you want to actually get stuff done, you just need a handful of fabric repair tools that actually work. Grab a small tin or a zippered pouch and pack some decent quality needles (not the flimsy ones that bend mid-stitch), a few spools of all-purpose thread in neutral colors, and a sharp pair of small scissors. I keep mine in a little pouch on my desk next to my keyboard tools because if I have to go hunting for a needle, I’m just going to give up and let the hole get bigger.
If you’re looking into hand sewing for beginners, don’t stress about having the perfect color match for every single thread. Sometimes, trying to hide the repair is more work than it’s worth. Honestly? I’ve started leaning into visible mending techniques lately. Instead of stressing over a perfect match, just use a contrasting color to make the repair look intentional. It turns a mistake into a design choice, and it saves you a ton of mental energy. Just keep it functional, keep it simple, and get back to your life.
Smart Fabric Repair Tools That Save You Time
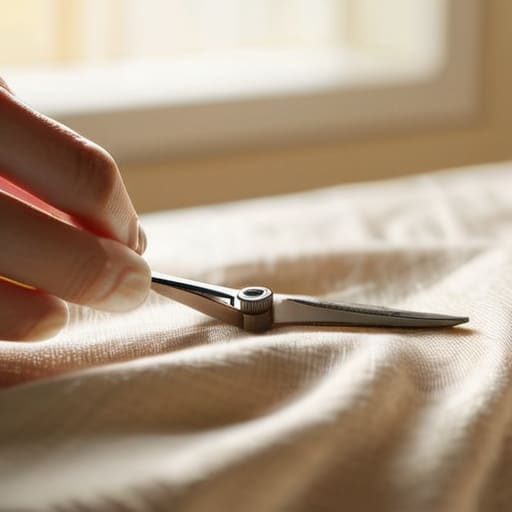
Look, you don’t need a massive, expensive sewing machine gathering dust in a corner to fix a snag. Honestly, most of the stuff in those pre-made kits is just filler. If you want to actually get things done without wasting an hour, invest in a decent pair of micro-tip embroidery scissors. Most cheap scissors will chew up your fabric instead of cutting it, and there is nothing more frustrating than fighting with dull blades when you’re just trying to fix a quick tear. Also, grab a small container of fabric glue for those “emergency” moments when you’re out and realize a seam is giving way; it’s not a permanent fix, but it buys you time.
If you’re dealing with something more structural, like patching denim holes in your favorite jeans, don’t just eyeball it. Pick up a set of heavy-duty upholstery needles. They’re sturdier and won’t snap halfway through a tough seam. I also highly recommend getting a few different weights of thread. Using a thread that’s too thin for a heavy canvas jacket is a recipe for a repeat disaster. Focus on getting the right tools for the specific job rather than buying a “complete” set that’s mostly junk. Keep it functional, keep it minimal, and just get to work.
5 Pro-Tips to Stop Your Repairs from Looking Like a Disaster
- Don’t try to match the thread perfectly; if you can’t find an exact color, go one shade darker. A lighter thread stands out like a sore thumb, but a slightly darker one blends into the shadows of the fabric and looks way more intentional.
- Always backstitch when you’re starting or ending a seam. I’ve seen too many people just knot the end and hope for the best, only to have the whole thing unravel in the wash. A few extra loops of backstitching will save you from having to redo the entire job.
- Use a thimble if you’re working with heavy denim or canvas. I know, it feels old-school, but unless you want a puncture wound in your finger by the time you finish mending those work pants, just use the damn tool.
- Iron your repairs as you go. It sounds like extra work, but pressing the fabric flat after you sew a patch or a seam makes it look like it was actually made that way, rather than looking like you just slapped some tape on it.
- If you’re dealing with a hole in a high-stress area like the crotch or underarms, don’t just sew the edges together. You’ll create a new tear right next to the old one. Use a small scrap of similar fabric as an internal patch to distribute the tension.
The Bottom Line: Stop Overcomplicating It
Don’t go out and buy a massive, expensive sewing machine if you’re just fixing a loose button or a small tear; a decent needle, some thread, and a little patience will do more for your wallet.
If a repair takes more time than it’s worth or costs more than just replacing the item, skip it—focus your energy on the stuff you actually love wearing.
Treat your clothes like gear, not disposable fashion; learning even the most basic mending skills means less money wasted on fast fashion and more money in your pocket for things that actually matter.
Stop Buying, Start Fixing
Look, at the end of the day, mending isn’t about being a master tailor or having a Pinterest-perfect sewing room. It’s about knowing that a basic needle, some decent thread, and a few smart tools can keep your favorite gear in rotation without you having to drop another fifty bucks at the mall. We’ve covered the essentials and the time-saving hacks, so the hard part is actually over. You don’t need a massive kit; you just need to stop treating your clothes like they’re disposable and start treating them like the investments they actually are. Once you get the hang of these basic repairs, you’ll realize how much junk you’ve been throwing away simply because you were too lazy to grab a needle.
I know it feels a bit tedious when you first start, especially after a long shift, but I promise it’s worth the effort. There is something incredibly satisfying about taking something broken and making it functional again—it’s that same feeling I get when I finally debug a messy piece of code or fix a mechanical switch. Mending is a skill of resilience. It’s about taking control of your own stuff instead of being a slave to fast-fashion cycles. So, grab that multi-tool or your sewing kit, find that tear in your jeans, and just fix it. Your wallet and your sanity will thank you.
Frequently Asked Questions
What do I do if the fabric is too thin or delicate to actually hold a stitch?
If the fabric is too thin, stop trying to force a standard stitch—you’ll just end up with a bunch of tiny holes that make the tear even worse. Instead, grab some lightweight fusible interfacing. Iron it onto the back of the fabric to give it some actual structure. Once that’s stabilized, you can sew through it without the whole thing bunching up or shredding under your needle. It’s a total lifesaver for old tees.
Is there a way to fix a hole without it looking like a giant, ugly patch?
Look, I get it. Nobody wants to walk around looking like they’re wearing a literal bandage on their jeans. If you want to avoid that bulky, “grandma’s quilt” look, skip the big patches and try darning. It’s basically weaving new thread directly into the hole to recreate the fabric. It takes a bit more patience, but it’s way more seamless. If that’s too much work, just use iron-on mending tape on the inside—it stays hidden and keeps things looking clean.
How do I know if a piece of clothing is actually worth the effort of fixing, or if I should just let it go?
Look, don’t waste your energy on a lost cause. I use a simple rule: if the repair takes longer than the time it would take to find a decent replacement, or if the fabric is so thin that a patch will just rip the surrounding area, let it go. If it’s a high-quality staple—like a heavy denim jacket or a favorite hoodie—fix it. If it’s fast fashion that’s falling apart at the seams? Toss it.
Can I use these same tools to fix things that aren't clothes, like upholstery or bags?
Short answer: mostly, but with a huge caveat. Your basic needles and thread will work for a canvas tote or a light fabric bag, but don’t even try using them on upholstery. That stuff is thick and heavy-duty; if you try to force a standard needle through it, you’ll snap the thread or just hurt your fingers. For bags and furniture, you’ll need heavier-duty upholstery thread and a much stronger needle to actually get the job done.
