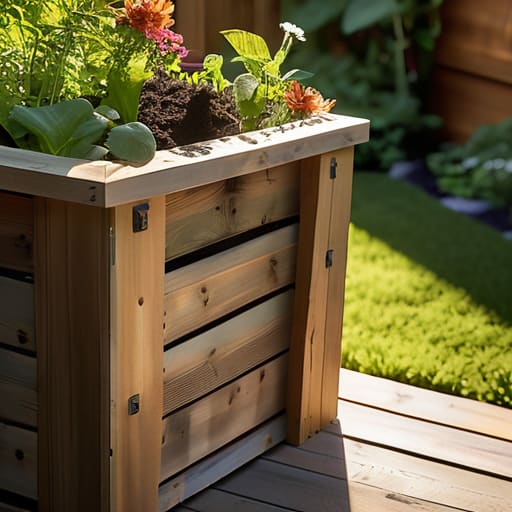
Stop wasting your paycheck on those overpriced, aesthetic wooden compost tumblers you see all over Pinterest. Seriously, most of them are just expensive plastic boxes that take up half your balcony and barely do anything but rot slowly. I learned that the hard way growing up in a tiny apartment where every square inch mattered; I didn’t have room for a “lifestyle accessory,” I needed something that actually worked. If you’re looking for how to make a compost bin that doesn’t require a massive backyard or a huge budget, you’re in the right place. You don’t need a fancy setup to turn your kitchen scraps into black gold; you just need a bit of logic and some scavenged materials.
In this guide, I’m stripping away all the unnecessary fluff and showing you exactly how to build a functional system using stuff you probably already have in your garage or can grab for next to nothing. We’re talking about a DIY setup that is actually efficient, easy to maintain, and won’t make your place smell like a landfill. I’ll walk you through the layers, the airflow requirements, and the exact mistakes to avoid so you can stop throwing money in the trash and start building your own free fertilizer.
Guide Overview
Tools & Supplies
- Drill with 1/2 inch bit for aeration holes
- Handsaw or utility knife for cutting materials
- Measuring tape for precise dimensions
- Plastic storage bin (approx. 18-30 gallons)
- Drill bits for ventilation
- Hardware cloth or mesh for base drainage
- Potting soil or finished compost to start the pile
Step-by-Step Instructions
- 1. First, stop scrolling through Pinterest for “aesthetic” cedar bins and just go find a heavy-duty plastic storage bin. I’m talking about the kind you can find at a thrift store or a discount shop for a few bucks. If it’s got a lid, even better, but honestly, the goal here is just to create a contained space for your scraps to break down without looking like a mess.
- 2. Grab your multi-tool or a drill and start making airflow holes all over the sides and the bottom of the bin. This is the part people skip, and it’s exactly why their compost ends up smelling like a swamp. You need oxygen to keep the process aerobic, otherwise, you’re just making a pile of stinky, rotting sludge instead of actual fertilizer.
- 3. Line the bottom of your bin with a thick layer of “browns”—think shredded cardboard, dry leaves, or even old newspaper from your recycling pile. Don’t go buying expensive wood chips; just use whatever dry, carbon-rich material you already have lying around. This layer acts as a base to help manage moisture and keep things from getting too compacted.
- 4. Now, start layering your “greens” on top, which are your kitchen scraps like coffee grounds, fruit peels, and veggie ends. The trick is to keep a ratio of roughly two parts brown to one part green. If you just throw in a bucket of wet food scraps without enough cardboard or dried leaves, it’s going to get grossly slimy real fast.
- 5. Every week or so, give the whole thing a stir with a stick or a small garden trowel to mix the layers. You aren’t trying to do a full workout here, you’re just making sure the air reaches the middle of the pile. If it looks too dry, splash a little water on it; if it looks like a soggy mess, toss in more shredded paper.
- 6. Keep the lid on it to retain heat and keep out the unwanted guests, like rodents or even just too much rain. If you live in a tiny apartment, you can even tuck this bin under a desk or in a corner of a balcony, as long as it’s in a spot where you won’t trip over it every single morning.
Mastering the Composting Materials Ratio for Maximum Efficiency
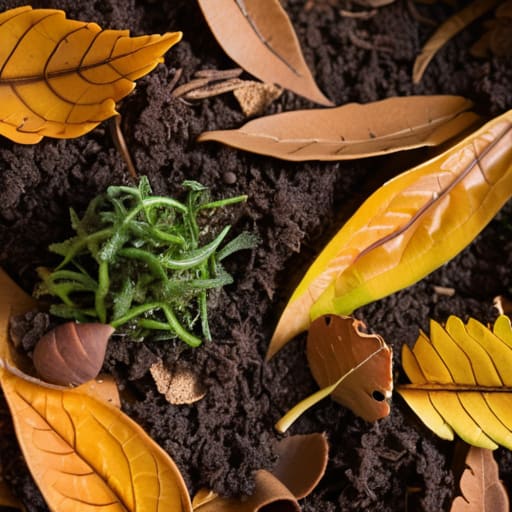
Look, the biggest mistake I see people make is thinking you can just throw a pile of kitchen scraps into a bin and call it a day. If you do that, you aren’t composting; you’re just making a stinky, slimy mess that attracts every pest in the neighborhood. To actually get results, you have to respect the composting materials ratio. You need a balance of “greens” (nitrogen-rich stuff like coffee grounds and veggie scraps) and “browns” (carbon-rich stuff like dried leaves or shredded cardboard). If it smells like rot, you have too many greens; if nothing is happening, you need more browns.
It’s basically a chemistry experiment, but way less stressful than my IT exams. Once you get the balance right, you need to focus on aeration for compost bins. Microbes need oxygen to do their job, so don’t just let the pile sit there and compact into a brick. Grab a pitchfork or even a sturdy stick and give it a stir once a week. It’s not about being a “master gardener”; it’s about keeping the air moving so the decomposition process doesn’t stall out. Keep it simple, keep it moving, and don’t overthink the aesthetics.
Smart Aeration for Compost Bins to Prevent Smelly Failures
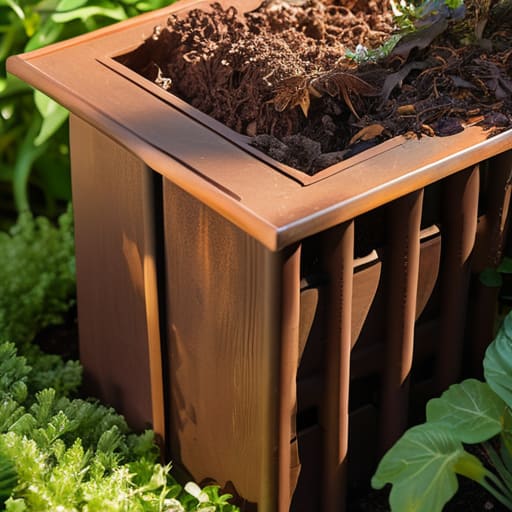
If your compost starts smelling like a literal landfill, you’ve messed up the airflow. Most people think a compost pile is just a “set it and forget it” situation, but if it gets too packed down or soggy, you end up with an anaerobic mess that reeks. Proper aeration for compost bins isn’t about buying some high-tech oxygenating tool; it’s about making sure oxygen can actually reach the center of the pile. If you’re using a DIY bin, I highly recommend drilling a few extra holes near the bottom or even sticking a couple of PVC pipes with holes drilled in them vertically through the pile to act as air chimneys.
Don’t let it turn into a swamp, either. If you notice a dark, slimy sludge at the bottom, you’re likely dealing with poor compost bin drainage solutions. When things get too wet, the decomposition process stalls and starts smelling like rotten eggs. I usually just grab a garden fork and give everything a good toss once a week to break up the clumps. It’s a bit of a workout, but it’s way better than having to explain to your neighbors why your backyard smells like a sewer. Keep it moving, keep it airy, and keep it functional.
5 Pro-Tips to Keep Your Bin From Becoming a Total Disaster
- Don’t go overboard with the expensive hardware; a basic plastic storage bin with some drilled holes works just as well as a $100 designer bin.
- Keep a small kitchen scrap bucket on your counter so you aren’t running to the bin every single time you peel a potato—it saves your sanity and your time.
- If your pile starts looking like a swamp, just throw in some shredded cardboard or old newspaper to soak up the excess moisture.
- Avoid tossing in meat, dairy, or oily scraps unless you want to deal with a pest situation that’ll make your whole apartment smell like a landfill.
- Use your multi-tool to check the moisture levels—if it feels like a wrung-out sponge, you’re golden; if it’s bone dry, it’s not going to break down.
The Bottom Line: Stop Overcomplicating It
Forget the expensive, aesthetic garden gear; a simple plastic bin and a basic ratio of greens to browns is all you actually need to get results.
If your compost starts smelling like a landfill, you’ve messed up the air or the moisture—just add more dry scraps and give it a good stir.
Composting isn’t a science project; it’s a tool to save you money on fertilizer, so focus on the function and let the rest go.
Stop Overthinking and Start Composting
Look, we’ve covered a lot, but it really boils down to this: you don’t need a degree in biology or a massive backyard to make this work. Just remember to keep your bin ventilated so it doesn’t turn into a stinky mess, and don’t let your greens and browns get out of whack. If you manage your ratios and give it a little air, you’re basically automating your garden’s nutrition for zero dollars. It’s about using what you have—whether that’s a plastic bin or a corner of your balcony—to turn waste into something actually useful. Stick to the basics, keep it functional, and stop letting good scraps go to waste in a landfill.
At the end of the day, composting isn’t about achieving some perfect, aesthetic “zero-waste lifestyle” you see on your feed. It’s about being practical and taking a tiny bit of control back from a system that’s designed to make you buy things you don’t need. Building your own bin is a small win, but it’s a win nonetheless. It’s one less thing to buy and one more way to make your life work more efficiently. So, grab that multi-tool, get your bin set up, and just start. You’ll figure out the fine-tuning as you go, and honestly, that’s the whole point.
Frequently Asked Questions
I live in a tiny apartment with no balcony, is there any way to do this without the whole place smelling like a landfill?
Look, I get it. I grew up in a shoebox apartment, so the last thing I want is a rotting landfill sitting next to my mechanical keyboard setup. If you’re stuck indoors, ditch the big bins and go for Bokashi. It’s a Japanese method that uses fermentation instead of decomposition, meaning it’s airtight and virtually odorless. Just keep it under the sink. It’s small, functional, and won’t make your living room smell like a dumpster.
Do I really need to buy a thermometer to check the heat, or is there a low-tech way to tell if it's actually working?
Look, unless you’re running a massive industrial operation, you don’t need a fancy digital thermometer. Honestly, it’s just one more thing to lose or break. If you want to know if your pile is actually “cooking,” just use the hand test. Stick your hand into the center of the pile (carefully!) for a few seconds. If it feels uncomfortably hot, the microbes are doing their job. If it’s cold, it needs more nitrogen or air. Simple.
What happens if I accidentally throw in something like citrus peels or coffee grounds—is my whole bin ruined?
Relax, your bin isn’t ruined. I used to panic every time I dropped a lemon wedge in my scraps, but it’s not that deep. A few citrus peels won’t kill the process, though too much acidity can slow things down. Coffee grounds are actually gold—they’re nitrogen-rich “greens” that your pile will love. Just don’t make it a habit to dump entire bags of citrus in at once. Keep it balanced and you’re fine.
How often am I actually going to have to spend time turning this thing, or can I just set it and forget it?
Look, if you want “set it and forget it,” just go buy a bag of fertilizer and stop wasting your time. But if you actually want good compost, you can’t be totally hands-off. Aim to turn it once a week if you have the energy. If you’re slammed with work, once every two weeks is fine, but expect it to take longer to break down. Just don’t let it sit there becoming a stinky, compacted mess.
