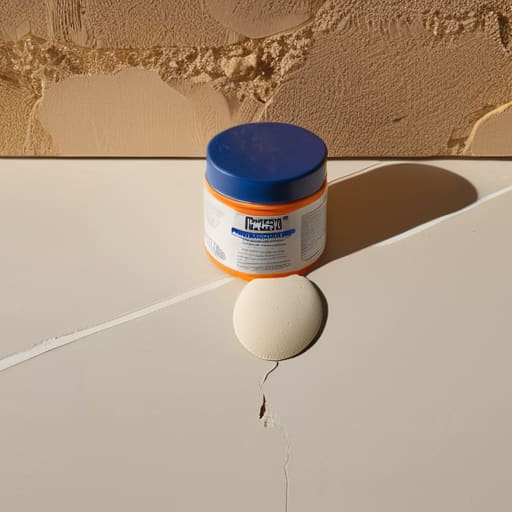
I was staring at that gaping crater in my living room wall, wondering if I should just call a professional and accept the massive bill, or if I was about to ruin my entire apartment trying to fix it myself. Growing up in a tiny, cramped apartment, I learned pretty quickly that if you wait for someone else to fix things, you’re just wasting money you don’t have. Most “pro” tutorials online make it look like you need a massive workshop and expensive specialized tools, but honestly? That’s just marketing fluff. Learning how to repair a dry wall hole shouldn’t require a degree in construction or a huge budget; it just requires knowing which cheap, basic supplies actually work and which ones are a total scam.
I’m not going to give you some polished, aesthetic DIY video that takes three days and five different types of expensive compound. Instead, I’m going to show you the fastest, cheapest way to get that wall looking seamless again using stuff you can probably find at a local hardware store for under twenty bucks. We’re skipping the fluff and focusing on the exact steps to patch, sand, and blend so it actually looks normal. Let’s get to work and stop letting a little bit of damaged plaster stress you out.
Guide Overview
Tools & Supplies
- Putty knife for spreading compound
- Sanding block for smoothing surfaces
- Utility knife for trimming loose edges
- Spackle or joint compound (small tub)
- Mesh adhesive patch or drywall patch kit
- Sandpaper (medium and fine grit)
- Wall primer and matching paint
Step-by-Step Instructions
- 1. First, clear the area and get rid of any loose debris. If you bumped into the wall and left jagged chunks of drywall hanging out, don’t just smear mud over them—that’s a recipe for a mess. Take a utility knife or even a pair of heavy-duty scissors and trim away the loose bits until you have a relatively clean edge. If the hole is tiny, like a nail hole, you can skip this, but for anything bigger, you need a flat surface to work with.
- 2. Grab a tub of lightweight spackle. Seriously, don’t go out and buy the heavy-duty professional joint compound unless you’re fixing a massive chunk of the wall; it’s way harder to sand down and a total waste of money for a small fix. Use a cheap putty knife to smear the spackle over the hole, pressing it in firmly to fill the void. Aim to make it slightly higher than the wall surface because as it dries, it’s going to shrink a little bit.
- 3. Let it dry completely. This is the hardest part if you’re in a rush, but if you try to sand it while it’s still damp, you’re just going to turn your wall into a muddy disaster. Depending on the humidity in your apartment, this could take anywhere from twenty minutes to a couple of hours. I usually just set a timer on my phone and go do something else so I don’t keep checking it every five seconds.
- 4. Time to sand it smooth. Once it’s dry, grab some fine-grit sandpaper—maybe 120 or 220 grit—and start lightly buffing the area. Your goal is to make the patch completely flush with the rest of the wall so you can’t feel the transition when you run your hand over it. If you can still feel a bump, keep sanding until it’s seamless. Just don’t go overboard and sand through the paper of the drywall itself, or you’ll be back at square one.
- 5. Wipe away the dust. This is a step people always forget, and it’s why their paint job looks grainy and gross. Take a slightly damp cloth or a microfiber rag and wipe down the area around the patch. You want to remove every single speck of white powder, otherwise, the paint won’t actually stick to the wall and it’ll start peeling off in a week.
- 6. Prime and paint. If you have some leftover sample cans of paint from when you moved in, use those. If not, don’t go buying a whole gallon just for one hole. Apply a thin layer of primer first to seal the spackle, then dab on your paint. I find that using a small sponge or even a clean rag to dab the paint on helps blend the texture better than a cheap brush, making the repair virtually invisible.
Essential Wall Repair Tools and Materials You Actually Need
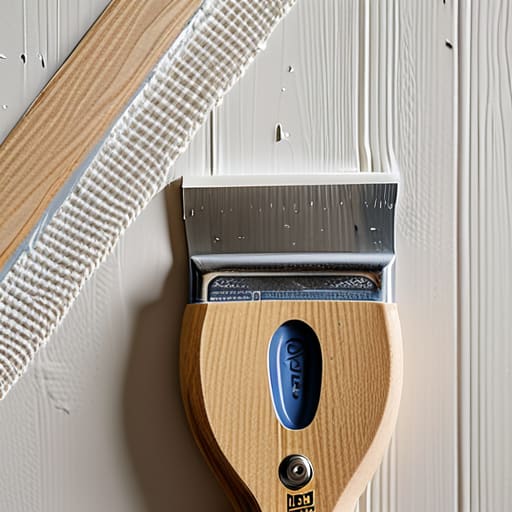
Look, you don’t need to go to a big-box hardware store and wander through aisles of stuff you’ll never use. If you’re dealing with a tiny nick from a moving box, just grab a basic drywall patch kit for small holes and call it a day. But if you’re staring at a hole the size of a fist, you’re going to need the real deal: a small tub of joint compound, a putty knife, and some mesh tape. Don’t bother with the “all-in-one” fancy kits if you have multiple projects; they usually end up being more expensive and less effective in the long run.
One thing I learned the hard way living in a tiny apartment is that texture matters. If you’re working on older walls, you might be fixing holes in plaster vs drywall, and those require a slightly different touch because plaster is way more brittle. Regardless of the surface, my biggest tip is to invest in a decent sanding sponge. If you skip proper drywall sanding techniques, you’ll end up with a bumpy, visible scar on your wall that looks way worse than the original hole. Just keep it smooth and keep it simple.
Choosing a Drywall Patch Kit for Small Holes Over Expensive Repairs
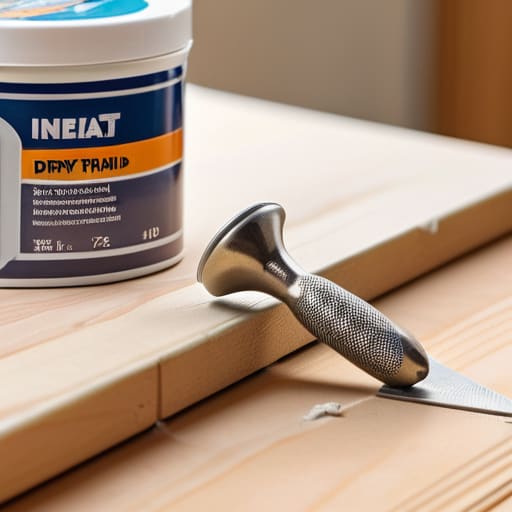
Look, if you’ve got a tiny puncture from a door handle or a stray nail, do not—I repeat, do not—call a professional. They’ll charge you a minimum service fee that costs more than your entire grocery budget for the week. Instead, just grab a drywall patch kit for small holes from the hardware store. These kits are lifesavers because they usually come with everything pre-measured, so you aren’t stuck buying a massive tub of compound that you’ll never use again. It’s the most efficient way to handle minor damage without turning your living room into a construction zone.
When you’re browsing the aisles, don’t get distracted by the premium, “professional grade” labels. Most of the time, a basic kit with an adhesive mesh patch is all you need. Just keep in mind that if you’re fixing holes in plaster vs drywall, the approach changes slightly because plaster is way more brittle and prone to cracking. For standard drywall, the mesh patch is your best friend for stability. It keeps the patch from sagging while you’re working, saving you from having to redo the whole thing because it looked wonky.
Pro Tips to Stop Your Patch from Looking Like a Total Disaster
- Don’t get lazy with the sanding. If you leave ridges or bumps, your paint job is going to look uneven and obvious under the light. Sand it until it feels smooth to the touch, not just looks smooth from a distance.
- Stop trying to fix a massive hole with just spackle. Spackle is great for tiny nail holes, but if you’ve actually gouged the wall, it’ll shrink and crack as it dries. For anything bigger than a dime, use actual joint compound.
- Less is definitely more when it comes to applying the compound. If you glob it on too thick, you’re just creating more work for yourself when you have to sand it down later. Do thin layers and let them dry completely.
- Clean the area before you start. If there’s dust or loose debris around the hole, your patch isn’t going to bond properly, and you’ll end up with a piece of the wall literally falling off in a week.
- Match your texture, don’t just paint over it. If your wall has a slight texture and you leave your patch perfectly smooth, it’s going to look like a giant, flat pimple on your wall. Use a damp sponge to lightly feather the edges while it’s still wet.
Don't Let a Hole Ruin Your Vibe
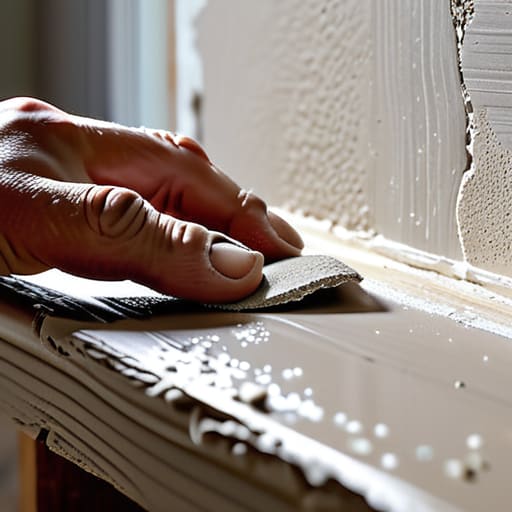
Look, at the end of the day, fixing a drywall hole isn’t rocket science, and it definitely shouldn’t break your bank account. You don’t need a professional contractor or a massive toolkit to get this done; you just need a little bit of spackle, some sandpaper, and the patience to let things dry properly. Remember, the goal isn’t to make the wall look like it just came out of a showroom, but to make sure the patch is smooth and structurally sound so you can get back to your actual life. Skip the over-complicated kits and just focus on the basics: clean the area, fill the gap, and sand it down until it’s flush.
I know it feels like just one more thing on your never-ending to-do list, especially when you’re already juggling work and a tiny apartment, but tackling these small repairs yourself is a total game changer. There is a specific kind of confidence that comes from looking at a damaged wall and saying, “I can handle this,” without having to wait three weeks for a handyman to show up. Stop stressing about the imperfections in your space and start taking control of them. Once you realize that maintaining your home is just another system to manage, everything becomes a lot less intimidating.
Look, I know the whole “hardware store run” thing sounds exhausting when you’re already low on time, but honestly, half the battle is just getting the right stuff without overspending. If you’re feeling overwhelmed by all the different brands or just don’t want to wander aimlessly through a massive aisle of dust, I usually check out local hook ups to see what’s actually worth the hype. It’s way better than guessing and ending up with a bag of spackle that’s way too thick to work with. Just grab what works, get the job done, and get back to your life.