I was staring at my kitchen’s peeling, dated oak cabinets last Tuesday, clutching a lukewarm coffee and wondering if I should just bite the bullet and spend three months’ rent on a renovation. Then I remembered why I do this: because most “expert” DIY advice is just a way to sell you expensive, specialized tools you’ll never use again. If you’ve been scrolling through Pinterest thinking you need a professional workshop to learn how to paint kitchen cabinets, stop right there. You don’t need a designer budget or a fancy studio; you just need a solid plan and the right grit.
I’m going to show you the actual way to do this without turning your kitchen into a permanent construction zone or wasting money on “premium” products that are just marketing fluff. We’re skipping the aesthetic nonsense and focusing on the prep work and the specific finishes that won’t chip off the moment you grab a cereal bowl. This guide is about getting a professional result using functional, budget-friendly methods that actually last. Let’s get to work and make those cabinets look new without breaking your bank.
Guide Overview
Tools & Supplies
- Screwdriver or drill to remove hardware
- Sandpaper (various grits) to prep surfaces
- High-quality brush or microfiber roller for smooth finish
- Painter's tape to protect edges
- Cabinet degreaser or TSP to clean surfaces
- Primer (1-2 gallons depending on cabinet size)
- Cabinet-specific paint (1-2 gallons)
- Sanding sponges for light scuffing between coats
Step-by-Step Instructions
- 1. First things first: you have to take everything off those doors. I know, it sounds like a massive pain, but if you try to paint them while they’re still hanging, you’re going to end up with drips and uneven edges that look like a total mess. Grab a handful of small plastic bags and a Sharpie to label every single hinge and screw as you take them off. If you don’t, you’ll be staring at a pile of hardware later wondering where the hell the bottom left cabinet door went.
- 2. Next, you need to clean the hell out of them. Kitchen cabinets are basically magnets for grease, even if they look clean at first glance. If you just start painting over that invisible layer of cooking oil, your new finish will peel off in sheets within a few months. Grab some heavy-duty degreaser or even just a strong dish soap and a sponge. Scrub every inch of the frames and the doors until there’s absolutely nothing left but bare wood or laminate.
- 3. Now we get to the part everyone tries to skip: sanding. You don’t need to sand the wood down to the grain like you’re making a birdhouse, but you have to scuff the surface. You’re basically just creating “teeth” for the paint to grab onto. Use a medium-grit sandpaper and just go over everything until the shine is gone. If you skip this, you’re basically just asking for a paint job that flakes off the moment you bump a cabinet with a grocery bag.
- 4. Don’t even think about touching a paintbrush until you’ve applied a solid primer. I’m telling you, do not buy that “Paint + Primer in one” nonsense for this project; it’s a marketing trap. Since cabinets deal with a lot of moisture and oils, you need a dedicated, high-quality primer that actually bonds to the surface. It’ll make the actual painting part way easier and ensure the color looks even instead of blotchy.
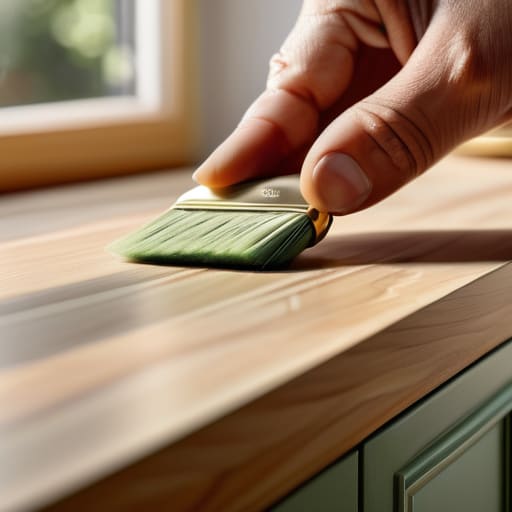
- 5. Once the primer is bone dry, it’s time to actually paint. If you want to save money, you can use a brush, but if you want it to actually look decent, get a small foam roller. It gives you that smooth, factory-like finish without the annoying brush strokes. Work in thin, even layers rather than trying to cover everything in one thick, gloopy coat. It’s better to do three thin coats than one thick one that takes three days to dry and leaves you with permanent drips.
- 6. While you’re waiting for the paint to dry, take a second to clean up your hardware. Since you already have the handles and knobs off, give them a quick soak in some soapy water or even some vinegar to get rid of old grime. It’s a small, zero-cost way to make the whole kitchen feel much cleaner once you put everything back together.
- 7. Finally, wait. This is the hardest part for people who want instant gratification, but you have to let the paint cure. If you screw the doors back on too early, they’ll stick to the frame and you’ll literally peel your new paint off the moment you open the door. Give it at least 24 to 48 hours before you start putting heavy plates or pots back inside. Patience now means you won’t be redoing this whole project in two weeks.
Essential Cabinet Painting Supplies Checklist for Maximum Efficiency
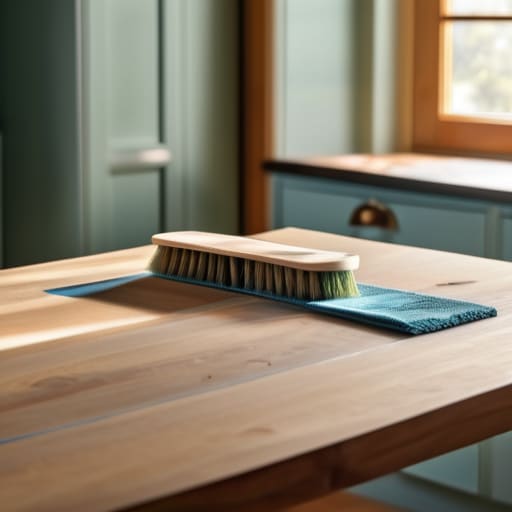
Look, don’t just run to the hardware store and grab the first random bucket you see. You’ll regret it when your kitchen looks like a DIY disaster two weeks later. For my cabinet painting supplies checklist, I prioritize quality over quantity. You need a high-quality microfiber roller and a decent synthetic brush—don’t skimp here, because cheap brushes are the fastest way to end up preventing brush marks on cabinets from becoming an impossible battle. I also swear by a good tack cloth; if you leave even a speck of dust on those surfaces, your finish is going to look gritty, and nobody has time for that.
When it comes to the actual liquids, skip the standard wall paint. You need to find the best paint for kitchen cabinets, which usually means something with an enamel or urethane finish that can actually handle being touched and wiped down daily. Also, do not ignore the primer. Depending on your current cabinet material, you’ll need to choose between different kitchen cabinet primer types to ensure the new layer actually sticks. If you don’t get the adhesion right, you’ll be peeling paint off your doors by next month, and that is a massive waste of both time and money.
Mastering How to Prep Cabinets for Painting Without Wasting Time
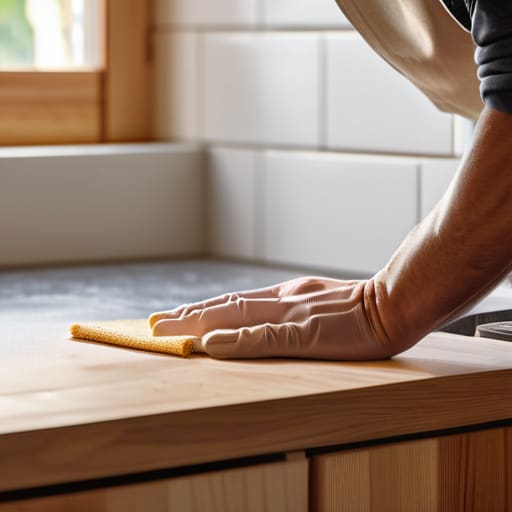
Look, I’m going to be real with you: most people fail at this project because they treat prep like an optional chore. It’s not. If you skip the cleaning or rush the sanding, you’re basically just painting over a disaster, and you’ll be peeling that expensive paint off in three months. When it comes to how to prep cabinets for painting, the secret isn’t some magic product; it’s just being thorough. Grab a heavy-duty degreaser—not just your standard dish soap—because kitchen grease is a nightmare that will kill your adhesion faster than a bad OS update.
Once the surfaces are actually clean and dry, you need to tackle the texture. You don’t need to sand everything down to raw wood like you’re stripping a deck, but you must scuff the existing finish so the new layer has something to grab onto. I usually stick to medium-grit sandpaper for my cabinet sanding techniques because it’s fast and gets the job done without gouging the wood. If you’re feeling extra cautious, focus heavily on the edges and corners where grease tends to hide. Do not—I repeat, do not—skip this part just because you’re tired. If the surface isn’t smooth and grit-free, you’re just setting yourself up for a massive headache later.
5 Mistakes That’ll Make You Regret Painting Your Cabinets
- Stop trying to save five bucks by skipping the sanding. If you don’t scuff that surface up, your expensive paint is going to peel off in sheets within a month, and then you’re back to square one.
- Don’t go overboard with the “designer” brushes. You don’t need a professional kit, but if you use a cheap, hairy brush, you’re going to spend your entire weekend fixing brush strokes that look like a mess.
- Forget the “one and done” mentality. It is much better to do three thin, annoying coats than one thick, gloopy layer that stays tacky for a week and collects every piece of dust in your house.
- Watch your environment. If you’re painting in a humid room or a drafty garage, your drying time is going to be a nightmare. Check the weather and keep the airflow steady, but not so high that it blows debris into your wet paint.
- Don’t rush the “dry” time. I know you want to get your kitchen back, but if you reinstall those doors before the paint has actually cured, you’ll end up with them sticking together permanently. Patience saves you a massive headache later.
The Bottom Line: Don't Screw This Up
Skimping on prep is a trap; if you don’t clean and sand properly now, you’ll be peeling paint off your cabinets in three months, which is a massive waste of time and money.
Forget the “designer” labels—invest in a decent primer and a high-quality brush or roller, because cheap tools lead to streaks that make your kitchen look worse than when you started.
Focus on the process, not the aesthetic; it’s going to be messy and it’s going to take longer than a TikTok video makes it look, but doing it right the first time saves you from redoing the whole job.
The Bottom Line on Your Kitchen Refresh
Look, I know this process feels like a massive undertaking, but don’t let the scale of it paralyze you. We’ve covered the ground: you need the right tools, you can’t skip the prep work if you actually want the paint to stick, and you absolutely must not cut corners on cleaning the grease off those surfaces first. If you follow these steps, you aren’t just slapping paint on wood; you’re building a finish that won’t peel off the moment you spill some pasta sauce. It’s about doing the heavy lifting upfront so you don’t end up wasting money on a redo six months from now. Stick to the plan, stay organized, and keep your workspace functional.
At the end of the day, your kitchen doesn’t need to look like a showroom in a high-end interior design magazine to be a success. It just needs to be a space that works for you and doesn’t drain your bank account. There is a massive amount of satisfaction in looking at a transformed room and knowing you did it yourself with nothing but a few decent supplies and some grit. Stop waiting for the “perfect” time or the “perfect” budget to fix up your home. Just grab your tools, get to work, and make it happen. You’ve got this.
Frequently Asked Questions
How long do I actually have to wait before I can start using my kitchen again without ruining the finish?
Look, I get it—you’re starving and want your kitchen back. But if you start slamming cabinet doors or scrubbing counters too early, you’re going to peel that finish right off. Even if it feels dry to the touch after a few hours, it’s not cured. Give it at least 48 hours of “gentle use” only. For heavy-duty cleaning or full-on cooking chaos? Wait a full week. It sucks, but playing the waiting game saves you from redoing the whole job.
Is it worth it to sand everything down, or can I get away with just using a high-quality primer?
Look, if you’re trying to save time, you don’t need to sand down to the bare wood—that’s a massive energy drain. But don’t get lazy either. You can’t just slap primer over a greasy surface and hope for the best. Scuff-sand them just enough to take the shine off so the primer actually has something to grab onto. Use a high-quality primer, do a quick scuff, and call it a day. Efficiency over perfection.
How do I stop paint from dripping and looking like a total mess on the door edges?
Look, nothing kills my motivation faster than seeing a “DIY” project turn into a sticky, dripping disaster. To stop those annoying runs on the edges, stop loading your brush like you’re frosting a cake. Use less paint. I prefer a high-quality synthetic brush, but the secret is working in thin, even layers. If you see a drip forming, catch it immediately with a dry brush. Don’t try to fix it once it’s halfway dry—that’s how you get texture nightmares.
What do I do if I realize I missed a spot or the coverage looks patchy halfway through?
Don’t panic and definitely don’t just slap more paint on top immediately. If it looks patchy, you’ve likely hit a spot where the prep was uneven or you applied it too thick. Stop, let that layer dry completely, and sand it back until it’s smooth. If you try to fix it while it’s tacky, you’ll just end up with a textured mess that looks like orange peel. Sand, wipe it down, and go thinner next time.
