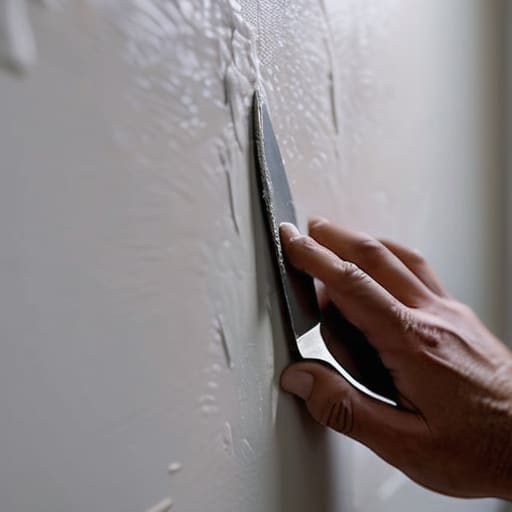
I was staring at this jagged, gaping crater in my living room wall—the result of a clumsy move and a heavy bookshelf—and my first instinct was to call a handyman and just accept the massive bill. But then I remembered growing up in that tiny apartment where every cent mattered, and I realized that most people make this way harder than it actually is. You don’t need a professional contractor or a massive renovation budget to fix a mistake; you just need to learn how to patch a hole in the wall without losing your mind or your paycheck. Most “pro” tutorials online are just a way to sell you expensive, specialized toolkits that you’ll literally never use again.
I’m not going to waste your time with fancy, aesthetic filler or complicated steps that require a degree in construction. Instead, I’m going to show you the actual way to do this using cheap, accessible supplies you can grab at any hardware store. We’re focusing on the most efficient, low-effort methods to get your wall looking smooth again so you can get back to your actual life. No fluff, no unnecessary gear—just functional results that won’t break your bank.
Guide Overview
Tools & Supplies
- Putty knife for spreading compound
- Sanding block for smoothing surfaces
- Spackle knife for small repairs
- Spackle or joint compound (1 small tub)
- Sandpaper (medium and fine grit)
- Patch kit or mesh tape (1 roll)
- Touch-up paint (small container)
Step-by-Step Instructions
- 1. First, grab your multi-tool or a utility knife and clear out the debris. If there are any loose bits of drywall or jagged edges sticking out around the hole, trim them back. You want a clean perimeter, not a messy crater, otherwise your patch is going to look like a total disaster once you’re done.
- 2. Next, you need to decide if this is a tiny nail hole or a “whoops, I moved a heavy shelf” kind of hole. For the small stuff, just skip to the spackle. But if it’s larger, grab some mesh adhesive patch tape from the hardware store. Stick it over the hole so it’s firmly anchored to the surrounding wall. Don’t bother with expensive metal patches; the mesh stuff is cheap and does the job just fine.
- 3. Now, grab your spackle and a putty knife. Apply a thin layer of the compound over the patch, spreading it outward from the center. The goal here is to feather the edges—that means making the spackle get thinner and thinner as you move away from the hole. If you glob it on too thick, you’ll end up spending hours sanding, and nobody has time for that.
- 4. Let it dry completely. This is the hardest part because you’ll want to rush, but if you try to sand wet spackle, you’re just going to turn it into a muddy mess. Depending on how humid your place is, this could take anywhere from thirty minutes to a few hours. Just go tend to your herbs or tinker with your keyboard while you wait it out.
- 5. Once it’s bone dry, grab some fine-grit sandpaper and lightly sand the area until it’s smooth to the touch. You’re not trying to sand down the whole wall; you just want to get rid of those ridges so the patch is flush with the rest of the surface. If you feel a bump, keep sanding until it’s gone.
- 6. Finally, it’s time to paint. Don’t try to just dab a tiny bit of paint in the center like a cartoon character; that’s how you end up with a visible “spot.” Use a small roller or a brush and blend the edges outward into the existing paint. If you don’t have the exact color, don’t stress about matching it perfectly—just get it close enough so it doesn’t scream for attention.
The Only Drywall Patch Kit for Small Holes You Need
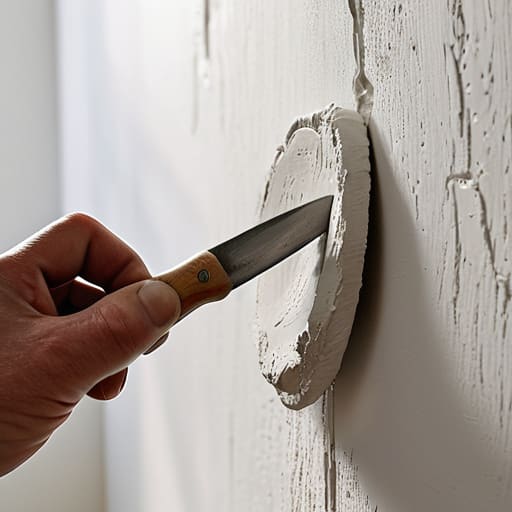
Look, you don’t need to wander down the hardware store aisles staring at those $30 “pro-grade” repair stations. Most of them are just overpriced plastic junk designed to make you feel like you’re doing something fancy. If you’re just dealing with a nail hole or a scuff, a basic drywall patch kit for small holes is more than enough. Honestly, even that’s overkill sometimes. I usually just grab a small tub of lightweight spackle and a cheap putty knife. If you can’t find a kit, just remember: the goal isn’t to make it look like a masterpiece; it’s to make the surface level so you can paint over it and forget it ever happened.
If the hole is a bit larger—like if you bumped a piece of furniture into the wall—skip the tiny stuff and grab some wall repair mesh tape. It’s a lifesaver because it provides the structural backbone so your patch doesn’t just crack and fall out two weeks later. Once you’ve got your mesh down and your compound applied, don’t rush the drying process. I’ve seen so many people try to sand drywall smooth while the patch is still damp, and it’s a total disaster. Wait until it’s bone dry, then go to town with your sandpaper. It’s the only way to ensure you aren’t left with a weird, bumpy texture.
Mastering Spackling Compound Application Without the Mess
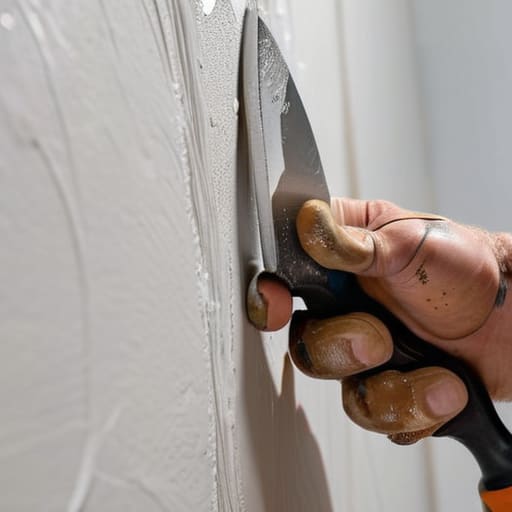
Look, the biggest mistake I see people make is treating spackle like frosting on a cake. If you just glob it on there, you’re going to end up with a mountain of white goop that’s a nightmare to level out. When you’re working on your spackling compound application, the secret is to use a putty knife to press the material into the hole rather than just spreading it over the top. You want to aim for a slightly overfilled surface because the compound is going to shrink as it dries. If you try to get it perfectly flush on the first pass, you’ll just be fighting a losing battle against physics.
Once it’s dry, don’t go overboard with the power tools. I’ve seen people try to use heavy-duty sanders on a tiny patch, and they end up sanding right through the entire wall. Instead, use a fine-grit sanding sponge. Your goal is to sand drywall smooth using light, circular motions. If you feel any ridges, don’t just keep sanding—stop, check if you need another thin layer of compound, and try again. It’s much faster to do two thin, controlled layers than to spend an hour trying to fix a massive, uneven crater.
Pro Tips to Keep Your Walls from Looking Like a Total Disaster
- Don’t go overboard with the spackle. I know it’s tempting to glob it on to fill a deep hole fast, but you’ll just end up with a massive mountain of dried goop that’s a nightmare to sand down. Less is more.
- Sanding is the part everyone hates, but you can’t skip it if you want the patch to actually disappear. Use a fine-grit sandpaper and keep at it until it feels smooth to the touch, otherwise, your paint job will look bumpy and cheap.
- Clean the dust off before you even think about painting. If you leave a layer of fine white powder on the wall, your paint isn’t going to stick, and you’ll be back to square one by next week. Grab a damp rag and wipe it down.
- If you’re patching a hole that’s a bit deeper than expected, do it in layers. Apply a thin layer, let it dry completely, then do another. It takes more time, but it prevents that annoying cracking that happens when you try to fix everything in one go.
- Stop trying to match the paint color perfectly by eye. Even if it looks close in the store, it’ll look wrong on your wall. If you have a tiny bit of the original paint left, use that; if not, just grab a small sample jar of the exact match so you aren’t guessing.
The Bottom Line on Fixing Your Walls
Stop overthinking the tools; you don’t need a professional contractor kit, just some cheap spackle and a decent putty knife to get the job done.
Focus on function over perfection—if the patch is smooth and level, it’s a win, even if it doesn’t look like a Pinterest board.
Don’t waste your time trying to do it all in one go; apply thin layers and let them dry so you aren’t stuck sanding a massive, messy crater for an hour.
Stop Staring at the Damage
Look, at the end of the day, you don’t need a degree in construction or a garage full of expensive power tools to fix this. You just needed a bit of spackle, a decent putty knife, and the patience not to overwork the compound. We covered how to pick the right cheap patch kit, how to apply the spackle without turning your entire living room into a white dust cloud, and how to sand it down so it actually looks seamless. If you followed those steps, that ugly crater in your drywall is officially history. You saved yourself a massive headache and, more importantly, you kept your money in your pocket instead of handing it over to a handyman who would have charged you a hundred bucks just to show up.
I know it feels a little intimidating when you’re staring at a hole in your wall, especially if you didn’t grow up in a house where everything worked perfectly. But honestly? This is how you actually take control of your space. Every time you fix something yourself, you’re proving that you don’t need a perfect, Pinterest-ready apartment to live a good life. You just need the right tools and the grit to get it done. Now that this is out of the way, go enjoy your space and stop letting small repairs weigh on your mind. You’ve got this.
Frequently Asked Questions
How do I know if the hole is too big for a simple patch and actually needs a whole new sheet of drywall?
Look, I love a good quick fix, but don’t let ego get in the way of a job done right. If the hole is bigger than a handful—like, if you’re looking at a gaping crater where a doorknob went through—stop. If you can see through the wall into the next room or if the surrounding drywall feels soft and crumbly, a patch won’t hold. Save your sanity and your money: just cut out the bad section and replace it.
Do I really need to sand it down, or can I just paint over the spackle and call it a day?
Look, if you’re just trying to hide a tiny pinhole in a dark corner, you might get away with it. But if you want it to actually look decent? You have to sand it. If you just paint over raw spackle, you’ll end up with a weird, bumpy texture that catches the light and screams, “I tried to skip a step.” Spend the five minutes to sand it smooth now so you don’t regret it later.
What’s the best way to hide the patch so it doesn't look like a weird, bumpy scar on my wall after I paint?
Look, if you just slap paint on it, you’re going to see that bump from across the room. You need to sand it. Once the spackle is bone dry, grab some fine-grit sandpaper and sand it until it’s flush with the wall. Don’t just sand the hole; feather the edges outward so there isn’t a hard ridge. If it feels smooth to your hand, it’ll look invisible once the paint hits it.
How long do I actually have to wait before I can sand it or paint over it without making a huge, dusty mess?
Look, I get it—you want this done so you can move on with your life. But if you sand too early, you’re just going to tear up the patch and end up with a crater. Wait until it’s bone-dry and looks lighter in color. Usually, that’s a couple of hours, but if your place is humid, give it overnight. Better to wait a few hours than to spend your entire weekend re-doing it.
