
I was staring at my bank statement last month, then back at the overpriced, “aesthetic” linen drapes in my online shopping cart, and I realized I was being played. Why am I paying a premium for a brand name just to cover a window? Growing up in a tiny apartment where every cent counted, I learned early on that if you want something to look decent without breaking the bank, you have to roll up your sleeves. You don’t need a professional interior designer or a sewing machine that costs more than your laptop to make diy curtains that actually work. You just need a bit of grit and the right plan.
I’m not going to show you how to make some Pinterest-perfect masterpiece that takes ten hours and requires a degree in textile engineering. Instead, I’m giving you the straight-up reality of how to hang functional, decent-looking window treatments on a budget. We’re talking about using what you have, skipping the unnecessary fluff, and focusing on results that actually last. Whether you’re trying to block out light for a better sleep setup or just want to hide a view of a brick wall, I’ve got you covered.
Guide Overview
Tools & Supplies
- Measuring tape for window dimensions
- Fabric scissors for clean cuts
- Sewing machine or needle and thread for assembly
- Iron for crisp hems
- Fabric (2-3 yards depending on width)
- Thread (1 spool matching fabric color)
- Hem tape or curtain clips (optional for no-sew)
- Pins or clips to hold fabric in place
Step-by-Step Instructions
- 1. First, stop scrolling through Pinterest and actually measure your window. Don’t just eyeball it; grab a metal tape measure (not a fabric one, those stretch and lie to you). You need the width of the window plus about 6-10 inches on each side so the light doesn’t leak in like a sieve, and the height from the rod to where you want the fabric to end. Write these numbers down immediately so you don’t forget them when you’re standing in the middle of a fabric aisle.
- 2. Next, pick your fabric, but keep it real: check the weight. If you’re trying to block light for sleep, don’t buy that thin, gauzy stuff that looks pretty but lets every bit of streetlamp glare in. Look for heavy cotton, canvas, or even linen blends. If you’re on a super tight budget, hit up a thrift store and look for large, high-quality tablecloths or even flat bedsheets—just make sure they don’t have weird patterns or holes that’ll ruin the vibe.
- 3. Lay your fabric out on a flat surface—the floor is fine if you’ve cleared the clutter—and cut your pieces based on your measurements. Remember to add an extra 2-3 inches to both the width and the height for your hem allowance. If you don’t account for the extra fabric needed to fold and sew the edges, your curtains are going to end up being way too short and looking like a total disaster.
- 4. Now, let’s tackle the top edge where the rod goes. You have two choices here: sew a “pocket” or use curtain clips. If you want to actually sew something, fold the top edge down twice to hide the raw edge and stitch a straight line across. If you’re running low on time or your sewing skills are shaky, just buy some clip rings later. It’s a total cheat code that saves you from having to master a perfect hem.
- 5. Hem the sides and the bottom. Fold the edges in about half an inch, then another half inch, and pin them down so they don’t move. If you don’t have a sewing machine, you can use fabric glue or even iron-on hem tape, though a real stitch is always going to hold up better in the long run. Just keep your lines straight; nobody cares if it’s DIY, but they will notice if it looks sloppy.
- 6. Once everything is sewn and the glue is dry, hang them up. Use a simple tension rod if you’re renting and don’t want to drill holes in the walls, or a standard curtain rod if you’ve got the permission. If the fabric is too stiff, give it a quick steam or a light iron to get those factory creases out so it actually hangs like it’s supposed to.
Measuring Windows for Curtains Without Wasting Expensive Fabric
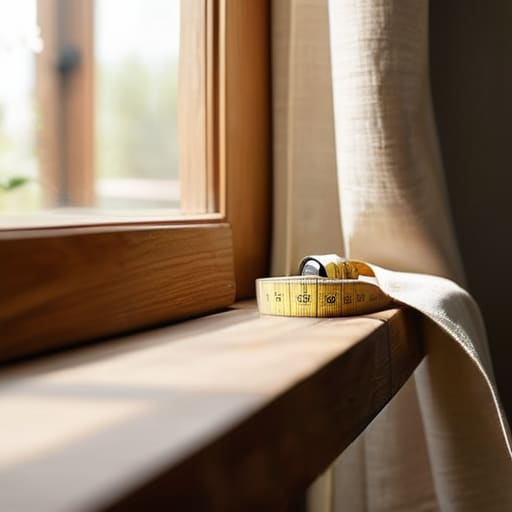
Look, the biggest mistake I see people make is buying way too much fabric because they’re scared of running short. That is literally throwing money down the drain. When you’re measuring windows for curtains, don’t just measure the glass itself. You need to account for the width of the rod and how much “fullness” you actually want. If you buy fabric that’s exactly the width of your window, your curtains are going to look like a flat, sad sheet when they’re closed. Aim for at least double the width of your window frame to get those nice folds, but don’t go overboard—you aren’t decorating a ballroom, you’re trying to keep the light out without breaking the bank.
Also, stop guessing on the length. Grab a metal measuring tape—not a soft sewing one, those stretch and lie to you—and measure from the rod down to where you want the fabric to end. If you’re going for a clean look, factor in an extra few inches for your hemmed curtain edges before you even touch the scissors. I always tell my friends: measure twice, cut once, and buy only what you need. It’s better to have a slightly shorter curtain than a massive roll of expensive fabric sitting in your closet because you overshot the mark.
Smart Fabric Selection for Window Treatments That Actually Last
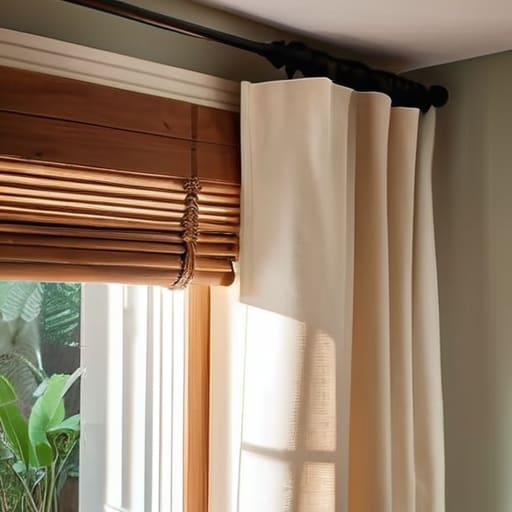
Look, don’t get distracted by those high-end boutique catalogs. You don’t need silk or heavy velvet to make a room look decent, and honestly, you probably don’t want to deal with the headache of cleaning it. When you’re looking at fabric selection for window treatments, prioritize durability and ease of care. I always lean toward cotton blends or even heavy-duty linen; they hold their shape well and won’t fall apart after one wash. If you’re on a tight budget, hit up the clearance section at a local fabric store or look for upholstery scraps. Just make sure the weave is tight enough that it isn’t see-through unless that’s actually your goal.
Whatever you pick, keep the sunlight in mind. If your window gets hit with direct afternoon sun, a thin, cheap polyester is going to fade into oblivion within six months. You want something with a bit of substance to handle the UV exposure. Also, don’t overcomplicate things with crazy textures that are impossible to sew. Stick to something that plays nice with your machine so you can get those hemmed curtain edges looking clean without losing your mind. If it’s too finicky to work with, it’s not a time-saver—it’s just a chore.
5 Pro-Tips to Keep Your DIY Curtains from Looking Like a High School Craft Project
- Don’t skip the hem. If you just fold the edge and tape it, it’s going to look cheap and flimsy. Even if you can’t sew, use heavy-duty iron-on hem tape. It’s a lifesaver for making the edges look crisp and professional without needing a sewing machine.
- Mind the weight. If you’re using a lightweight fabric, it’s going to flutter every time someone walks by or the AC kicks in. If you want that “expensive” look, sew in some drapery weights or even just small washers at the bottom hem to give them some actual gravity.
- Stop buying pre-made curtain rods if you’re on a budget. Check thrift stores or even look for sturdy wooden dowels at hardware stores. You can spray paint them matte black to make them look high-end for a fraction of the price of a boutique rod.
- Account for the “stack back.” When you pull your curtains open, you don’t want them covering the entire window and blocking all your light. Make sure your rod is wider than the actual window frame so the fabric bunches up to the sides, not in the middle of your view.
- Test your light levels before you commit. I’ve seen so many people pick a beautiful fabric only to realize it’s basically a sieve for sunlight. If privacy is your goal, hold your fabric up to the window during midday to see exactly how much the neighbors can see in.
The Bottom Line: Don't Overcomplicate It
Prioritize function over fluff—if a fabric is too expensive or too hard to wash, it’s not worth the headache, no matter how good it looks in a Pinterest photo.
Measure twice and buy only what you need; wasting money on extra yardage is just throwing cash into a void that your budget doesn’t need.
Keep your tools simple and your method direct—you don’t need a professional sewing studio to get decent coverage, just a bit of precision and the right tension rod.
The Bottom Line on DIY Curtains
Look, we’ve covered a lot of ground here, from the math of measuring your windows to picking fabrics that won’t fall apart after three washes. The goal was never to make your apartment look like a Pinterest board; it was to get you functional window treatments without draining your bank account. Remember, it’s all about the fundamentals: measure twice so you don’t waste fabric, pick a material that actually suits your light needs, and don’t get bogged down in the tiny details that don’t matter. If the curtains hang straight and block the light, you’ve won.
At the end of the day, don’t let the fear of a crooked stitch stop you from actually doing the work. Most of the “perfect” homes you see online are just layers of expensive illusions, but there is a real kind of satisfaction in looking at a window and knowing you made that happen for a fraction of the retail price. Stop waiting for the perfect moment or the perfect budget to fix up your space. Grab your tools, get messy, and just start building the life you want to live.
Frequently Asked Questions
I messed up the hem; can I just use hem tape instead of sewing it properly?
Look, I’ve been there. I once messed up a hem on a blackout curtain and nearly had a meltdown. Honestly? Yes, use the hem tape. If you’re not trying to win a sewing competition and you just need the window covered without spending three hours unpicking stitches, iron-on tape is your best friend. It’s faster, cheaper, and it works. Just make sure you follow the heat instructions so it doesn’t peel off after one wash.
What's the best way to hang these if I'm renting and can't drill holes in the walls?
Look, I get it. Landlords and “no-drill” policies are a nightmare when you’re trying to make a space feel like home. Don’t even bother with those cheap adhesive hooks; they’ll peel your paint off and you’ll lose your security deposit. Go with a heavy-duty tension rod. It’s a literal five-minute fix, costs almost nothing, and puts zero holes in the walls. Just make sure you buy one rated for the weight of your fabric.
How do I stop my DIY curtains from looking like a cheap dorm room project?
Look, the “dorm room” vibe usually comes from two things: bad hardware and zero weight. If you’re using those flimsy, plastic tension rods, stop. They sag and look cheap instantly. Invest in a solid metal rod that actually matches your window scale. Also, pro-tip: iron your fabric. Even the most expensive linen looks like a rag if it’s wrinkled. If the fabric is too light, sew in some drapery weights at the hem. It makes them hang like they actually cost something.
Should I be worried about heavy fabrics pulling my tension rod down?
Honestly? Yes, you should be. Tension rods are great for lightweight linen or sheer fabrics, but if you try to hang heavy velvet or thick blackout material on one, it’s going to slip and crash down within a week. If you’re using heavy fabric, skip the tension rod and just screw in a basic bracket. It’s a five-minute job that saves you the headache of your curtains constantly falling on your head.
