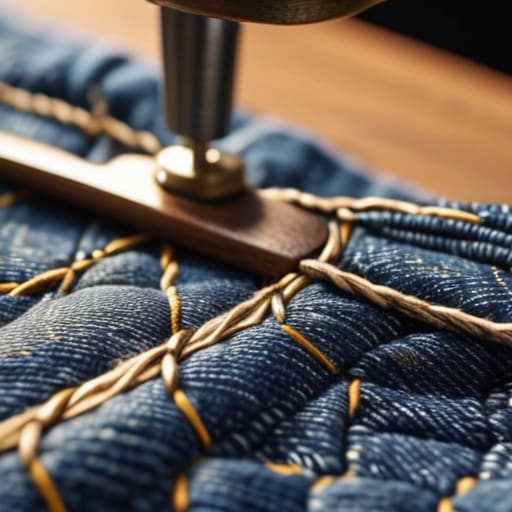
I was halfway through a shift at the server room when I felt that dreaded, cold draft against my thigh, and I knew immediately my favorite pair of heavy-duty denim had finally given up the ghost. Most people see a blown-out knee and think, “Well, time to drop sixty bucks on a new pair,” but that is such a waste of hard-earned money. I grew up in a house where we didn’t just replace things because they were slightly broken; we fixed them. Learning how to patch jeans isn’t about some Pinterest-perfect embroidery project; it’s about basic maintenance and making your gear last as long as possible.
Forget those complicated tutorials that require a professional sewing machine and a degree in textile arts. I’m going to show you the most efficient, low-cost ways to reinforce your clothes using stuff you probably already have in a junk drawer or an old t-shirt. We’re skipping the aesthetic fluff and focusing on functional repairs that actually hold up when you’re moving around. By the end of this, you’ll know exactly how to patch jeans so they stay sturdy, look decent, and—most importantly—stay out of the landfill.
Guide Overview
Tools & Supplies
- Sewing needle or sewing machine for joining fabric
- Fabric scissors for trimming excess material
- Pins or fabric clips to hold layers in place
- Patch fabric (denim or cotton scraps) 1-2 pieces
- Thread (matching or contrasting color) 1 spool
- Iron for flattening seams 1 unit
Step-by-Step Instructions
- 1. First, grab your jeans and find where the damage is. If it’s just a tiny fray, you might get away with a quick stitch, but if there’s an actual hole, you need to clean the area first. Use a lint roller or just your hands to clear out any loose threads or debris so your patch actually has something to grip onto.
- 2. Next, you need your “donor” fabric. Don’t go out and buy expensive denim patches; that’s a waste of money. Go through your scrap bin or find an old pair of jeans you were going to toss anyway. Cut a piece of fabric that is at least one inch larger than the hole on all sides. You want plenty of overlap so the patch doesn’t just peel off the first time you sit down.
- 3. Now, turn your jeans inside out. Place your patch piece on the inside of the leg, directly under the hole. If you’re feeling fancy, you can use a little bit of fabric glue or even some double-sided tape to hold it in place while you work, but honestly, just using safety pins to tack it down works just fine and saves you from buying extra supplies.
- 4. Get your needle and thread ready. I usually go with a heavy-duty polyester thread because it actually holds up to the friction of walking. Start sewing from the underside of the patch, working your way around the edges of the hole. Use a running stitch or a simple whip stitch to secure the edges of the patch to the denim.
- 5. If the hole is particularly large or in a high-stress area like the knee, don’t just do a basic stitch. You need to do a zigzag stitch or a series of small, tight loops to distribute the tension. If you don’t reinforce it properly, the fabric will just tear again right next to your repair, and then you’ve wasted your time.
- 6. Once you’ve stitched all the way around and secured the patch, turn the jeans right-side out to check your work. Give the area a good tug to make sure everything feels sturdy and secure. If you see any loose loops of thread hanging off, trim them with your multi-tool or a pair of scissors so they don’t snag on anything.
- 7. Finally, give the whole thing a quick wash. This helps the threads settle into the fabric and makes the patch feel a bit more integrated into the garment. It might look a little different at first, but hey, it’s functional, it’s fixed, and most importantly, it didn’t cost you a dime.
Darning vs Patching Choosing the Right Fix for Your Time
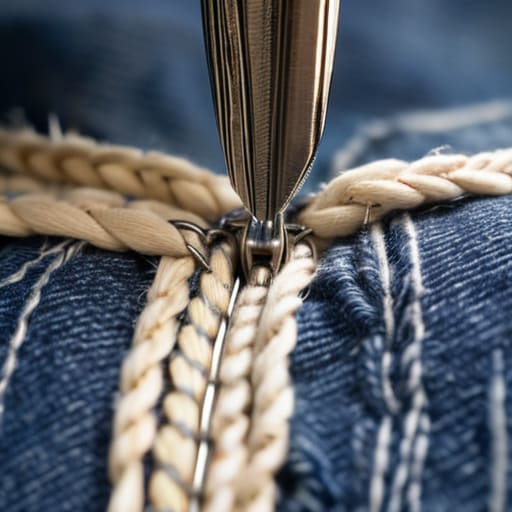
Look, I get it—you’re staring at a hole in your favorite pair of Levi’s and wondering if you should spend an hour with a needle or five minutes with an iron. If you’re looking at the debate of darning vs patching, you need to decide if you want this to be a “fix” or a “feature.” Patching is my go-to when I’m low on time or dealing with a massive blowout. You just grab some scrap denim, layer it underneath, and stitch it down. It’s fast, it’s sturdy, and it’s much better for structural damage, like when you’re repairing jeans crotch area where the fabric is constantly under tension.
Darning is a different beast entirely. It’s more about weaving thread back into the fabric to fill in small, fraying holes. It takes way more patience, but it’s one of those visible mending techniques that actually looks intentional and cool rather than just a lazy fix. If the hole is tiny and just starting to go, don’t waste time with a heavy patch; just darn it. But if you’re running late for a shift and the hole is the size of a coin, just grab some iron-on denim patches to get you through the week. Choose based on the damage and your energy levels, not what looks best on a Pinterest board.
Selecting Denim Patch Fabric Types That Actually Last
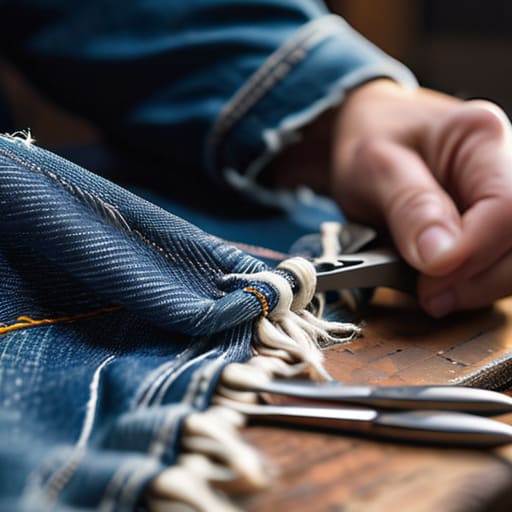
Look, don’t just grab the first scrap of fabric you find in your junk drawer. If you’re using a thin, stretchy cotton for a heavy-duty repair, that patch is going to fail within a week, and you’ll be right back where you started. When you’re looking at different denim patch fabric types, my rule of thumb is to match the weight. If you’re repairing jeans crotch area—which, let’s be real, is where most of us fail because of high friction—you need something beefy. An old pair of dead jeans is actually your best friend here. Cut a piece from the thigh of an old pair to patch the seat of your current ones. It’s free, and the structural integrity is already there.
If you’re in a massive rush and don’t have the patience for a full stitch job, iron-on denim patches can work in a pinch, but I’ll be honest: they’re usually a temporary fix. They tend to peel at the edges after a few washes. If you want this to actually last, skip the adhesive and go for a real fabric scrap. It takes a little more effort, but it’s the only way to ensure your repair doesn’t become another piece of trash in the landfill.
Pro-Tips to Keep Your Patches from Looking Like a Middle School Art Project
- Don’t skimp on the thread; use heavy-duty polyester or even embroidery floss if you’re doing something decorative, because cheap cotton thread will snap the second you actually sit down in those jeans.
- Iron your patch into place before you even touch a needle; it’s much easier to sew when you aren’t fighting a piece of fabric that’s constantly sliding around your lap.
- If you’re patching a high-stress area like the inner thigh, sew a wider perimeter than you think you need—if you only stitch the edges of the hole, the tension will just rip the denim right around your repair.
- Use a stabilizer or a piece of interfacing on the inside of the jeans if the denim is getting thin; it gives you a solid base to sew into so you don’t end up making a giant, messy hole instead of fixing one.
- Stop trying to match the color perfectly; if you can’t find an exact match, go for a high-contrast color to make it look intentional, or just lean into the “workwear” vibe with a dark navy—it looks way better than a “close-enough” patch that looks like a mistake.
The Bottom Line on Saving Your Denim
Don’t default to buying new; if the hole isn’t massive, a quick patch or some darning saves you serious cash and keeps good fabric out of the landfill.
Match your patch material to the weight of your jeans—using a thin scrap on heavy denim is a waste of time because it’ll just rip right through again.
Choose your method based on your schedule—darning is better for small, structural repairs, while patching is your go-to for bigger holes when you just need a functional fix fast.
Stop Buying New, Start Fixing What You Have
At the end of the day, patching your jeans isn’t about being a master tailor; it’s about being smart with your resources. We’ve covered how to pick the right fabric so your fix doesn’t just fall apart after one wash, and we looked at whether darning or a full patch is the best use of your limited time. Whether you went for a subtle repair or a heavy-duty patch to save a favorite pair, the goal was the same: stop wasting money on fast fashion that’s designed to fall apart. You’ve got the tools, you’ve got the method, and now you have a pair of pants that actually lasts.
I know it feels a bit weird to spend your Saturday afternoon messing with a needle and thread when you could be doing literally anything else. But there is something incredibly satisfying about taking something broken and making it functional again. Every time you patch a garment instead of hitting “add to cart,” you’re taking a stand against that constant cycle of consumption. It might not look like a Pinterest-perfect DIY project, and honestly, that doesn’t matter. What matters is that your gear works, your budget stays intact, and you’re actually in control of your stuff. Now, go put those jeans back to work.
Frequently Asked Questions
I don't have a sewing machine, can I actually do this with just a needle and thread?
Look, you absolutely can. Honestly, I’d argue it’s better for small repairs anyway. A sewing machine is just a loud, expensive tool that can sometimes chew up delicate fabric if you aren’t careful. Grab a sturdy needle and some heavy-duty thread—don’t use that thin stuff from a basic travel kit—and just take your time. It’s slower, yeah, but it’s free, and you’ll actually learn how the fabric is built.
How do I stop the patch from looking like a giant, ugly blob on my leg?
Look, if your patch looks like a massive, lumpy eyesore, you’re probably using too much thread or layering too many thick scraps. Stop trying to hide the hole with a huge piece of heavy denim; it just creates a weird bulge. Instead, use a thinner fabric for the base and keep your stitches tight and even. If you’re darning, don’t go overboard with the tension. Aim for a flat repair, not a 3D sculpture.
Will the patch hold up if I actually wear these jeans for work or outdoor stuff?
Look, if you’re planning to crawl under a desk or hike through brush, a basic decorative patch isn’t going to cut it. For heavy-duty work, you need to reinforce the area with a heavy-weight denim scrap and use a tight zigzag stitch or a whipstitch to lock the edges down. If the fabric is thin, double up. It won’t look “aesthetic,” but it’ll actually survive a shift without ripping open mid-day.
Do I need to trim the frayed edges of the hole before I start, or will that make it worse?
Honestly? Don’t go overboard with the scissors. If you trim too much, you’re just making the hole bigger and weakening the structural integrity of the denim. I usually just grab my multi-tool or a pair of small snips and trim only the loose, “fuzzy” threads that are actively unraveling. You want a clean edge so your patch sits flat, but leave enough fabric so the patch actually has something to grab onto. Stay practical.
