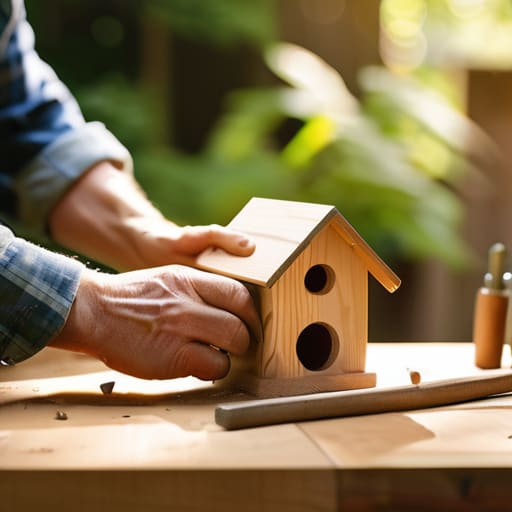
Stop wasting your Saturday mornings scrolling through Pinterest looking at those “aesthetic” cedar birdhouses that cost forty bucks and require a professional workshop to assemble. Honestly, if you’re looking for a guide on how to build a birdhouse that requires a specialized router and a mountain of expensive reclaimed wood, you’re in the wrong place. I remember trying to fix up my tiny apartment balcony with scraps I found near my building’s dumpster; I realized pretty quickly that you don’t need a boutique budget to bring some life to your space. You just need a solid plan and some basic tools you probably already have in a junk drawer.
In this guide, I’m stripping away all the fluff to show you the most efficient way to get this done without breaking your bank or your spirit. I’ll walk you through selecting the right scrap wood, the exact dimensions that actually work for local birds, and how to assemble everything using nothing more than a hammer and a few nails. We aren’t aiming for a museum piece here; we are aiming for functional, durable shelter that actually helps the local ecosystem. Let’s get to work.
Guide Overview
Tools & Supplies
- Hand saw or miter saw for cutting wood
- Hammer for assembling pieces
- Drill with spade bit for entrance hole
- Tape measure for accurate sizing
- Sandpaper for smoothing edges
- 1×6 cedar or pine board (approx. 5 feet)
- Box of 1.5-inch galvanized finishing nails
- Exterior wood glue
- Hanging hardware or mounting screws
Step-by-Step Instructions
- 1. First, don’t go out and drop fifty bucks on “premium” cedar unless you’re trying to flex. Grab some scrap pine or untreated wood from a local hardware store or even a construction site if they’re cool with it. The only thing that matters here is that the wood isn’t treated with chemicals—you don’t want to accidentally poison the birds just to save a few minutes of searching.
- 2. Once you have your wood, you need to map out your pieces. You’re looking for a floor, four walls, and a roof. Use a pencil to mark everything out directly on the wood so you aren’t guessing later. If you don’t have a fancy measuring tape, just use a standard ruler or even a credit card as a makeshift scale, but honestly, just measure twice and cut once so you don’t waste material.
- 3. Now, time to cut. If you don’t own a power saw, don’t sweat it; a simple hand saw works fine, it’ll just take a bit more elbow grease. Cut your pieces according to your marks, and make sure the front piece has a hole drilled in it for the entrance. Don’t make the hole too big, or predators will move in—aim for about 1.5 inches depending on what kind of local bird you’re actually trying to attract.
- 4. Grab some exterior-grade screws or galvanized nails. I use screws because I like being able to undo my mistakes without splitting the wood, and it makes it way easier to clean the birdhouse out at the end of the season. Start attaching the walls to the floor piece, making sure everything is square so your birdhouse doesn’t look like a leaning tower of scrap wood.
- 5. Attach the roof last, but here’s the trick: don’t glue it down. You want the roof to be removable or hinged so you can actually scrub out the old nesting material once a year. If you seal it shut with permanent glue, you’re just building a tiny, dirty coffin, and that’s not what we’re doing here.
- 6. Skip the bright, neon paints and the “aesthetic” decorations you see on Pinterest. Those chemicals are bad for the birds, and honestly, they just look tacky. If you absolutely feel the need to do something, just leave the wood raw and natural. It’ll weather over time, blend into your garden, and most importantly, it won’t cost you an extra ten bucks at the craft store.
Choosing the Best Wood for Birdhouses Without Overspending
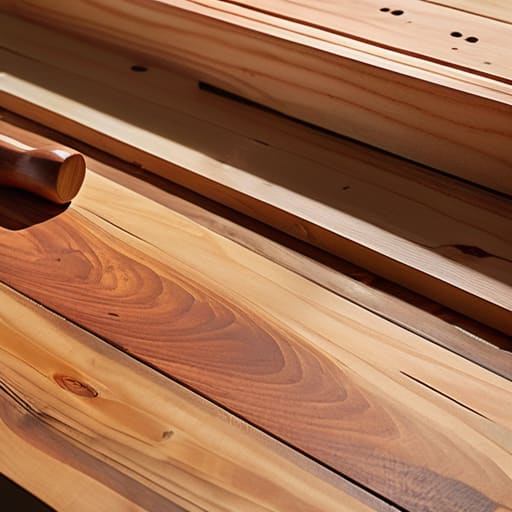
Look, don’t fall into the trap of thinking you need some expensive, exotic hardwood to make this work. I spent way too much money on a fancy piece of walnut for a project last year, only to realize it was a total waste of cash for something that’s just going to sit in the rain. When you’re looking for the best wood for birdhouses, you want something that can actually handle the elements without rotting in a month. Cedar and redwood are the gold standards because they have natural oils that resist decay, but if you’re on a tight budget, untreated pine is a perfectly fine alternative. Just don’t go buying anything pressure-treated; those chemicals are toxic, and we’re trying to help birds, not poison them.
If you’re scavenging for scraps—which is my preferred method—just make sure the wood is thick enough to provide some insulation. You don’t need a massive arsenal of specialized woodworking tools for birdhouses to get the job done; a basic saw and some decent screws will do. My biggest tip? Avoid using plywood if you can. The glue layers tend to delaminate when you’re protecting birdhouses from weather-related wear and tear, and you’ll end up replacing the whole thing by next season. Stick to solid, natural boards, keep it simple, and save your money for something else.
Essential Woodworking Tools for Birdhouses That Actually Work
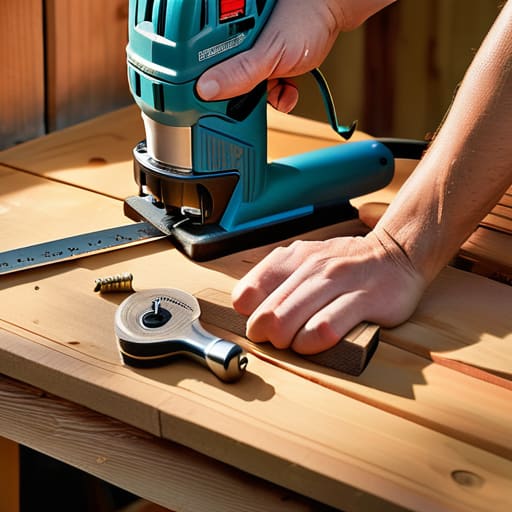
Look, you don’t need a garage full of expensive, professional-grade machinery to get this done. I grew up fixing things with whatever was lying around, and birdhouses are no different. If you’re just starting out, a basic hand saw, a hammer, and a tape measure are your best friends. Honestly, if you have a cordless drill, you’re already ahead of the game. It makes attaching the birdhouse roof or the side panels way faster and less frustrating than trying to hammer every single nail perfectly straight. Just don’t go out and buy a high-end miter saw unless you already have one; it’s a total waste of money for a project this simple.
The real trick is making sure your cuts are clean enough so the pieces actually fit together without huge gaps. If there are massive cracks, you’ll end up struggling with protecting birdhouses from weather later on because the interior will get soaked every time it rains. I usually just use a simple square to keep my lines straight. If you’re working with scrap wood, just make sure your blade is sharp enough to avoid splintering. Keep it simple, keep it functional, and don’t let the “pro” gear intimidate you into spending money you don’t have.
5 Things Most "Pro" Guides Forget (That Will Actually Save Your Birdhouse)
- Skip the paint and stains on the inside. Seriously. Most of those “pretty” colors are toxic to the birds, and even if they’re labeled safe, you’re just adding unnecessary cost. Leave the interior raw wood so they can actually breathe and stay healthy.
- Don’t go overboard with the “perfect” entrance hole size. If you make it too big, predators move in; too small, and the birds can’t get in. Do a quick Google search for the specific bird species in your area first—don’t just guess based on what looks cool.
- Forget about fancy hinges for a “clean look.” You need to be able to clean out the old nesting material once a year, so make sure one side or the roof is easily removable. A simple screw that you can unscrew manually is way more functional than a complex latch.
- Stop obsessing over the aesthetic and prioritize drainage. Drill a few small holes in the bottom corners. If water gets trapped in there during a rainstorm, you’re not building a home; you’re building a drowning hazard.
- Skip the perches. I know, every DIY tutorial shows a little wooden peg right under the hole, but birds don’t actually need them. Those perches just make it easier for cats or larger birds to hang on and reach inside to mess with the nest. Keep it simple and keep it safe.
The Bottom Line: Don't Overcomplicate It
Stop chasing the “perfect” aesthetic; if the wood is weather-resistant and the dimensions are right, the birds won’t care if it looks professional.
Stick to the basics with your tools—you don’t need a workshop full of expensive gear when a simple saw and a drill get the job done.
Prioritize function over fashion by choosing cheap, durable materials like scrap pine instead of blowing your budget on premium cedar.
Stop Overthinking and Just Build It
Look, we’ve covered the essentials: you don’t need a professional workshop or expensive cedar to make this happen. Grab some cheap scrap pine, use the basic tools you already have in your junk drawer, and focus on the functional basics like proper drainage and ventilation. The goal isn’t to win a woodworking competition or create an Instagram-worthy centerpiece for your garden; it’s about building something sturdy that actually serves a purpose for the local birds. If the edges are a little rough or the paint isn’t perfectly even, who cares? As long as it’s structurally sound and doesn’t break the bank, you’ve done the job right.
At the end of the day, the most important part of this whole process is just getting started. It’s easy to get paralyzed by “perfect” tutorials online, but real life is messy and DIY is supposed to be a bit of a learning curve. Don’t let the fear of making a mistake keep you from actually doing the work. Once that first bird moves in, you’ll realize that all that time spent tinkering was worth it. Now, quit scrolling, grab your multi-tool, and go make something that actually works.
Frequently Asked Questions
Do I really need to paint the birdhouse, or will that mess with the birds?
Honestly? Skip the paint. Most of those colorful, store-bought birdhouses are just aesthetic traps. Paint can off-gas toxins that mess with the birds, and if it chips, it’s a mess. If you’re dying to decorate, stick to the natural wood look or use a non-toxic, water-based sealer on the outside only. Never paint the inside. It’s simpler, cheaper, and won’t kill the residents. Keep it functional, not pretty.
How do I stop the wood from rotting if I'm using cheaper scrap pieces?
Look, if you’re using scrap, you can’t just leave it naked to the elements. Don’t go buying expensive, toxic chemical sealants either—you don’t want those leaching into the bird’s home. My go-to is a simple, non-toxic linseed oil or a water-based exterior stain. Just keep the inside raw so it stays safe for the birds. It’s about protecting the wood without turning the birdhouse into a chemistry experiment.
What’s the deal with the hole size—won't any random hole work?
Look, if you just drill any random hole, you’re basically building a buffet for predators. A hole that’s too big lets in bigger birds or squirrels that’ll wreck the nest, and a hole that’s too small means your target birds can’t even get in. It’s not about aesthetics; it’s about security. Do your homework on the specific bird you want to attract and match the diameter exactly. Don’t wing it.
Where am I supposed to actually hang this thing so it doesn't just fall down?
Look, don’t just nail it to a tree and hope for the best; that’s how you end up with a smashed birdhouse on the ground in a week. Mount it on a sturdy post or a metal pole if you can. If you’re stuck using a tree, use a mounting bracket or a heavy-duty screw—just don’t kill the bark. Keep it about 5 to 10 feet up, away from predators, and out of the direct wind.