Look, I’m going to be real with you: most of the “home decor” content you see on your feed is just a massive waste of money. You see these influencers buying entire new living room sets just because a certain shade of sage green is trending, and it makes me want to scream. I grew up in a space where every square inch mattered and my budget was basically zero, so I learned early on that if something is broken or ugly, you don’t toss it—you fix it. Instead of falling for the consumerism trap, you should be looking into upcycling furniture ideas that actually add value to your life without draining your bank account.
In this post, I’m skipping the fluff and the “aesthetic” nonsense to give you eight practical ways to breathe new life into your old gear. I’m talking about real, functional transformations that prioritize durability and utility over looking pretty for a photo op. Whether you’ve got a wobbly nightstand or a desk that’s seen better days, I’m going to show you how to tackle these projects with zero ego and a lot of grit. Let’s get to work.
Swap the Hardware
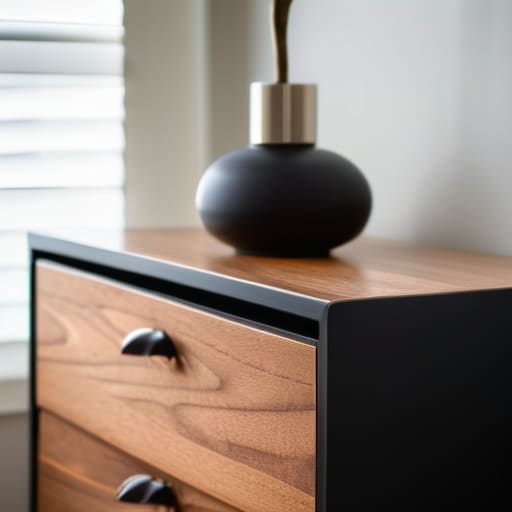
Most cheap, particle-board furniture looks like trash because it comes with those generic, plastic-feeling knobs. I once found a basic nightstand at a thrift store that was basically a glorified box, but I swapped the boring handles for some heavy-duty matte black pulls. It’s the easiest way to make something look intentional rather than accidental.
Sand and Seal the Scratches
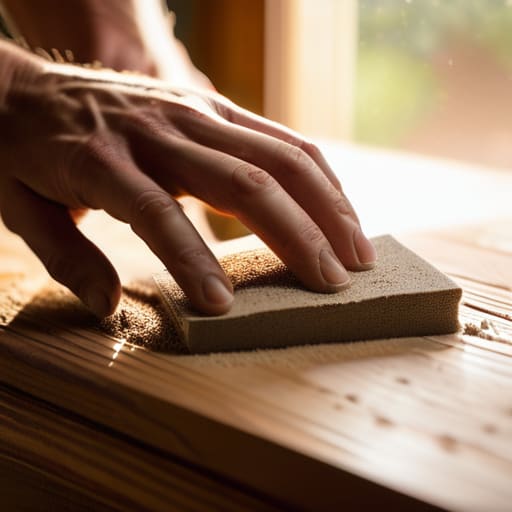
If you’ve got a wooden desk or a coffee table that’s seen better days, don’t go out and buy a new one just because the surface is beat up. Most of the time, you’re just looking at surface-level damage that a bit of elbow grease can fix. Grab some medium-grit sandpaper and work through the scuffs until the wood feels smooth again.
The Contact Paper Hack
I’m a huge fan of contact paper, but let’s be clear: it’s not for the whole piece of furniture. That’s a recipe for bubbles and a headache. Instead, use it to line the inside of bookshelves or the tops of small side tables. It adds a pop of pattern or a faux-marble look without the cost of real stone.
Reclaim Old Crates
If you have some old wooden crates lying around—maybe from a farmer’s market or an old warehouse—stop seeing them as trash. You can stack them, screw them together, and suddenly you have a modular shelving unit that actually fits your specific space. It’s much better than buying a massive, heavy bookcase that you can’t move when you inevitably relocate.
Add some Leggy Vibes
A lot of bulky, old furniture feels heavy and makes a small room feel even smaller. One of my favorite tricks is to unscrew the base of an old cabinet and install tapered mid-century legs. Lifting the piece off the floor creates visual “breathing room” and makes the whole space feel less cluttered.
Use Leftover Paint for Color Blocking
Don’t feel like you have to paint an entire dresser to make it look new. If you have a half-empty can of paint from a previous project, try color blocking just the drawer fronts or a single panel on a cabinet. It’s a high-impact way to add personality without the commitment (or the cost) of a full repaint.
Repurpose Trays into Organizers
If you have an old wooden tray or even a shallow decorative box that’s gathering dust, stop letting it sit on a shelf. Use it to corral the chaos on your desk or entryway table. I use a small wooden tray to keep my mechanical keyboard tools and spare keycaps from migrating all over my workspace.
Fabric Overhaul for Upholstery
If you have a chair with a seat that’s looking ragged, you don’t need to hire a professional upholsterer. If the frame is solid, you can often just staple new fabric directly over the old padding. It’s a bit of a brute-force method, but it works if you’re on a budget and just need the piece to be usable again.
The Bottom Line on Upcycling
Stop chasing the “Pinterest look” and focus on durability; if the fix doesn’t make the piece more functional or last longer, it’s just more clutter.
Always audit your toolkit before starting a project—having the right sandpaper and a decent screwdriver saves you from mid-project trips to the hardware store that eat up your time and budget.
Prioritize high-impact changes like sanding or new hardware over expensive-looking trends that won’t actually hold up to daily use.
Stop Overthinking and Start Fixing
Look, we’ve covered a lot of ground here, from swapping out hardware to giving a beat-up dresser a second life with some heavy-duty sanding and paint. The common thread in everything I just shared is that you don’t need a massive budget or a degree in interior design to make your space work for you. Whether you’re repurposing an old crate into a bookshelf or just cleaning up the grime on a thrifted nightstand, the goal is the same: utility over aesthetics. If a project takes three weeks and costs more than a new piece from a big-box store, you’re doing it wrong. Stick to the methods that actually save you time and money so you can get back to your actual life.
At the end of the day, your home shouldn’t be a museum of expensive, trendy furniture that you’re too scared to actually use. It should be a functional space that supports your grind and fits your budget. Don’t let the “perfect” Pinterest boards intimidate you into spending money you don’t have. Grab your multi-tool, find something in your house that’s currently just taking up space, and make it useful again. You don’t need a curated lifestyle to be happy; you just need a setup that works. Now, go get your hands a little dirty and stop wasting your resources on stuff you don’t need.
Frequently Asked Questions
Is it actually worth spending money on high-quality paint, or can I just use whatever cheap stuff I find at a garage sale?
Look, if you’re trying to save money, don’t waste it on cheap, chalky garage sale paint that peels off in a week. That’s just more work later. If you’re painting something you actually use—like a desk or a chair—invest in a decent brand with good coverage. It saves you three coats and a massive headache. But for a decorative shelf? Use the cheap stuff. Match the quality to the utility.
How do I know if a piece of furniture is actually solid enough to be worth the effort of fixing, or if it's just junk?
Look, don’t waste your weekend on a project that’s going to fall apart in a month. Here’s the quick test: check the weight and the joints. If it’s light as a feather, it’s probably particle board—trash it. If it’s heavy and you see dovetail joints or mortise-and-tenon connections, that’s the good stuff. Also, check for wobbles. If the frame is structurally sound, it’s worth the sander. If it’s crumbling? Let it go.
What’s the absolute bare minimum tool kit I need to get started without breaking my budget?
Look, don’t go out and buy those massive, overpriced tool sets in the shiny red cases. Most of that is filler. If you’re just starting to upcycle, grab a decent multi-bit screwdriver, a small hammer, a tape measure, and a set of Allen keys. If you can afford one more thing, get a cordless drill—it’s a lifesaver. That’s it. Keep it functional, keep it cheap, and start building.
If I mess up a sanding job or spill paint, is the piece totally ruined, or can I actually salvage it?
Look, breathe. You haven’t ruined it. I’ve definitely sanded a leg down to nothing because I got impatient, and I’ve definitely dropped a brush on a fresh coat. It’s not a disaster; it’s just a pivot. If the sanding is uneven, more grit or a little wood filler will fix it. If you spill paint, wait for it to dry completely before you try to sand it out. Don’t panic—just adjust your plan.
