Stop scrolling through those Pinterest boards filled with $5,000 kitchen remodels and expensive contractors. You don’t need a professional crew or a massive loan to fix that ugly, stained wall behind your stove; you just need a little grit and the right approach to how to tile a backsplash. I remember staring at my first cramped apartment kitchen, absolutely dreading the bare, grease-stained drywall, but I refused to pay a premium for something I could do myself with a few basic tools. I learned the hard way that most “expert” tutorials make this look like a high-stakes art project, but in reality, it’s just systematic logic applied to a wall.
In this guide, I’m skipping the fluff and the “aesthetic” nonsense to show you the actual mechanics of the job. I’ll walk you through the exact sequence of prepping your surface, cutting tiles without losing your mind, and applying grout so it doesn’t look like a total disaster. We are focusing on functional results that save you money and stand the test of time. If you want a kitchen that actually looks finished without draining your savings, let’s get to work.
Guide Overview
Tools & Supplies
- Tile cutter or wet saw for precise cuts
- Notched trowel for spreading adhesive
- Rubber grout float for applying grout
- Spacers to maintain even joints
- Level to ensure straight lines
- Backsplash tiles (calculate area plus 10% extra)
- Tile adhesive or thin-set mortar (1 bag)
- Grout (1 bag)
- Tile sealer (1 bottle)
Step-by-Step Instructions
- 1. First, you need to prep the area because a messy surface is the fastest way to end up with a crooked mess. Wipe down your walls with a degreaser to get rid of any cooking grease—if you don’t, the adhesive won’t stick and you’ll be tearing it all down in a month. Cover your countertops with some cheap drop cloths or even old newspapers; you do not want thin-set mortar getting into your granite or laminate.
- 2. Map out your layout before you touch a single tile. Don’t just start in a corner and pray; instead, find the center point of your wall and dry-lay a row of tiles there to see how they hit the edges. You want to avoid having a tiny, pathetic sliver of a tile at the ends, so shift your starting point slightly if you have to. It’s much easier to adjust your plan now than to try and fix a lopsided pattern once the glue is wet.
- 3. Mix your thin-set mortar in a bucket, but don’t make too much at once. If you’re working solo, you won’t be able to spread a massive batch before it starts to set up and get gummy. Aim for a consistency like peanut butter—thick enough to hold the tile, but smooth enough to spread easily. If it starts getting stiff, don’t just add more water like a mad scientist; just mix a fresh, small batch to keep things consistent.
- 4. Start applying the mortar using a notched trowel, working in small sections that you can actually manage. Use the notched side to spread the adhesive, then scrape it flat so you have even ridges. Press your tiles into the mortar with a slight twisting motion to ensure they’re fully seated. Use a level constantly; I don’t care if you think it looks straight, check it with a level every few tiles to make sure you aren’t drifting.
- 5. Once your tiles are up, let them dry completely before you even think about touching the grout. This usually takes 24 hours depending on the humidity, so be patient. If you rush this and try to grout while the mortar is still wet, you’ll just end up pulling the tiles right off the wall.
- 6. Mix your grout and push it into the gaps between the tiles using a rubber grout float. Hold the float at a 45-degree angle and move it diagonally across the joints to make sure the gaps are completely filled. Don’t leave any hollow spots, or those gaps will eventually crack and look like a disaster.
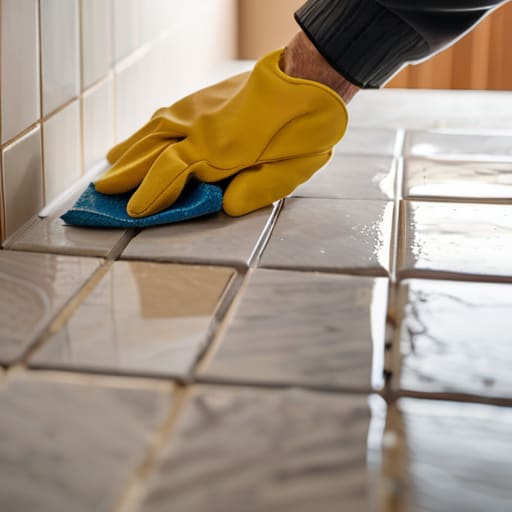
- 7. Clean the excess grout off the tile faces with a damp (not soaking wet!) sponge. If you use too much water, you’ll wash the pigment out of the grout and leave a hazy, streaky mess on your tiles. Wipe it down in circular motions, then go back with a microfiber cloth once it’s mostly dry to buff away the haze. It’s tedious, but it’s the difference between a DIY job that looks professional and one that looks like a middle school art project.
Smart Kitchen Backsplash Materials That Actually Last
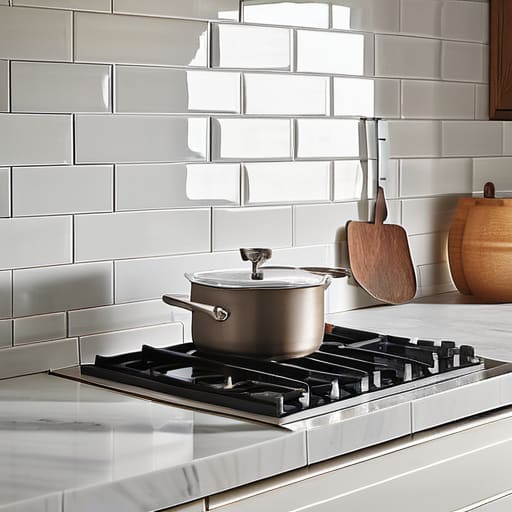
Look, before you start browsing Pinterest for those insanely intricate patterns, let’s talk reality. Most people blow their entire budget on high-end stone or glass that looks great in a photo but is a total nightmare to maintain. If you’re working with a tight budget or limited time, stick to ceramic or porcelain tiles. They are the MVP of kitchen backsplash materials because they’re durable, relatively cheap, and—most importantly—they don’t soak up grease like a sponge. If you want that high-end look without the headache, go with a classic subway tile. It’s easy to find, easy to cut, and won’t leave you questioning your life choices when you’re trying to scrub off a spaghetti sauce splatter six months from now.
Also, don’t get caught in the trap of buying “decorative” tiles that require specialized tools you don’t own. I’ve seen too many people get halfway through a project only to realize they don’t have the right gear. Before you even touch a single tile, sit down and do some serious backsplash layout planning. Map out your pattern on the floor or a table first. This prevents those awkward, tiny slivers of tile at the edges that make a DIY job look amateur. If you plan the layout properly from the jump, you’ll save yourself a massive amount of frustration and wasted material.
Backsplash Layout Planning to Avoid Costly Mistakes
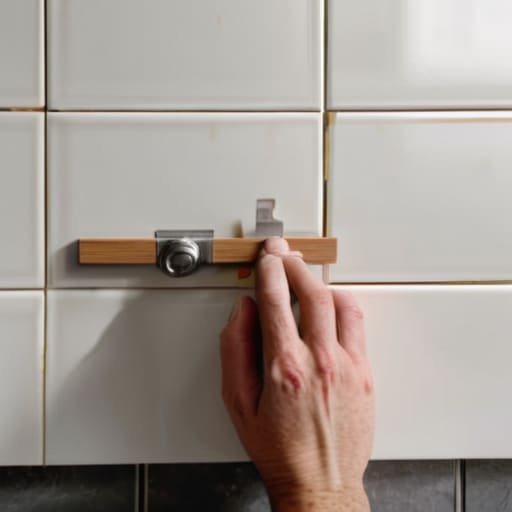
Before you even touch a bag of thin-set, you need to stop and actually look at your walls. Most people just start sticking tiles in at the bottom corner and pray for the best, but that’s how you end up with a tiny, ugly sliver of tile next to your cabinets that makes the whole kitchen look amateur. I’m a big believer in backsplash layout planning that prioritizes symmetry over speed. Grab a level and a pencil, find your center point, and dry-lay a row of tiles across the middle first. This lets you see exactly where your cuts will land so you don’t get stuck with a useless scrap at the edges.
Don’t skip the math just because you want to get it over with. If you don’t account for the width of your grout lines during this phase, your pattern is going to drift, and you’ll be fighting it the entire time. This is also the moment to check your tiling tools checklist to make sure you actually have a decent tile snapper or a wet saw. There is nothing more frustrating than realizing you’re halfway through a row and don’t have the right gear to handle how to cut tiles for backsplash corners properly. Measure twice, cut once, and save yourself the headache.
5 Pro-Tips to Keep You From Losing Your Mind (and Your Deposit)
- Buy way more grout and thinset than the math says you need. There is nothing more soul-crushing than being halfway through a wall and realizing you’re scraping the bottom of the bucket. It’s better to have a little left over than to be stuck waiting for a store to open.
- Don’t skip the spacers. I know, you think you have the “steady hands” to do it manually, but you don’t. If your lines aren’t straight, the whole kitchen looks cheap, and you’ll be staring at that crooked gap every time you make coffee.
- Clean your tiles as you go. If you let thinset dry on the face of your tiles, you’re going to be scrubbing for hours with a toothbrush, and honestly, you’ll probably just end up scratching the finish. Keep a damp sponge handy and wipe the excess immediately.
- Check your level constantly. Walls in most apartments and even some houses are never actually straight. Don’t trust the corner of your counter; use a real level to make sure your first row is dead-on, or the error will compound until your tiles look like a staircase.
- Protect your countertops like your life depends on it. Cover them with heavy cardboard or a cheap drop cloth. Thinset is basically liquid concrete—once it dries on your granite or laminate, you’re looking at a very expensive, very permanent mistake.
The Bottom Line: Don't Overthink It, Just Do It Right
Stick to simple tile shapes like subway tiles; they’re cheap, easy to cut, and way less of a headache to align than those fancy geometric patterns.
Always buy about 10-15% more material than you think you need—trust me, running out of tile halfway through a job is a massive waste of time and gas.
Prioritize easy-to-clean surfaces over “vibey” textures; if you can’t wipe grease off it with a single swipe, it’s going to be a nightmare in six months.
The Bottom Line
Look, tiling isn’t about achieving some Pinterest-perfect, flawless finish that looks like a CGI render. It’s about picking durable materials that won’t crack in six months, planning your layout so you aren’t staring at a tiny, awkward sliver of tile in the corner, and actually doing the work yourself to keep your bank account intact. If you stick to the basics—standard subway tiles, a solid spacer technique, and a layout that makes sense—you’re going to end up with a kitchen that functions exactly how it should. Don’t let the fear of a little messy grout drive you back to the expensive contractors; just focus on the fundamentals and keep moving forward.
At the end of the day, your home doesn’t need to be a showroom; it just needs to be yours. There is a specific kind of satisfaction that comes from looking at a wall and knowing you built that with your own two hands, even if a couple of the lines aren’t perfectly laser-straight. Stop waiting for the “perfect” time or the “perfect” budget to upgrade your space. Grab your spacers, get your gear ready, and just start building something that works for you. You’ve got this.
Frequently Asked Questions
Do I really need to use a waterproof sealant, or is that just an extra expense I can skip?
Look, I get it—every extra bottle of liquid is another five bucks you didn’t plan on spending. But if you’re using natural stone or unglazed tile, skipping the sealant is a massive mistake. Without it, grease and tomato sauce will soak right into the pores, and you’ll be scrubbing at permanent stains forever. If you’re using basic ceramic, you’re safer, but for anything else? Just do it. It’s cheaper than replacing your whole backsplash later.
What happens if I mess up a cut and ruin a tile halfway through the project?
Look, take a breath. It happens to everyone, even me. If you crack a tile mid-cut, don’t panic and don’t try to glue the pieces back together—that’s a recipe for a disaster that’ll look terrible in six months. Just toss the ruined tile and grab a new one. This is exactly why I always buy 10-15% more than the math says I need. Consider it your “oops” tax. Just keep moving.
How do I figure out if my walls are actually flat enough to tile without everything looking crooked?
Grab a long level or even a straight piece of lumber and hold it up against the wall. If you see big gaps between the level and the wall, you’ve got a problem. Don’t try to force tiles over a wavy wall; it’ll look like a mess. If it’s slightly off, you can compensate with thicker thin-set, but if it’s a disaster, just slap some patch plaster down first to level things out.
Can I just tile directly over my old backsplash, or is that going to cause a massive headache later?
Look, I get the temptation to just slap new tiles over the old ones to save a Saturday, but honestly? It’s usually a trap. If your current backsplash is uneven, cracked, or peeling, you’re just building a house of cards. You’ll end up with wavy lines and tiles popping off in six months. If it’s rock-solid and flat, you can use a specialized primer, but if you want it done right once, strip it down.
