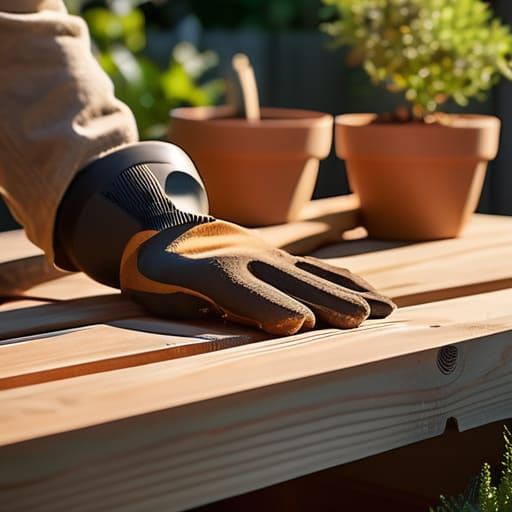
Stop scrolling through those Pinterest boards filled with $400 cedar kits and perfectly manicured farmhouse aesthetics. You don’t need a massive backyard or a massive budget to grow your own food, and you definitely don’t need a degree in landscape architecture to figure out how to build a raised garden bed. I remember trying to start my first herb garden in my tiny apartment balcony with nothing but some cracked plastic bins and a prayer; it was a total mess, but it taught me one thing: function beats fashion every single time. If you’re staring at a patch of dirt or a concrete corner wondering where to start, stop overthinking the “look” and start focusing on the structure.
In this guide, I’m stripping away all the unnecessary fluff and expensive nonsense. I’m going to show you exactly how to source cheap, untreated materials and assemble a sturdy setup that actually lasts more than one season. We aren’t chasing a curated lifestyle here; we are building something that works. By the end of this, you’ll know the most efficient way to get your hands dirty without draining your bank account.
Guide Overview
Tools & Supplies
- Measuring tape for accurate wood cuts
- Power drill for driving screws
- Handsaw or miter saw for cutting lumber
- Level to ensure the bed is even
- Untreated cedar or redwood boards (approx. 3-4 pieces)
- Galvanized wood screws (1 box)
- Garden soil and compost (enough to fill volume)
- Hardware cloth or landscape fabric (to prevent weeds/pests)
Step-by-Step Instructions
- 1. First, don’t go overboard with the dimensions. I know those massive garden beds look cool in Pinterest photos, but unless you have a massive backyard, you’re just creating more work for yourself. Aim for something no wider than four feet so you can actually reach the middle without stepping into the bed and compacting your soil. Grab some untreated cedar or redwood if you can afford it because it lasts longer, but if you’re on a strict budget, just get the cheapest untreated lumber you can find. Whatever you do, stay away from pressure-treated wood from years ago—you don’t want random chemicals leaching into your basil.
- 2. Get your tools ready before you start cutting. You don’t need a professional workshop, but you do need a drill, some exterior-grade screws, and a saw. I usually keep a small impact driver in my kit because it makes driving screws into hardwood way less of a headache than a standard screwdriver. Measure twice, cut once, and honestly, just measure three times if you’re feeling unsure. There is nothing more frustrating than finishing a frame only to realize one side is a half-inch off and nothing lines up.
- 3. Lay out your frame on a flat surface to make sure everything is square. This is where people usually mess up and end up with a wonky, trapezoid-shaped garden bed. Use a carpenter’s square or just measure the diagonals; if the two diagonal measurements are exactly the same, you’re good to go. If they aren’t, nudge the corners until they are. It might feel like extra work, but a square frame means your soil won’t shift weirdly later on.
- 4. Screw your boards together using the exterior screws. I like to pre-drill my holes to prevent the wood from splitting, especially near the ends of the boards. It takes an extra thirty seconds, but it’s a total lifesaver for the structural integrity of the bed. Don’t just slap them together; make sure the joints are tight and the corners are flush. If you have leftover scraps, you can even use them to create internal corner braces to make the whole thing even sturdier.
- 5. Pick your spot and prep the ground. Don’t just drop the bed on top of thick, overgrown weeds unless you want to spend your entire summer fighting them. I usually clear the area and lay down a thick layer of plain brown cardboard at the bottom. It’s a cheap, zero-waste way to smother the grass and weeds underneath. The cardboard will eventually rot away, allowing worms to move up into your soil, which is basically free labor for your plants.
- 6. Fill it with soil that actually works. Do not, under any circumstances, just dig up dirt from your yard and throw it in there; it’s likely too dense and lacks the nutrients your plants need to survive. You want a mix that is light, airy, and holds moisture without turning into a swamp. A standard 60/30/10 mix (compost, topsoil, and peat moss or coconut coir) is my go-to. It’s a bit of an upfront cost, but it’s the only way to ensure you aren’t wasting time on plants that die two weeks after planting.
Choosing the Best Wood for Raised Beds Without Overspending
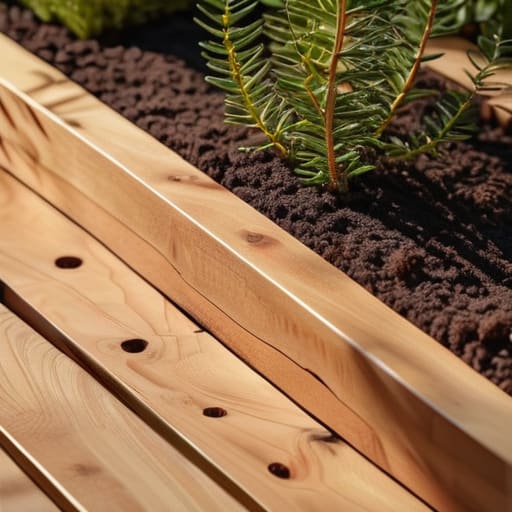
Look, don’t let the big-box stores trick you into thinking you need a specific “designer” timber to grow some decent basil. When you’re looking at the cedar vs pressure treated lumber debate, you have to be smart about your budget. Cedar is the gold standard because it’s naturally rot-resistant, but let’s be real—it’s expensive. If you’re on a tight budget like I was growing up, you can grab pressure-treated wood, but just make sure it’s modern, ACQ-treated stuff which is safe for veggies. If you want to save the most cash, look for untreated Douglas fir; it won’t last a decade, but it’ll get you through a few solid seasons without breaking the bank.
Whatever you pick, don’t go overboard on the size. I see people building these massive, sprawling structures that look great on Pinterest but are a nightmare to maintain. Stick to manageable garden bed dimensions for vegetables—keep them about 3 to 4 feet wide so you can actually reach the middle without stepping on your soil and compacting it. If you make it too big, you’re just creating more work for yourself. Focus on what’s functional, not what looks like a landscape architect designed it.
The Right Garden Bed Dimensions for Vegetables and Maximizing Yield
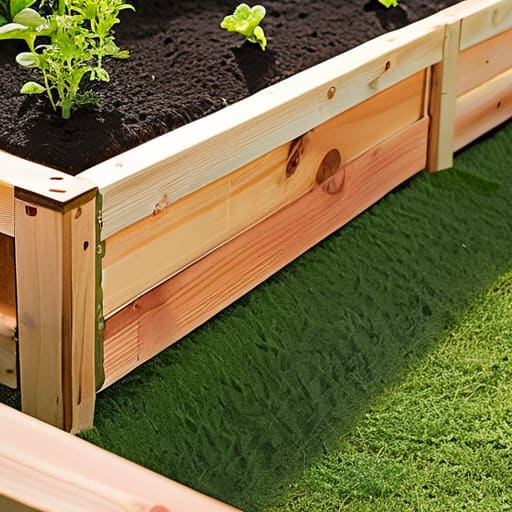
Look, I’ve seen way too many people build these massive, beautiful garden beds only to realize they can’t actually reach the middle without stepping on their plants. If you can’t reach the center, you’re going to compact the soil, and that’s a death sentence for your roots. For most of us working with limited space, the sweet spot for garden bed dimensions for vegetables is a width of no more than four feet. If you have a tiny balcony or a narrow patio, even three feet is better. You want to be able to reach every single inch from the perimeter so you aren’t constantly fighting for space or crushing your hard work.
Depth matters just as much as width, though. If you’re just growing radishes or herbs, you don’t need a deep pit, but for heavy hitters like tomatoes or carrots, aim for at least 12 inches. Don’t get caught in the trap of over-engineering this; just make sure there’s enough room for a healthy raised garden bed soil mix to breathe. If you go too shallow, your plants will dry out faster than my bank account after a tech convention. Keep it deep enough to sustain life, but don’t waste extra lumber and money on depth you don’t actually need.
Stop Making These Rookie Mistakes: 5 Ways to Keep Your Bed From Failing
- Don’t skip the liner. Even if you aren’t worried about the wood rotting immediately, lining the sides with heavy-duty landscape fabric keeps your expensive soil from washing out the bottom every time you water.
- Level your ground or prepare to suffer. If your bed isn’t level, water is going to pool in one corner, drown your plants, and leave the other side bone-dry. It’s a massive pain to fix once the dirt is in, so do the work upfront.
- Think about your reach, not just the size. If you build a bed that’s too wide, you’ll end up stepping on your soil to reach the middle, which compacts it and kills the airflow your roots need. Keep it narrow enough to reach across easily.
- Hardware matters more than you think. Don’t use those cheap, flimsy nails that bend the second they hit a knot. Grab some exterior-grade, galvanized screws; they actually hold the structure together when the wood starts to swell from moisture.
- Prep the bottom before you fill it. If you’re building on grass, don’t just dump soil on top. Lay down a thick layer of plain, non-glossy cardboard first. It smothers the weeds and eventually breaks down into compost, saving you a massive headache later.
The No-Fluff Summary
Don’t get distracted by expensive, pre-made kits; grab untreated wood and build it yourself to save cash and actually get the dimensions you need.
Keep your beds narrow enough to reach the middle without stepping in them, or you’ll end up compacting the soil and killing your yield.
Focus on functionality over aesthetics—if a design choice doesn’t help your plants grow or save you time on maintenance, skip it.
Stop Overthinking and Just Start
Look, we’ve covered the essentials: you don’t need a massive budget or a degree in landscaping to make this work. We talked about picking rot-resistant wood that won’t break the bank, sizing your beds so you can actually reach the middle without killing your back, and keeping the design simple. At the end of the day, it’s about functional utility over aesthetic perfection. If you’ve got the right dimensions and the right materials, you’ve already done the hard part. Don’t get paralyzed trying to make it look like a Pinterest board; just get the wood in the ground and the soil in the box so you can actually start growing something useful.
I know it feels like another thing on your to-do list, especially when you’re already juggling a job and a million other responsibilities, but I promise it’s worth the effort. There is something incredibly grounding about eating a tomato you grew in a box you built yourself with your own two hands. It’s not about having a perfect garden; it’s about taking control of your own resources and making the most of the small space you have. So, grab your multi-tool, head to the hardware store, and just get it done. You’ve got this.
Frequently Asked Questions
Do I actually need to line the bottom with cardboard, or is that just more unnecessary work?
Look, if you’re asking if it’s “extra work,” the answer is yes, but it’s work that pays off. Use the cardboard. It smothers the grass and weeds underneath so they don’t fight your plants for nutrients. Just make sure it’s plain brown cardboard—no shiny tape or heavy-duty printing, because that’s just adding chemicals to your soil. It’s a cheap, one-time hack that saves you from weeding your life away later.
How much soil am I really going to have to buy to fill this thing up without breaking the bank?
Look, don’t just go to the garden center and start grabbing expensive bags of “premium potting mix” blindly. You’ll go broke fast. Calculate your volume (Length x Width x Depth) in cubic feet, then use the “Mel’s Mix” approach: a heavy dose of compost, some peat moss or coconut coir, and perlite. It’s way cheaper to bulk-buy compost and mix it yourself than to buy pre-mixed bags that are mostly filler.
Is there any way to stop the wood from rotting in a couple of years without using expensive chemical sealants?
Look, I get it—nobody wants to rebuild their garden every two seasons. Skip the pricey, toxic sealants. If you want to save money and keep things functional, just use raw linseed oil. It’s cheap, easy to brush on, and actually penetrates the wood instead of just sitting on top. Also, don’t forget to line the inside with heavy-duty plastic, but leave the bottom open for drainage. It’s not pretty, but it works.
Can I just build this directly on top of my existing grass, or do I need to clear the ground first?
Look, you could just plopping the wood on top of the grass, but you’ll end up fighting a losing battle against weeds. If you don’t clear it, that grass is going to find its way into your soil faster than you can plant a seed. My hack? Don’t bother with the back-breaking work of digging up the sod. Just layer some thick, brown cardboard over the grass first. It smothers the weeds and eventually rots into decent compost. Simple, cheap, and actually works.