Look, I am so tired of scrolling through Pinterest and seeing these “aesthetic” home decor setups that cost more than my monthly grocery bill. Most of those influencers are just buying mass-produced junk that looks good for a photo but falls apart in a week. If you’re living in a small space like I am, you don’t have room for clutter, and you definitely don’t have the budget for overpriced boutique ceramics. I’ve realized that if you want something that actually has some weight to it—and won’t break if you bump it while reaching for your multi-tool—you need to get your hands dirty. Exploring different concrete craft ideas is honestly the fastest way to build a home that feels solid and intentional without draining your bank account.
In this post, I’m skipping the fluff and giving you 8 specific projects that are actually worth your time. I’ve narrowed these down to things that are functional, durable, and incredibly cheap to make using basic materials you can find at any hardware store. You’re going to learn how to create everything from desk organizers to planters that actually hold up to daily use. By the end of this, you’ll have a toolkit of practical DIY solutions that prioritize function over trends. Let’s get to work.
Brutalist Desk Organizers
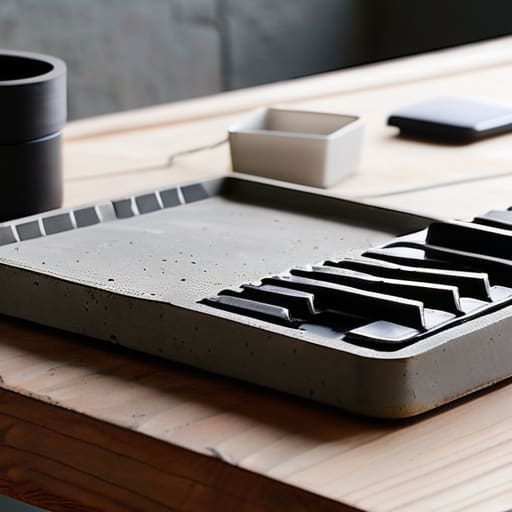
My desk is a chaotic mess of USB cables, loose screws from my keyboard builds, and random tech bits. Instead of buying those flimsy plastic organizers that crack after a month, I started casting my own concrete trays. You can use old yogurt containers or even small takeout boxes as molds, which is perfect because it costs absolutely nothing to source your materials.
Low-Maintenance Herb Planters
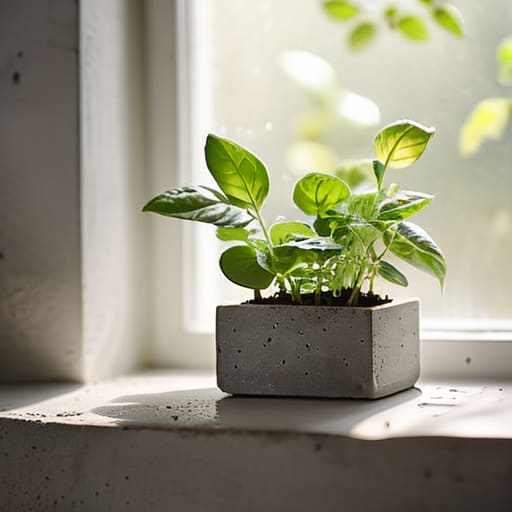
Since I live in a small space, I can’t exactly have a backyard garden, so my windowsill herb garden is my lifeline. I stopped buying those cute ceramic pots that cost fifteen bucks a piece and started making my own concrete planters. They have a nice weight to them, so they won’t tip over if I accidentally bump them while reaching for my coffee.
Industrial Candle Holders
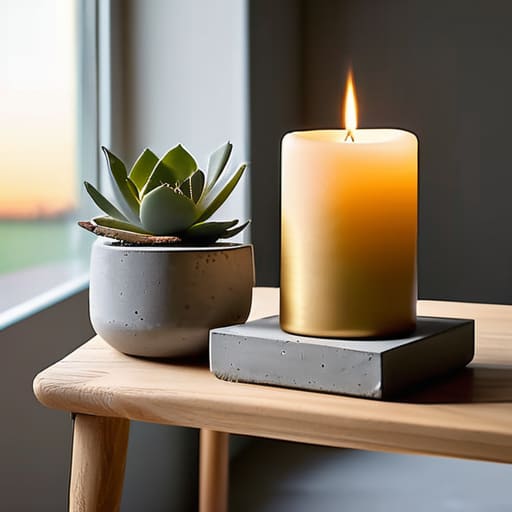
Most scented candles you find in big-box stores come in glass jars that look cheap and break easily. I like to cast small, chunky concrete bases to hold tea lights or votives. It gives your space a bit of a moody, industrial vibe without you having to spend a fortune on “curated” home decor.
Minimalist Soap Dishes
Bathroom clutter is the worst, especially when you’re trying to keep a small space functional. I made these small, slightly sloped concrete dishes to hold my bar soap. It’s a massive upgrade from those mesh bags or plastic trays that get all slimy and gross after a week of use.
Heavy-Duty Bookends
I have a growing collection of technical manuals and textbooks that are way too heavy for those cheap cardboard bookends. I decided to cast some solid concrete blocks to keep my shelves in order. It’s one of those projects where the utility is the main draw; these things aren’t going anywhere.
Custom Coasters
If you’re like me, you probably have a habit of leaving half-finished drinks all over your workspace. I started making concrete coasters because they are virtually indestructible. You can use old coasters or even small Tupperware containers to get the shape right.
Concrete Jewelry Trays
Even if you aren’t into jewelry, everyone has small items like keys, coins, or those tiny screws I’m always losing. A small concrete dish on your entryway table is a lifesaver for preventing clutter. It’s a designated spot for the “stuff” that usually ends up scattered across the counter.
Minimalist Incense Holders
I’m not big on heavy scents, but I do like using incense to clear the air occasionally. Instead of buying those delicate ceramic holders that snap if you look at them wrong, I cast some concrete ones. They are heavy enough to stay put and won’t burn up if a stray ember falls.
The Bottom Line on Concrete DIY
Stop chasing the “aesthetic” and start looking at utility; if a concrete piece doesn’t serve a purpose in your space, it’s just more clutter you don’t need.
Invest in decent molds and basic safety gear upfront because cheap shortcuts usually end up costing you more in wasted material and ruined hands.
Focus on durability over perfection—a little texture or an imperfect edge just means the piece has character and actually holds up to real-life use.
Stop Overthinking It and Just Start
Look, we’ve covered a lot of ground here, from simple planters to custom desk organizers. The main takeaway I want you to walk away with is that you don’t need a massive studio or a professional-grade workshop to make something useful. Whether you’re casting small candle holders or building out larger concrete trays, the goal is the same: creating something that serves a purpose in your space without draining your bank account. Don’t get hung up on getting that perfectly smooth finish on your first try. Concrete is forgiving, and honestly, a few imperfections just give it character. If it holds your pens or keeps your herbs upright, you’ve already won the battle against expensive, mass-produced junk.
At the end of the day, I don’t care if your living room looks like a Pinterest board. I care that you’ve built something that actually works for your life. DIY isn’t about chasing an aesthetic; it’s about the satisfaction of utility. There is something incredibly grounding about taking a bag of dusty powder and turning it into a functional tool for your home. So, grab a mold, get a little messy, and stop waiting for the “perfect” moment to start. Just make something that matters.
Frequently Asked Questions
Is it actually worth buying a professional mold, or can I just use old yogurt containers and Tupperware?
Look, if you’re just starting out, do not waste your money on professional silicone molds. Seriously, save that cash for better cement or some decent tools. I grew up repurposing everything, and honestly, old yogurt containers, Tupperware, or even sturdy cardboard boxes work perfectly fine for most projects. They’re disposable, which is actually a win when you’re learning. Once you realize you’re making high-end stuff, then you can think about investing in molds. For now? Use what you have.
How do I stop these things from cracking or crumbling after a few weeks?
Look, I’ve definitely been there—spending hours on a project only to have it turn into literal dust two weeks later. It’s frustrating. Most people skip the prep, but if you want them to actually last, you need to stop mixing by eye. Use a scale, not a measuring cup, and don’t over-water the mix. Also, for the love of everything, let them cure slowly in a cool spot. Rushing the drying process is what causes those nasty cracks.
What’s the cheapest way to get a smooth finish without spending a fortune on high-end sandpaper?
Look, don’t fall for the trap of buying those massive, expensive multi-packs of specialty sandpaper. If you want a smooth finish without draining your grocery budget, grab a pack of high-grit wet/dry sandpaper. It’s cheap, and you can use it with a bit of water to prevent clogging and get a much cleaner surface. Honestly, even a worn-down kitchen sponge can work for light smoothing if you’re really in a pinch. Focus on the grit, not the brand.
Can I actually use these concrete pieces for real plants, or will they just leak water everywhere and ruin my desk?
Look, if you just pour concrete and drop a plant in, yeah, you’re going to have a flooded desk and a ruined finish. Concrete is porous as hell. If you want to use these for real plants, you have to seal the inside with a waterproof masonry sealer or a clear epoxy. Otherwise, you’re basically just making a very expensive, heavy sponge. Do the prep work now so you aren’t cleaning up puddles later.