Stop scrolling through those Pinterest boards filled with $2,000 mid-century modern credenzas and thinking you need a massive budget to have a decent setup. Honestly, most of those “aesthetic” DIY tutorials are just a recipe for wasting your entire weekend and a lot of money on specialized tools you’ll never use again. I learned the hard way growing up in a tiny apartment that if you can’t fix it or upgrade it for cheap, it’s not worth the space. When I first figured out how to refinish furniture, I realized that most of the “professional” advice out there is just overkill. You don’t need a workshop full of expensive machinery; you just need to know which steps actually matter and which ones are just performative fluff.
I’m not here to help you create a museum piece that you’re too afraid to actually touch. My goal is to show you how to strip away the junk, fix the real damage, and get a finish that looks good without draining your bank account. This guide is about the real-world application of refinishing—focusing on the grit, the shortcuts that actually work, and the minimal supplies you’ll actually need. Let’s stop overcomplicating things and just get to work.
Guide Overview
Tools & Supplies
- Sandpaper (various grits for smoothing)
- Screwdriver (for removing hardware)
- Paintbrush or foam roller (for applying finish)
- Microfiber cloth (for cleaning dust)
- Wood stripper or liquid remover (1 bottle)
- Sandpaper pack (medium and fine grits)
- Wood primer (1 can)
- Paint or wood stain (1 can)
- Clear topcoat/sealant (1 can)
Step-by-Step Instructions
- 1. First, clear a workspace that isn’t your living room rug. You’re going to deal with dust, and trust me, you do not want that getting into your keyboard switches or your lungs. Grab an old sheet or some cheap drop cloths from the hardware store. Strip everything off the piece—drawers, handles, whatever—and toss them in a designated bin. If you don’t organize the hardware now, you’ll be searching for a single screw for three hours next week.
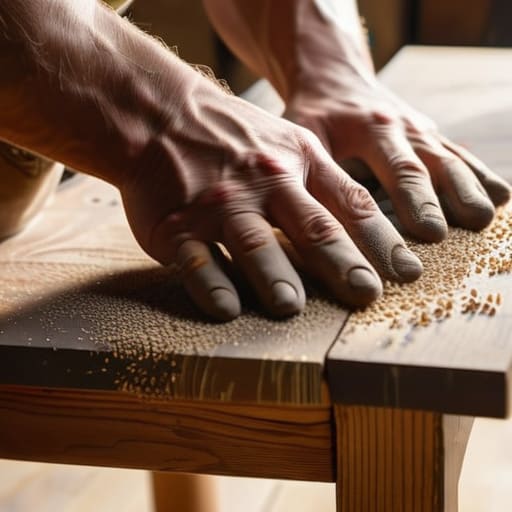
- 2. Now, the part everyone hates: sanding. Don’t go overboard trying to get it perfectly smooth like a piece of glass; you just need to break the seal of the old finish so the new stuff actually sticks. Start with a medium grit (like 80 or 120) to get the heavy lifting done, then move to a finer grit to smooth out the rough patches. If you’re feeling lazy, just focus on the flat surfaces and don’t stress the tiny carvings too much.
- 3. Clean the hell out of it. This is where most people mess up. If there’s even a microscopic layer of dust left, your new finish is going to look like sandpaper. Use a vacuum with a brush attachment first, then go over everything with a tack cloth or a damp microfiber rag. I keep a stash of these in my utility drawer because a clean surface is the difference between a professional look and a total disaster.
- 4. Time to prep the surface. If you’re working with something really beat up, hit it with a primer. Don’t bother with the expensive, fancy brands; just get something that covers well and dries fast. Apply it in thin, even layers. If you try to glob it on to “save time,” you’re just going to end up with annoying drips that you’ll have to sand down again later.
- 5. Apply your stain or paint. If you’re going for a stain, work in the direction of the wood grain—always. Don’t go in circles like you’re scrubbing a floor; that just creates uneven blotches. If you’re using paint, keep your strokes light. I usually use a small foam roller for the big flat parts because it’s way faster and leaves fewer brush marks than a traditional brush.
- 6. Seal the deal. This is non-negotiable if you actually want the piece to last more than a month. Use a polyurethane or a wax depending on the vibe you want. If it’s a coffee table that’s going to see spilled drinks and laptop heat, go with a poly. It’s a bit more work, but it’s worth the extra effort to ensure you aren’t re-doing this entire project in six months.
- 7. Let it cure. This is the hardest part for me because I want to see the finished product immediately, but patience is a tool just like a screwdriver. If you put things back on the furniture before the finish has fully hardened, you’re going to leave permanent marks. Give it at least 24 to 48 hours of undisturbed time in a room with decent airflow.
Mastering Wood Stripping Techniques and Removing Old Varnish Fast
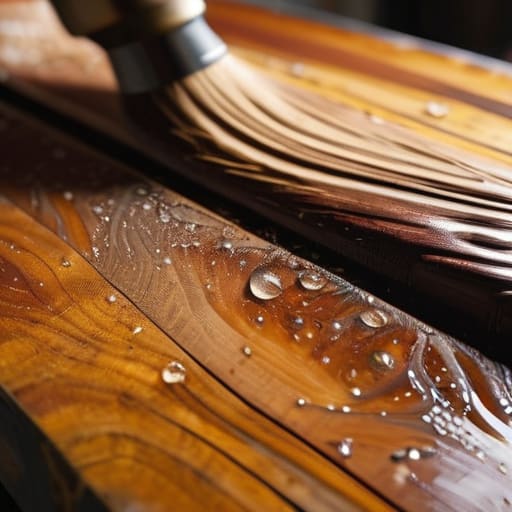
Look, if you’re still trying to sand through thick layers of old finish, you’re just wasting your weekend and eating up expensive sandpaper. Most people think they have to brute-force their way through, but the secret to removing old varnish without losing your mind is knowing when to use a chemical stripper versus a sander. If you’re dealing with a piece that has multiple layers of heavy paint or thick lacquer, grab a decent citrus-based stripper. It’s messy, yeah, but it does the heavy lifting so you aren’t stuck sanding for six hours straight.
Once the bulk of the gunk is off, don’t just jump straight into staining. You need to focus on proper wood grain preparation to avoid a disaster later. If you leave tiny bits of old finish in the pores, your new stain will look blotchy and amateur. I usually follow a quick furniture sanding grits guide—start with something coarse like 80 or 100 to level everything out, then move up to 150, and finish with 220. If you skip the progression, you’ll end up with swirl marks that show up even more once you apply the final coat. Keep it simple, keep it consistent, and don’t rush the prep.
The Essential Furniture Sanding Grits Guide for Perfect Wood Grain Preparat
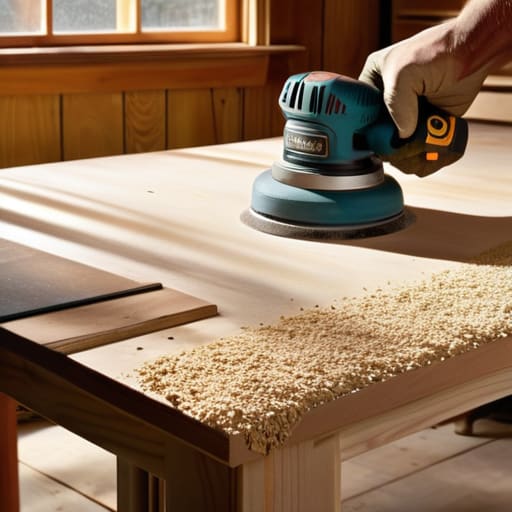
Look, I’ve seen too many people spend three hours obsessing over a piece of particle board that’s never going to look like a museum heirloom. If you’re staring at a pile of sandpaper wondering which one to grab first, don’t panic. This furniture sanding grits guide isn’t about perfection; it’s about efficiency. Start with something coarse, like 80-grit, only if the surface is actually gouged or the old finish is stubborn. If you’re just smoothing things out after using various wood stripping techniques, jump straight to 120-grit. You don’t need to go through every single number in the sequence unless you have the time to kill, which—let’s be real—most of us don’t.
The goal here is proper wood grain preparation without turning your apartment into a dust bowl. Once you’ve leveled the surface, move up to 180 or 220-grit to close those tiny scratches left by the heavy stuff. If you skip this step, your stain is going to look blotchy and amateur, and then you’re just wasting money on expensive pigments. Sand with the grain, not against it, or you’ll end up with swirl marks that show up even more once you start applying your topcoat. Keep it simple, keep it clean, and move on to the fun part.
5 Reality Checks Before You Start Sanding
- Stop obsessing over perfection. If you’re working on a cheap thrift store find, don’t spend three hours trying to get it smooth as glass; just get it smooth enough that the new finish doesn’t look like garbage.
- Check your lighting. I learned this the hard way—if you’re working under one dim bulb, you’re going to miss huge scratches that will show up like neon signs once you apply the stain. Grab a cheap work light or use your phone’s flashlight.
- Don’t skimp on the safety gear. I know, a dust mask is annoying and makes your face hot, but breathing in old varnish and fine sawdust is a terrible trade-off for saving ten bucks. Just wear the damn mask.
- Test your stain on a scrap piece first. Never, and I mean never, just slap the first color you see onto the actual furniture. Colors change drastically depending on the wood type, and you don’t want to realize you’ve ruined a piece halfway through.
- Work in small, manageable chunks. Trying to sand an entire dresser in one go is a recipe for burnout and uneven results. Do one drawer or one tabletop at a time so you actually stay focused and don’t end up quitting halfway through.
The Bottom Line: Don't Overcomplicate It
Stop obsessing over a “factory finish.” If you’re working with a budget piece, your goal is a clean, even surface, not a museum-quality masterpiece that takes forty hours of sanding.
Gear matters, but don’t go broke buying it. A decent orbital sander and a basic multi-tool for scraping tight corners will get you 90% of the way there without draining your bank account.
If a step isn’t saving you time or making the final product more durable, skip it. Refinishing is about making things functional again, not following a Pinterest tutorial to the letter.
Don't Overthink the Finish
Look, we’ve covered a lot of ground, from the messy reality of chemical strippers to the tediousness of hitting the right sandpaper grits. The main thing I want you to remember is that you don’t need a workshop full of expensive machinery to get this done. You just need to be methodical about the prep work. If you skip the stripping phase or try to shortcut the sanding, you’re going to end up with a gummy, uneven mess that looks worse than the original piece. Stick to the basics: strip it clean, sand it smooth, and don’t let the dust discourage you. It’s about doing the grunt work right the first time so you aren’t fixing mistakes three weeks from now when you’re trying to enjoy your new setup.
At the end of the day, this isn’t about creating a showroom-perfect masterpiece for a magazine; it’s about taking something that was headed for a dumpster and making it useful again. There’s a specific kind of satisfaction in looking at a piece of furniture and knowing you didn’t just buy it—you actually maintained it. Stop waiting for the “perfect” moment or the perfect set of tools to start your next project. Just grab your gear, get your hands a little dirty, and make something work. You’ve got this.
Frequently Asked Questions
Is it actually worth buying a professional sander, or can I just muscle through this with a cheap manual block?
Look, if you’re doing a tiny side table, a manual block is fine. But if you’re tackling a dresser or a chair, don’t be a martyr. Your wrists will hate you, and you’ll never get an even finish—you’ll just end up with weird dips in the wood. If you can swing it, grab a decent orbital sander. It’s an investment in your sanity and your time, and honestly, your hands will thank me later.
How do I know if the wood I'm working on is even real enough to bother refinishing, or if it's just cheap veneer that's going to peel off?
Look, don’t waste your weekend sweating over a piece of particle board wrapped in a sticker. To check, look at the edges or any scratches. If you see a thin layer peeling up or a different pattern underneath, it’s veneer. Also, check the weight; real solid wood has some heft. If it feels light and hollow, or if the “grain” looks too repetitive, walk away. Save your energy for pieces that actually last.
What’s the cheapest way to get a decent finish without it looking like a DIY disaster?
Look, if you’re trying to save cash, skip the expensive spray cans and high-end stains. Grab a decent quality wipe-on poly or even a basic wood oil from a big-box store. The secret to avoiding that “DIY disaster” look isn’t the price of the finish; it’s your sanding. If you don’t get the surface smooth, even the most expensive stain will look like garbage. Sand well, wipe the dust off completely, and apply thin layers.
How long do I actually have to wait between coats before I'm going to ruin the whole thing by touching it too soon?
Look, I get it—you want to see the finished product yesterday. But if you rush this, you’re just going to end up with a tacky, sticky mess that’ll take weeks to dry. Check the can, seriously. Most stains need at least 4 to 24 hours. If it feels even slightly grabby or smells super wet, walk away. Grab a coffee, fix a keyboard, whatever—just don’t touch it until it’s actually set.