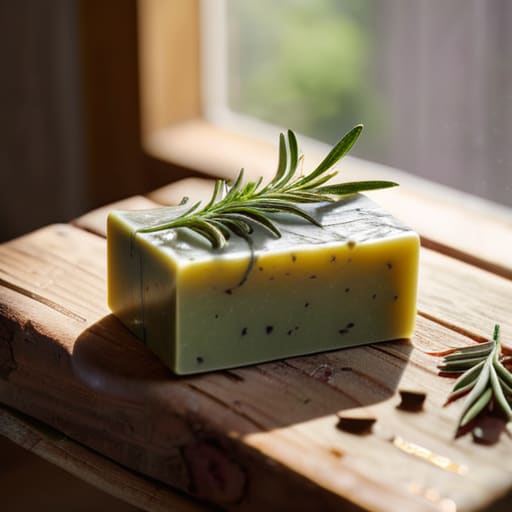
Stop scrolling through those Pinterest boards filled with gold-leafed, lavender-infused artisanal bars that cost more than my monthly internet bill. Most people think learning how to make soap requires a dedicated studio, expensive essential oils, and a massive budget, but that’s just marketing fluff. I grew up in a tiny apartment where every cent mattered, so I learned early on that if you can’t fix it or make it yourself for cheap, it’s probably not worth having. You don’t need a boutique setup to get a high-quality bar; you just need the right chemistry and a bit of grit.
I’m stripping away the aesthetic nonsense to show you the actual mechanics of the process. This guide is going to teach you how to make soap using basic, functional ingredients that won’t break your bank account. We aren’t chasing “vibes” here; we are focusing on a reliable, repeatable method that produces a soap that actually cleans. I’ll walk you through the essential gear, the safety steps you cannot skip, and a straightforward recipe that works every single time. Let’s get to work.
Guide Overview
Tools & Supplies
- Digital scale for precise measurements
- Stick blender to emulsify oils and lye
- Stainless steel or heat-safe plastic bowls
- Silicone molds for shaping
- Carrier oils (e.g., olive, coconut, palm) 500g-1kg
- Sodium hydroxide (Lye) 100g-150g
- Distilled water 200ml-300ml
- Essential oils or fragrance 15ml-30ml
Step-by-Step Instructions
- 1. First things first, get your gear ready. You aren’t using your fancy kitchen pans for this; lye is no joke and it will ruin your cookware. Grab a stainless steel pot, a digital scale (precision is everything here), and a silicone spatula. Most importantly, wear your safety gear—gloves and eye protection are non-negotiable. I learned that the hard way when I was first starting out in my tiny apartment.
- 2. Weigh out your oils and lye separately using that digital scale. Don’t try to eyeball this or use measuring cups; volume is a lie when it comes to chemistry. For a basic, budget-friendly bar, I usually go with a mix of coconut oil for lather and olive oil for skin conditioning. Get your measurements exact to the gram, or the whole batch could end up being a greasy mess or, worse, caustic.
- 3. Now, prepare your lye solution. Slowly pour your lye into your distilled water—never pour water into lye, or you’ll create a literal volcano in your sink. Stir it until it’s clear, but be prepared: it’s going to get hot and release fumes. Do this near a window or under a vent. Just let it sit and cool down until it’s somewhere in the warm, but not scalding range.
- 4. Once your oils are melted and your lye water has cooled down to a similar temperature, slowly pour the lye solution into the oil pot. Grab your stick blender (an immersion blender is your best friend here) and start pulsing. You’re looking for “trace,” which is basically when the mixture reaches the consistency of thick pudding. If you lift the blender and the drips stay on the surface for a second before sinking, you’re golden.
- 5. This is where you can get a little creative without breaking the bank. If you want scent, skip the expensive essential oils and look for high-quality fragrance oils, or just use dried herbs from your windowsill. Fold them in with your spatula. Keep it simple; I find that less is always more when you’re trying to keep costs down and avoid skin irritation.
- 6. Pour your mixture into a silicone mold. If you don’t want to buy professional molds, an old plastic container you’ve thoroughly cleaned works just fine. Tap the mold on the counter a few times to force out any air bubbles trapped inside. Cover it with a piece of cardboard and a towel to keep the heat in, then leave it alone for 24 to 48 hours.
- 7. Once the soap is firm, pop it out of the mold and slice it into bars using a sharp knife. Now comes the part that tests your patience: the curing process. You need to stack these bars in a cool, dry place for about 4 to 6 weeks. I know, it feels like forever, but this is how the water evaporates and makes the bar hard and long-lasting. Don’t skip this, or your soap will turn into mush the second it hits the shower.
Mastering Cold Process Soap Making Methods Without the Fluff
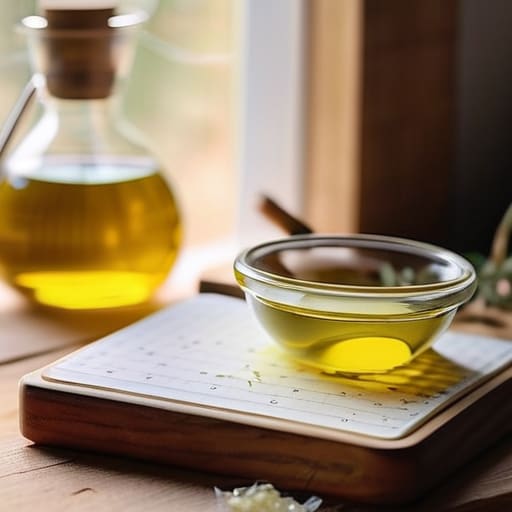
Look, if you’re trying to jump straight into the deep end with cold process soap making methods, don’t wing it. I learned that the hard way when I tried to eyeball my first batch and ended up with something that felt more like industrial glue than soap. You cannot—and I mean cannot—guess your measurements. You need to use a lye and oils ratio calculator every single time. It’s not about being a scientist; it’s about making sure you don’t end up with a caustic mess that ruins your skin or your skin’s barrier. Precision is what saves you money on wasted ingredients.
Also, let’s talk about the gear. People will try to sell you these aesthetic, rose-gold silicone kits, but save your cash. You just need the basics: a digital scale, a stainless steel pot, and proper soap making safety equipment like goggles and heavy-duty gloves. If you’re worried about the complexity, you can always start with melt and pour soap techniques just to get a feel for scents, but if you want real control over your budget and quality, cold process is the way to go. Just keep it functional, keep it safe, and don’t overcomplicate the process.
Essential Soap Making Safety Equipment You Actually Need
Look, I’m not going to lecture you, but we need to get one thing straight: lye is no joke. It’s caustic, it’s aggressive, and if you treat it like a casual kitchen ingredient, you’re going to have a very bad day. You don’t need a high-tech lab, but you absolutely need the right soap making safety equipment before you even think about touching a beaker. I’m talking about heavy-duty nitrile gloves—not those thin, flimsy ones from the cleaning aisle—and wrap-around safety goggles. If a single drop of lye solution splashes into your eye, your DIY project becomes a trip to the ER real fast.
Beyond the protective gear, keep your workspace organized. I always keep a bottle of white vinegar nearby, not because it “neutralizes” everything instantly (that’s a myth that can actually cause heat reactions), but because I need to be able to rinse my skin immediately if something goes wrong. Also, ditch the wooden spoons and aluminum pots. Lye reacts with metal, which can ruin your batch and potentially release nasty fumes. Stick to stainless steel or heat-resistant plastic. If you’re just starting out with melt and pour soap techniques, you can skip some of this heavy-duty stuff, but for real cold process work? Prioritize your skin and eyes over saving five bucks on gear.
5 Real-World Rules to Stop You from Ruining Your First Batch
- Stop chasing scent trends. If you’re just starting, skip the expensive essential oils and focus on getting the chemistry right. You can’t fix a bad soap base with a fancy smell, and wasting $20 on lavender oil just to have it disappear in the lye is a rookie mistake.
- Precision is everything—get a digital scale. I don’t care how much you trust your eyes; “eyeballing” ingredients in soap making is a fast track to a batch that’s either a greasy mess or a skin-irritating disaster. If you aren’t measuring by weight, you aren’t making soap, you’re playing Russian roulette.
- Don’t get distracted by “aesthetic” molds. Those silicone shapes that look like cupcakes are cute for Instagram, but they’re a nightmare to clean and a waste of space in a small kitchen. Stick to basic rectangular silicone loaf molds; they’re functional, easy to store, and they actually work.
- Respect the lye. I know, I know, it sounds dramatic, but lye is caustic for a reason. Don’t try to be a hero by skipping the goggles or working in a cramped, unventilated corner. Do it in a space with airflow, wear your gear, and treat it with the same respect you’d give a live wire.
- Patience is a tool, not a suggestion. Once you pour that soap, leave it the hell alone. I know you’ll want to cut it early to see if the color is right, but if you cut it too soon, the whole bar will crumble. Let it cure. It’s boring, but it’s the only way to get a bar that actually lasts.
The Bottom Line: Don't Overcomplicate It
Skip the expensive, fancy molds and essential oils for now; focus on mastering the base recipe and using basic containers so you don’t blow your budget before you even start.
Safety isn’t optional, but it doesn’t have to be expensive—get your goggles and gloves, follow the lye instructions to the letter, and stop treating it like a craft project instead of a chemical process.
Consistency beats aesthetics every single time; if your soap looks a little wonky but cleans well and didn’t cost you a fortune, you’ve actually succeeded.
Stop Overthinking and Start Making
Look, we’ve covered the essentials: you don’t need a professional lab, just the right safety gear, a solid grasp of the cold process method, and a refusal to overspend on fancy additives you don’t need. At the end of the day, soap making isn’t about creating a masterpiece for an Instagram grid; it’s about mastering a functional skill that saves you money and keeps your skin from reacting to a dozen weird chemicals found in big-brand bars. Stick to the basics, keep your workspace organized, and don’t let the fear of a “failed” batch stop you from trying. If a batch doesn’t turn out perfect, you haven’t lost everything—you’ve just gained valuable data for your next attempt.
My advice? Stop waiting for the “perfect” moment or the “perfect” set of tools to arrive. I learned how to fix my own tech and grow my own herbs because I stopped waiting for someone else to do it for me, and you should do the same with this. There is a massive amount of satisfaction in using something you built from scratch with your own two hands. It’s not about being a chemist; it’s about taking control of your own resources. So, grab your lye, get your measurements right, and just get started. Your future, more self-sufficient self will thank you.
Frequently Asked Questions
Can I use leftover kitchen oils, or do I actually need to buy specific fats?
Look, I get the urge to scavenge the pantry to save a few bucks, but don’t go throwing random grease into a lye bath. Most leftover kitchen oils—especially used frying oil—are a recipe for a rancid, smelly disaster that’ll ruin your whole batch. Stick to fresh, stable fats like coconut oil or olive oil. It’s a slightly higher upfront cost, but it beats wasting time and ingredients on soap that smells like old takeout.
How do I know if my batch is safe to use or if I messed up the lye ratio?
Look, the biggest fear is always “did I accidentally make a batch of skin-burning lye?” If your soap feels slimy, looks oily, or has a stinging sensation on your skin, stop using it immediately—you likely messed up the lye-to-oil ratio. If it’s just crumbly or too hard, it’s probably fine, just a bit weird. When in doubt, do the pH test with litmus paper. If it’s way outside the 8-10 range, toss it.
Is it worth spending money on fancy essential oils, or can I just use basic scents?
Look, if you’re trying to save money, don’t go chasing $30 bottles of organic lavender just because some influencer told you to. Unless you’re making soap specifically for a high-end gift, basic fragrance oils or standard essential oils work just fine. If the scent is pleasant and it doesn’t irritate your skin, it’s doing its job. Don’t let “premium” marketing drain your budget. Stick to what works and keep your cash for more important things.
How long do I really have to wait before I can actually use the soap without ruining my skin?
Look, I get it—you want to use your new bars immediately. But if you rush this, you’re going to end up with a pH imbalance that’ll leave your skin feeling like sandpaper. You need to let those bars cure for at least four to six weeks. I know, it feels like forever, but that’s how the water evaporates and the soap actually hardens. Don’t skip the wait; your skin barrier will thank you.