Stop scrolling through those Pinterest boards filled with $500 designer fabrics and professional-grade upholstery tools you don’t actually need. Honestly, most of those “aesthetic” DIY tutorials are just a recipe for wasting your weekend and your paycheck. I learned this the hard way when I tried to fix a thrifted armchair in my tiny apartment; I spent way too much time worrying about the “perfect” look and ended up with a lumpy mess. If you’re looking for how to reupholster a chair without turning your living room into a disaster zone or draining your savings, you need to stop chasing perfection and start focusing on structural integrity.
In this guide, I’m stripping away the fluff to show you the actual, gritty process of giving old furniture a second life. I’m not going to tell you to buy expensive specialty staplers or high-end velvet; instead, I’ll show you how to use what you already have to get a result that actually lasts. We’re going to cover everything from choosing heavy-duty fabrics that won’t fray in a week to the specific way you should tension your material so it doesn’t sag. Let’s just get it done.
Guide Overview
Tools & Supplies
- Staple gun and staples for securing fabric
- Pliers for pulling out old staples
- Fabric shears for precise cutting
- Measuring tape for calculating yardage
- Mallet for flattening padding
- Upholstery fabric (2-3 yards depending on size)
- High-density foam or batting (1 sheet/roll)
- Dust cover fabric (1 yard for bottom)
- Upholstery thread (1 spool)
Step-by-Step Instructions
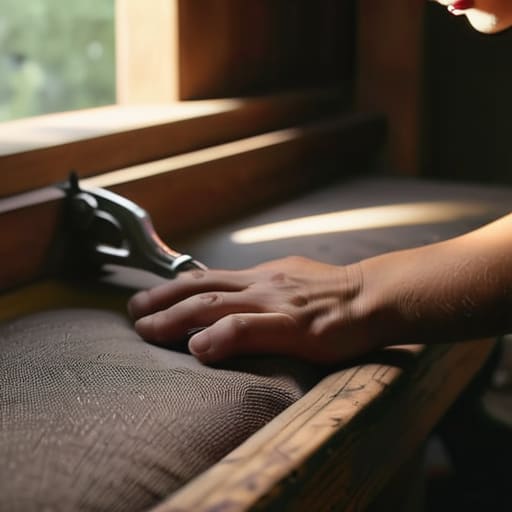
- 1. First things first, you need to strip the chair down to its bones. Take a flathead screwdriver or a pair of pliers and start pulling out those old staples and nails. Don’t worry about being delicate here; you’re basically performing surgery. Just make sure you keep all the hardware in a small bowl or magnetic tray so you don’t lose them in the carpet, because finding a tiny staple in a rug is a special kind of hell.
- 2. Once the old fabric is off, inspect the actual frame. This is where most people fail because they just slap new fabric over a broken base. If the wooden frame is wobbly, hit it with some wood glue and a clamp before you move on. If the foam padding looks like it’s been through a war zone—which, let’s be real, it probably has—toss it in the trash and grab some high-density upholstery foam from a hardware store. It’s way cheaper than buying a new chair and actually makes a difference.
- 3. Now, let’s talk fabric. Lay your new material out on a flat surface and place the chair seat right on top of it. You need to leave enough extra material to wrap around the sides and staple into the underside. A good rule of thumb is to leave at least three to four inches of overhang on all sides. If you buy fabric that’s too small, you’re going to end up with a very expensive, very useless piece of scrap.
- 4. Start stapling from the center of each side to prevent wrinkles. Pull the fabric taut—but I mean actually taut, not so tight that you’re distorting the pattern—and drive your staple in. Work your way from the center out toward the corners in a cross pattern. If you see a lump forming, stop immediately and smooth it out with your hand. You want a smooth, professional finish, not a bunch of gathered fabric that looks like a crumpled paper bag.
- 5. The corners are where the real work happens, and this is where most DIY projects fall apart. You can’t just bunch the fabric up into a mess. Instead, fold the excess material into neat, flat pleats, almost like you’re wrapping a gift. Use your multi-tool or a pair of scissors to trim away any excessive bulk before you staple it down. If the corners look messy, the whole chair will look cheap, so take your time here.
- 6. Once the fabric is secure, flip the chair back over and check for any loose edges or missed staples. If you’re using a chair with a decorative trim or a nailhead finish, now is the time to add it. Just space them out evenly so they don’t look lopsided. Finally, give the whole thing a good once-over to make sure everything is tight and functional. If it feels solid and looks decent, you’ve officially saved yourself a massive trip to a furniture store.
Smart Fabric Selection for Upholstery That Actually Lasts
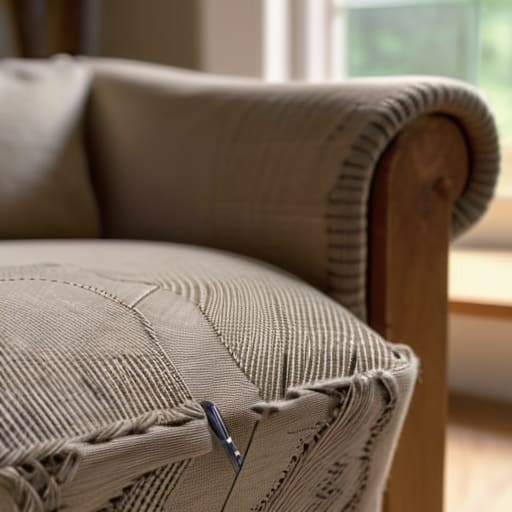
Look, I know the Pinterest boards make it look like you need some high-end, designer velvet to make a chair look expensive, but let’s be real: most of that stuff is a nightmare to maintain and a total waste of cash. When you’re looking at fabric selection for upholstery, stop looking at the color first and start looking at the rub count. If you’re reupholstering something you actually sit in every day, you need a heavy-duty weave that can handle friction without thinning out in six months. I usually go for heavy cotton canvases or even some rugged synthetic blends; they’re durable, they don’t cost a fortune, and they actually survive real life.
Don’t get distracted by “aesthetic” fabrics that feel like silk but tear if you look at them wrong. While you’re at it, keep an eye on the thickness. If you’re replacing chair foam padding at the same time, a thinner fabric might show every single bump and imperfection in the new foam, which looks amateur as hell. You want something with enough weight to mask the structural work underneath. If it’s too flimsy, you’re just setting yourself up for a redo in a few months, and I don’t have the time or the budget for that.
Essential Upholstery Tools and Supplies You Wont Regret Buying
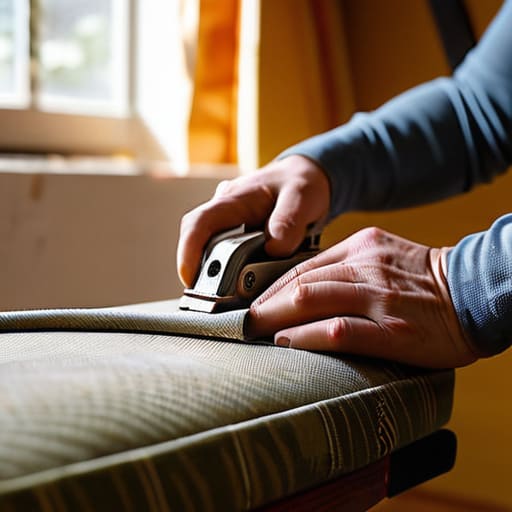
Look, don’t fall into the trap of buying a massive, professional-grade kit just because some DIY influencer said so. You don’t need a workshop full of expensive gear to get this done. The absolute bare minimum you need is a decent electric staple gun and a heavy-duty staple remover. If you try to use a cheap, plastic handheld one, you’re going to end up with hand cramps and a lot of frustration. When it comes to staple gun techniques for furniture, the secret isn’t the brand of the tool; it’s about ensuring you’re pulling the fabric taut before you click that trigger. If you’re too lazy with the tension, your finished project is going to look saggy and amateur.
While you’re at it, don’t ignore the stuff hidden underneath the fabric. If you’re replacing chair foam padding, don’t just grab the cheapest sponge you find at the hardware store. It’ll flatten out in a week and you’ll be right back where you started. Grab something high-density that actually has some bounce to it. Also, grab a pair of heavy-duty shears. Using kitchen scissors is a recipe for a headache and uneven cuts. If a tool doesn’t make the job faster or the result more durable, leave it on the store shelf.
5 Things I Wish I Knew Before I Started Tearing Stuff Apart
- Don’t throw away the old fabric immediately. I know it looks like trash, but you need it as a literal template to cut your new fabric. If you try to eyeball the measurements, you’re going to end up with gaps or, even worse, fabric that’s too tight to actually pull over the frame.
- Stop trying to use a regular sewing needle for the heavy lifting. If you’re struggling to punch through the material, you’re doing it wrong. Get a proper upholstery needle or even a heavy-duty awl; it’ll save your fingers from getting wrecked and stop you from wasting an hour on one single stitch.
- Tightness is everything, but don’t overdo it to the point of warping. You want the fabric taut so it doesn’t look saggy or wrinkled after a week, but if you pull too hard, you’ll actually distort the shape of the chair or even snap the wooden frame. Aim for “firm and smooth,” not “drum skin.”
- Work in small sections, not big chunks. It’s tempting to grab a huge handful of fabric and try to staple it all at once, but that’s how you get those annoying ripples. Do a little bit on each corner, pull it tight, staple it, and move inward. It takes longer, but it actually looks professional.
- Check your staples twice. There is nothing worse than finishing a whole chair only to realize you missed a massive section on the underside where no one can see—until they sit down and the whole thing shifts. Do a quick “hand sweep” under the seat once you’re done to make sure everything is secure.
The Bottom Line: Don't Overcomplicate It
Stop chasing “aesthetic” fabrics that fall apart in a month; prioritize durability and ease of cleaning so you aren’t redoing this whole project again in six months.
You don’t need a professional workshop to do this right, but don’t cheap out on the staples—buy decent tools that won’t jam halfway through the job.
Focus on the function of the chair first; if the frame is wobbly or the foam is shot, a new fabric cover is just a band-aid on a broken system.
Don't Overthink the Result
Look, at the end of the day, your chair doesn’t need to look like it belongs in a high-end showroom or a Pinterest board. You’ve picked out heavy-duty fabric that won’t tear the first time you sit down, you’ve got your tools ready, and you’ve followed the steps to secure the padding. If there’s a tiny wrinkle here or a staple slightly out of alignment there, it doesn’t matter. What matters is that you didn’t throw away a perfectly good piece of furniture just because the fabric looked dated. You saved money, you kept something out of a landfill, and you actually made something work instead of just buying something new.
Reupholstering is more than just a DIY project; it’s a way to stop being a passive consumer and start being someone who actually understands how their stuff works. It can feel intimidating when you’re staring at a pile of old foam and a roll of fabric, but once you finish, you’ll realize that most “expensive” things are just basic items with a higher markup. Stop waiting for the perfect moment or the perfect skill level to start fixing your own life. Grab your multi-tool, get messy, and just start building the environment you actually want to live in.
Frequently Asked Questions
How do I know if the chair's frame is actually worth fixing or if it's just a piece of junk that's going to snap on me?
Don’t waste your time on a lost cause. Give the frame a good shake—if it wobbles or creaks like it’s about to collapse, walk away. Check the joints; if the wood is splintering or the metal is rusted through, it’s trash. I always do a quick stress test: sit in it firmly. If you feel anything flex or groan, the structural integrity is gone. Save your energy for a frame that actually holds up.
Is there a way to reupholster without buying a heavy-duty staple gun, or am I stuck spending money on tools?
Look, I get it—the last thing you want to do is blow your budget on a tool you’ll use once. If you’re working on a small project like a dining chair or a stool, you can actually get away with a heavy-duty manual staple gun from a dollar store. Just don’t expect to tackle a massive sofa with it. If you’re really broke, try using upholstery tacks or even small nails and a hammer, but honestly? Just grab the cheap manual gun. It’ll save you a massive headache.
What do I do if I mess up the fabric alignment halfway through and realize I've wasted my good material?
Deep breath. First, don’t panic and rip it all off immediately—you might make it worse. If the pattern is just slightly off, see if you can pivot the design; maybe it becomes an intentional asymmetrical look? If it’s a total disaster, don’t throw that fabric in the trash. Cut it into smaller pieces for accent pillows or seat pads. It’s not “wasted” if you repurpose it into something else functional.
Can I reuse the old foam and stuffing to save cash, or is that just asking for a lumpy, uncomfortable mess?
Look, I get the temptation to save a few bucks, but honestly? Don’t do it. If the old foam is crumbling or feels like a flattened pancake, you’re just setting yourself up for a lumpy, uncomfortable mess. It’s a waste of your time to redo the whole chair only to hate sitting in it. Spend the extra twenty bucks on fresh foam; it’s the difference between a functional chair and a DIY disaster.
