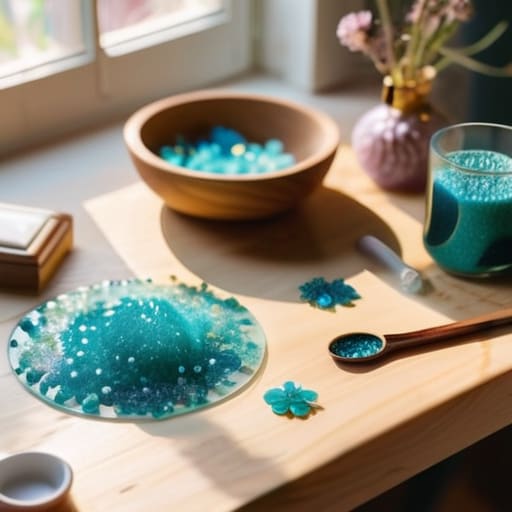
Stop falling for the lie that you need a professional-grade studio and a massive budget to start working with epoxy. I remember my first attempt at resin crafts for beginners; I spent sixty bucks on a “complete starter set” from a big-box store, only to end up with a sticky, bubbling mess that looked more like a science experiment gone wrong than actual art. I was sitting on my kitchen floor, surrounded by wasted supplies and feeling like a total failure, because I thought I needed the fancy stuff to get it right. The truth is, most of those aesthetic, curated kits are just a way to drain your bank account before you even learn the basics of ratios and temperature.
I’m not here to sell you on a lifestyle of perfection; I’m here to show you how to actually get results without the headache. In this guide, I’m breaking down the absolute essentials so you can stop guessing and start creating. We’re going to focus on the functional tools you actually need, how to avoid the most common, expensive mistakes, and how to manage your workspace without turning your entire apartment into a sticky disaster zone. Let’s get to work.
Guide Overview
Tools & Supplies
- Silicone molds for shaping the resin
- Measuring cups for precise mixing ratios
- Stirring sticks for blending components
- Heat gun or torch to remove air bubbles
- Safety mask/respirator for fumes
- Epoxy resin kit (2-part resin and hardener)
- Silicone molds (various shapes)
- Glitter or dried flowers for decoration
- Nitrile gloves for hand protection
Step-by-Step Instructions
- 1. First things first: clear your workspace and prep your safety gear. I don’t care how much you want to see the colors; if you aren’t wearing gloves and working in a room with actual ventilation, you’re doing it wrong. Resin fumes are no joke, and once it gets on your skin, it’s a nightmare to clean up. Lay down some cheap silicone mats or even just some heavy-duty plastic sheeting so you don’t ruin your table—because trust me, you will spill something.
- 2. Get your measurements down to a science. Most beginners mess up because they “eyeball it,” but resin is a chemical reaction, not a soup. Check your specific brand’s ratio—is it 1:1 or 2:1 by volume? Grab some cheap plastic mixing cups and a couple of wooden stir sticks. If you don’t get the ratio exactly right, your project will stay a sticky, gooey mess forever, and you’ll have just wasted your money.
- 3. Start mixing, but don’t be aggressive. Pour your resin and hardener into the cup and stir slowly. If you whip it like you’re making a protein shake, you’re going to trap a million tiny air bubbles in there that will look like permanent imperfections in your final piece. Stir it steadily for a few minutes until the liquid looks completely clear and there are no more “swirls” or streaks visible.
- 4. Now, add your color or inclusions. If you’re using mica powder or alcohol ink, add it in tiny increments. It is way easier to add more color than it is to fix a project that looks like a neon disaster. If you’re adding dried flowers or glitter, drop them in carefully. I usually use a toothpick to nudge things into place so I don’t disturb the resin flow too much.
- 5. Pour the resin into your mold, but do it in stages if you’re making something deep. If you pour too much at once, the heat from the chemical reaction can cause the resin to crack or yellow. Once it’s in, take a lighter or a heat gun and quickly pass it over the surface. This pops those annoying surface bubbles so your finished piece actually looks smooth and professional instead of pitted.
- 6. This is the hardest part: leave it the hell alone. Cover your mold with a cardboard box or something similar to keep dust and pet hair from landing in your wet resin. It needs to sit in a room with a consistent temperature—too cold and it won’t cure; too hot and it might warp. Set a timer on your phone and resist the urge to poke it every twenty minutes to see if it’s hard yet.
- 7. Once it’s fully cured (usually 24 hours, but read your bottle), pop it out of the mold. If the edges are sharp or uneven, don’t panic. Grab some high-grit sandpaper and a little bit of water to sand down the rough spots. It’s a bit of a chore, but it’s the difference between a piece of junk and something you actually want to keep on your desk.
The Only Resin Art Supplies for Beginners Worth Buying
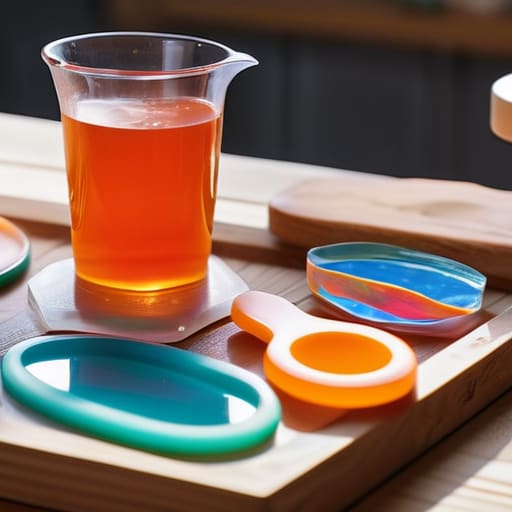
Look, don’t let those massive “all-in-one” starter kits on Amazon fool you. They’re usually a rip-off filled with low-quality pigments that won’t mix properly and resin that stays tacky forever. If you want to actually succeed without throwing money down the drain, focus on the essentials. You need a decent two-part epoxy—specifically one rated for casting if you’re doing anything thicker than a thin layer—and a set of silicone molds that aren’t paper-thin. I personally swear by the best resin molds for beginners being the thicker, flexible silicone ones; they make de-molding way less of a headache and won’t snap when you’re trying to get your piece out.
Also, please, for the love of everything, do not skimp on your gear. You aren’t just buying “craft supplies”; you’re buying tools to keep yourself safe. Invest in a solid pair of nitrile gloves and a respirator mask. I know, it’s not as “aesthetic” as a colorful workspace, but following safety precautions for working with epoxy is non-negotiable. If you’re breathing in fumes or getting resin on your skin, you’re doing it wrong. Grab a cheap digital scale too—forget those measuring cups; if your resin mixing ratios are even slightly off, your whole project is going to end up as a sticky, useless mess.
Smart Resin Mixing Ratios Explained to Save Your Batch
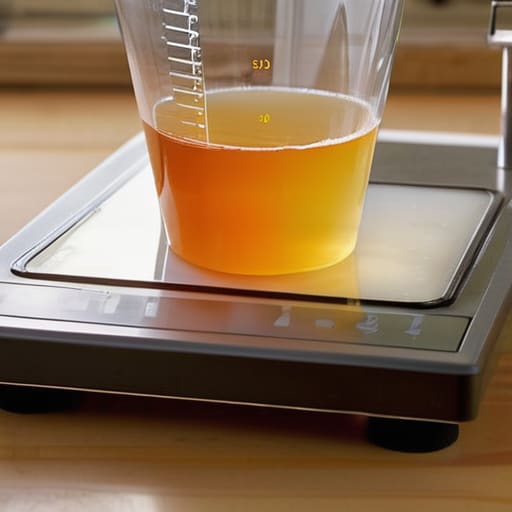
Look, the quickest way to turn a $30 bottle of resin into a sticky, useless mess is by guessing your measurements. I’ve seen so many people try to “eyeball it” because they think a little extra hardener won’t hurt, but that’s a recipe for a disaster that stays tacky forever. When you’re looking at resin mixing ratios explained, you need to realize that most kits are either 1:1 or 2:1 by volume or weight. If the instructions say volume, use graduated mixing cups; if they say weight, you absolutely need a digital scale. Do not mix these up, or you’ll end up wasting your entire batch and your patience.
Once you actually get the ratio right, you still have to deal with the physics of the stuff. One of my biggest pet peeves is seeing people pour resin like they’re watering a plant. You have to stir slowly and deliberately. If you whip it like you’re making a protein shake, you’re just introducing air, and learning how to prevent resin bubbles starts with a calm, steady hand. If you see tiny bubbles forming, give it a quick pass with a butane torch or a heat gun, but don’t overdo it. Precision isn’t about being “extra”; it’s about making sure you don’t have to throw money in the trash.
5 Ways to Stop Ruining Your Resin Projects (and Your Wallet)
- Stop working in your kitchen. I know it’s convenient, but resin fumes are no joke and the smell lingers on your dishes. Find a corner in a garage or a room with a window you can actually keep open. If you don’t have ventilation, you’re just asking for a headache.
- Buy a digital scale, not measuring cups. Most resin kits are weight-based, not volume-based. If you try to eyeball it with a plastic cup, you’re going to end up with a sticky, half-cured mess that ruins the whole batch. It’s a $15 investment that saves you from throwing away $30 worth of wasted resin.
- Don’t skimp on the silicone molds. Those super cheap, thin plastic molds from discount sites lose their shape after two uses. Get the decent silicone ones; they pop the art out easily without you having to fight it, which means less chance of cracking your piece.
- Keep a bottle of 91% isopropyl alcohol on your desk at all times. If you get a tiny bubble or a dust speck mid-pour, a quick spray or a wipe can save the surface. It’s the quickest way to fix minor mistakes before they become permanent eyesores.
- Clean your tools immediately. Do not let resin dry on your stir sticks or mixing containers. Once it cures, that tool is dead to you. Use a paper towel and some alcohol to wipe everything down right after you’re done so you aren’t digging through a pile of hardened junk next time you want to craft.
The Bottom Line: Don't Overcomplicate It
Stop buying those “all-in-one” beginner kits that include fifty things you’ll never use; just get the specific resin, hardener, and basic safety gear you actually need to avoid wasting cash.
Precision is everything—if you mess up your mixing ratios because you were eyeballing it, you’re just throwing money down the drain on a sticky, ruined mess.
Focus on functionality over aesthetics; your first few projects might not look like a Pinterest board, but as long as they’re structurally sound and you didn’t overspend, you’re winning.
Stop Overthinking and Just Start
Look, we’ve covered the essentials: skip the overpriced kits, get the right mixing ratios, and don’t go overboard on the fancy additives until you actually know what you’re doing. Resin can be a massive money pit if you aren’t careful, but if you stick to the basics and focus on functional accuracy over aesthetic perfection, you’ll save yourself a ton of frustration and wasted cash. Remember, your first few attempts might look a little wonky, and that is totally fine. The goal isn’t to make a masterpiece for an Instagram feed; it’s about mastering the technical process so you can eventually make things that actually last.
At the end of the day, don’t let the fear of a ruined batch keep you from trying something new. I spent way too much time worrying about “doing it wrong” when I first started messing with tech and DIY projects, only to realize that the best way to learn is by making mistakes and fixing them. Resin is just another medium to master, much like troubleshooting a server or building a custom keyboard. Stop scrolling through endless tutorials and just get your hands dirty. You’ll learn more from one messy, successful pour than you ever will from watching a hundred “perfect” videos. Now, go see what you can actually make.
Frequently Asked Questions
Is it actually safe to do resin work in a small apartment, or do I need a dedicated workshop?
Look, I grew up in a tiny apartment, so I get it. You don’t need a workshop, but you do need to be smart. You can’t just pour resin on your kitchen table and call it a day. Get a dedicated, well-ventilated corner—ideally near a window—and invest in a decent respirator. If you don’t have a way to vent the fumes, you’re asking for trouble. Keep it contained, keep it ventilated, and keep it safe.
How do I stop my resin from getting all bubbly and ruined right after I mix it?
Look, bubbles are the absolute worst, but they’re usually just a sign you’re rushing. First, stop stirring like you’re whisking eggs; you’re just trapping air in there. Mix slow and steady. If you can, let your mixed resin sit for ten minutes before pouring—it gives the bubbles time to float to the top. And for the love of everything, don’t use a heat gun too close, or you’ll just melt your project into a mess.
Do I really need a UV lamp, or can I just wait for everything to air dry?
Look, if you’re using standard two-part epoxy, you don’t need a UV lamp; you just need patience. Air-drying is free, and honestly, it’s more reliable for thicker pieces. But if you’re working with UV resin, you’re stuck—that stuff literally won’t cure without light. Don’t go buying a professional-grade lamp right away, though. A cheap UV flashlight or even a decent nail lamp works fine. Just know which resin you’ve got before you start.
What’s the cheapest way to get rid of leftover resin without ruining my mixing tools?
Don’t just toss liquid resin in the trash—that’s a massive headache for the environment and your plumbing. Instead, grab a cheap disposable cup or a piece of cardboard and let the leftover resin cure completely. Once it’s hard, you can scrape it off your tools with a putty knife or just toss the hardened chunk in the regular trash. It’s much easier to clean a solid piece of plastic than trying to scrub sticky sludge.
