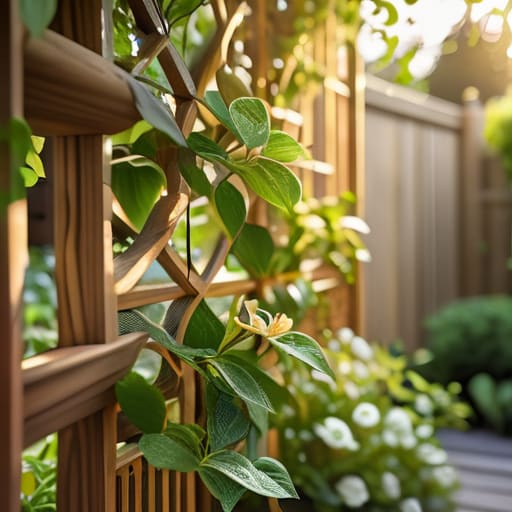
I was standing in the middle of my tiny balcony last summer, staring at a $45 “aesthetic” wrought iron trellis that had already buckled under the weight of two tomato plants. It looked great in the catalog, but in reality, it was flimsy, overpriced junk that was useless for actual gardening. If you’re scrolling through Pinterest looking for the perfect decorative piece, stop right there. You don’t need to blow your grocery budget on overpriced garden decor that falls apart after one storm. Learning how to build a garden trellis shouldn’t require a degree in architecture or a massive bank account; it just requires some decent scrap wood and a bit of common sense.
In this guide, I’m skipping the fluff and showing you how to construct something that actually works. I’m going to walk you through using basic materials you can find at any hardware store—or even scavenge from your garage—to create a structure that is built to last. We aren’t aiming for “Instagram-perfect” here; we’re aiming for sturdy, functional, and cheap. By the end of this, you’ll know exactly how to build a garden trellis that can handle heavy vines without breaking your spirit (or your wallet).
Guide Overview
Tools & Supplies
- Measuring tape for accurate cuts
- Handsaw or miter saw for timber
- Drill with bits for pilot holes
- Screwdriver or impact driver for assembly
- Cedar or pressure-treated wood slats (approx. 10-15 feet total)
- Wood screws (1 pack of 1.5-inch exterior grade)
- Garden stakes or rebar (2 units for anchoring)
- Wire or twine (1 roll for lattice support)
Step-by-Step Instructions
- 1. First, stop scrolling through Pinterest for “aesthetic” garden ideas and go find some actual materials. You don’t need cedar or expensive pressure-treated lumber unless you’re trying to burn a hole in your budget. Head to your garage or a local construction site and look for scrap wood—2x2s or even sturdy bamboo poles work perfectly. Just make sure they aren’t rotting or crumbling before you bring them home.
- 2. Measure out your space and grab a tape measure. You need to decide how tall this thing is going to be based on what you’re growing; if it’s beans, they need height, but if it’s small herbs, keep it low. Once you have your dimensions, use a pencil to mark your cut lines on the wood. Don’t worry about being mathematically perfect, just ensure the main support posts are even so your trellis doesn’t lean like a broken server rack.
- 3. Now, get your cutting tool out—a basic hand saw is fine if you’re on a budget, but a miter saw makes it faster. Cut your vertical support posts and your horizontal cross-pieces to size. I always recommend cutting your vertical posts a few inches longer than you think you need so you can actually hammer them into the dirt for stability.
- 4. It’s time to assemble the frame, and this is where most people mess up by using too many screws. You only need a few heavy-duty exterior screws to connect your horizontal pieces to the vertical posts. If you’re using scrap wood, pre-drill your holes first; otherwise, you’re going to split the wood and end up back at the hardware store buying more.
- 5. For the “mesh” part of the trellis, don’t go out and buy those plastic lattice sheets that crack the second the sun hits them. Instead, grab some leftover wire fencing, heavy-duty twine, or even some old metal mesh from a project you discarded. Secure it to your wooden frame using zip ties or small nails. This is the part that actually holds the weight of your plants, so make sure it’s tight.
- 6. Dig your holes. Don’t just set the trellis on top of the soil like a decorative piece; it’ll tip over the first time the wind picks up. Dig holes about 8 to 12 inches deep for your main support posts. If the soil is super sandy, you might want to tamp it down firmly or even add a few rocks at the bottom to create a solid foundation.
- 7. Final step: Set the structure in the ground and check it for level. If it’s wobbling, adjust the depth of the posts until it’s steady. Once it’s upright, you can start training your plants up the mesh. I usually grab a bit of twine to tie the main stem to the trellis for the first week—once the plant gets a grip, it’ll take over on its own.
Smart Vertical Gardening Structures for Maximum Yield
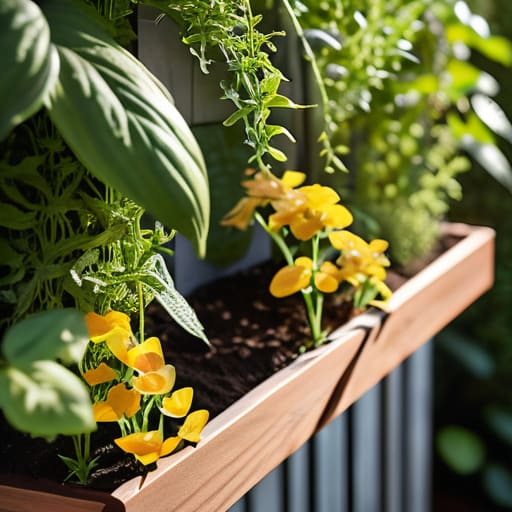
Look, if you’re only building a trellis to make your backyard look like a Pinterest board, you’re doing it wrong. The goal is output, not aesthetics. If you have a tiny footprint, you need to stop thinking horizontally and start thinking vertically. I’m talking about utilizing every inch of air space you have. Instead of just one flat structure, consider layering your vertical gardening structures to create a tiered system. For example, you can mount a heavy-duty frame for your heavy cucumbers and then attach lighter mesh or twine underneath for smaller herbs. This maximizes your square footage without requiring a massive plot of land.
When you’re looking at different wooden trellis design ideas, don’t get distracted by the expensive, ornate stuff you see in boutique garden centers. Most of those are flimsy and will rot or snap under the weight of a heavy harvest. I prefer using thick, untreated cedar or even repurposed scrap lumber if it’s structurally sound. If you’re growing heavy hitters like squash or melons, make sure your support system is anchored deep into the ground or bolted to a solid fence. If it’s not built to handle the weight, it’s just going to collapse mid-season and waste all that effort you put into your seedlings.
Essential Garden Trellis Materials List for Durability
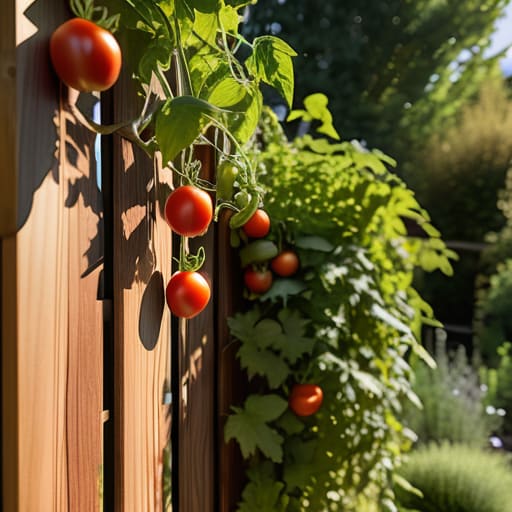
Look, don’t fall into the trap of buying cheap, flimsy plastic stakes from the big-box stores. They’ll snap the second a heavy tomato vine hits them, and then you’re back at square one. If you want a trellis for vegetable gardens that actually survives a summer storm, you need to prioritize material density. I always recommend cedar or redwood if your budget allows because they have natural rot resistance, meaning you won’t be rebuilding your entire setup in six months. If those are too pricey, go with pressure-treated lumber, but make sure it’s rated for ground contact so it doesn’t degrade the second it touches damp soil.
When you’re putting together your garden trellis materials list, don’t overlook the hardware. Skip the thin nails that pop out when the wood swells; use stainless steel or galvanized screws instead. They’re a tiny bit more expensive, but they won’t rust and leave those ugly orange streaks all over your plants. Also, grab some heavy-duty zip ties or galvanized wire for securing your vines. It’s a small detail, but having the right climbing plant support systems in place from day one saves you a massive headache when your garden starts getting heavy and unruly.
5 Pro-Tips to Keep Your Trellis from Becoming a Total Mess
- Don’t trust cheap plastic clips; they snap the second a heavy vine hits them. Use actual garden wire or even some leftover zip ties from an old tech project to secure everything. It’s more work upfront, but you won’t be replacing them mid-season.
- Overbuild the base. I’ve seen so many “aesthetic” trellises just tip over the first time a heavy tomato plant leans on them. Drive your stakes deep into the ground—at least 8 to 12 inches—so you aren’t chasing a fallen structure around your yard every time it rains.
- Space your horizontal supports based on what you’re actually growing. If you’re doing cucumbers, they need wider gaps; if it’s peas, go tighter. Don’t just follow a generic pattern; think about the plant’s actual biology so you aren’t wasting wood.
- Skip the expensive, “weather-treated” lumber if you’re on a budget. Just grab some standard cedar or even scrap wood and hit it with a decent sealant yourself. It takes ten minutes longer, but you save a massive chunk of change.
- Leave room for error. Plants grow way faster than you think they will. If your trellis is too tight or too small, you’ll end up with a tangled disaster that’s impossible to prune. Build it bigger than you think you need.
The Bottom Line: Don't Overcomplicate It
Stop chasing the Pinterest aesthetic; if a trellis is sturdy and keeps your plants off the ground, it’s doing its job.
Prioritize durability over looks—invest in solid materials like treated wood or metal so you aren’t rebuilding the whole thing every single season.
Scale your build to your space, not your budget; use scrap materials and vertical space to maximize your yield without breaking the bank.
Stop Waiting for the Perfect Setup
At the end of the day, you don’t need a designer garden layout or a massive budget to get your plants growing upward. We’ve covered the essentials: grab some scrap wood or sturdy wire, build a structure that actually holds its own weight, and focus on verticality to squeeze every inch of value out of your limited space. Remember, the goal isn’t to win a landscaping award; it’s to create a functional system that supports your food and keeps your garden from becoming a tangled, unmanageable mess. If you used the right materials and kept the design simple, you’ve already done the hard part of building something that lasts.
Don’t let the fear of a “DIY fail” keep you from starting. Your first trellis might look a little wonky, and that’s perfectly fine. I’ve spent more time fixing mistakes in my own cramped apartment garden than I have admiring perfect rows, and honestly? That’s where the real learning happens. Just get your hands dirty, use what you have, and stop overthinking the aesthetics. Once those vines start climbing and you see your first harvest, you’ll realize that a functional, homemade setup is worth ten times more than anything you could have bought in a fancy store. Now, go build something useful.
Frequently Asked Questions
How do I stop my trellis from tipping over once the plants actually start getting heavy?
Look, this is where most DIYers fail—they build for the seedling, not the harvest. Once those vines get heavy, gravity is your enemy. Don’t just hope for the best; anchor it. Drive a heavy-duty rebar stake deep into the ground right next to your main support, or better yet, use guy wires. Just run some high-tensile wire from the top of your trellis to a fixed point or a heavy stake. It’s not “aesthetic,” but it keeps your plants from face-planting.
Should I use treated wood or is that going to mess with my edible herbs and veggies?
Look, I get the hesitation. You don’t want chemicals leaching into your basil. If you’re using old-school pressure-treated wood, skip it—it’s not worth the risk to your food. Stick to cedar or redwood if you can swing the extra few bucks; they’re naturally rot-resistant without the nasties. If your budget is tight, just grab untreated pine and seal it yourself with a food-safe finish. It’s more work, but it’s safer.
What’s the best way to secure the trellis to a wall without ruining my siding or bricks?
Look, don’t go drilling random holes into your siding unless you want a massive repair bill later. If you’re dealing with bricks, use masonry screws or heavy-duty adhesive anchors—they’re solid and won’t budge. For siding, skip the direct mounting and build a free-standing frame or use heavy-duty command hooks/tension rods if the weight is minimal. Honestly? A self-supporting A-frame is your best bet to keep your walls pristine and your budget intact.
How often am I actually going to have to fix or replace this thing if I leave it outside year-round?
Look, if you use cheap, untreated pine, you’re going to be rebuilding this every two seasons once the rot sets in. Don’t do that to yourself. If you use cedar or pressure-treated wood, you’re looking at five to seven years minimum before it starts looking sketchy. Just keep an eye on the joints; if they get soft, swap a single piece instead of the whole frame. Work smarter, not harder.
