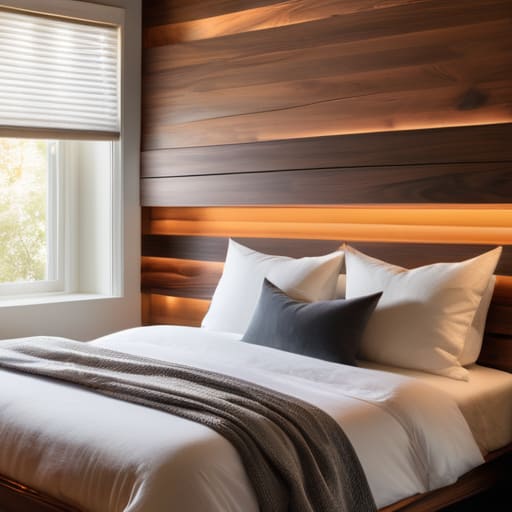
Look, I’ve spent way too many nights staring at a blank, depressing wall behind my bed because I couldn’t justify dropping five hundred bucks on a piece of furniture that’s basically just foam and cheap fabric. We’ve all seen those perfectly staged bedroom shots on Pinterest, but let’s be real: most of that stuff is unaffordable fluff that doesn’t actually fit a real budget. If you’re tired of your room looking unfinished but your bank account is screaming, you don’t need a designer; you just need some creativity and a few basic tools. I’ve spent years figuring out how to make small, cramped spaces feel intentional without breaking the bank, and finding the right diy headboard ideas is honestly the fastest way to make a room feel “done” without the retail markup.
I’m not going to waste your time with projects that require a workshop full of heavy machinery or a massive budget. Instead, I’ve rounded up 8 practical, low-cost ways to build something functional that actually looks good. From using scrap materials to simple hacks that take less than an hour, these are the only methods worth your energy. By the end of this, you’ll have a solid plan to upgrade your sleep space on your own terms.
The Scrap Wood Slat Hack
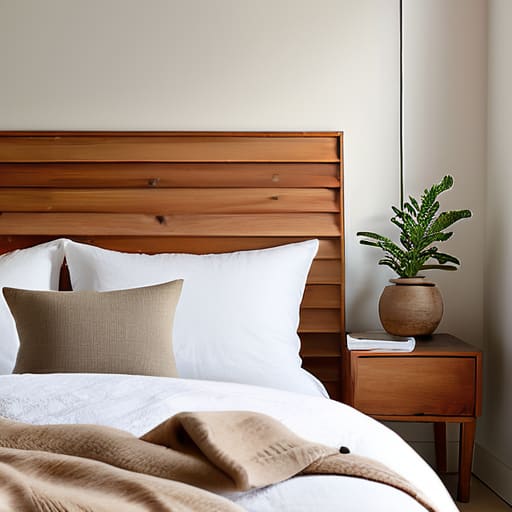
If you have a few leftover planks from a previous project or can score some cheap pine from a hardware store, this is your move. Instead of buying a pre-made wooden headboard that costs a fortune, just sand down some slats and screw them directly into a frame or mount them to the wall. It gives you that modern, minimalist vibe without the designer price tag.
Upcycled Vintage Doors
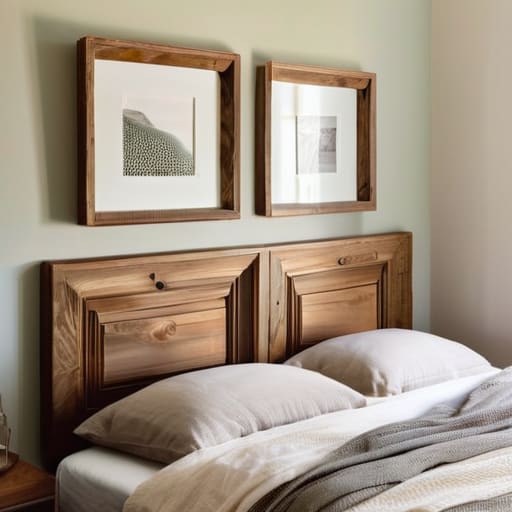
This is my favorite way to rescue something from a thrift store or a curb alert. Old solid wood doors are basically heavy-duty, oversized canvases waiting to happen. Once you strip off the old, crusty paint, you have a massive, sturdy piece that adds instant character to a room that feels too sterile.
The Fabric-Wrapped Foam Board
If you’re looking for something soft but don’t want to drop a paycheck on a tufted velvet headboard, do this. Grab some high-density foam and a piece of plywood, then wrap them in whatever fabric you can find on sale. You can even use an old heavy curtain or a piece of upholstery remnant from a craft store.
Industrial Pipe Framework
Since I spend half my time tinkering with hardware, I’m a huge fan of using black iron pipes for a headboard. It’s incredibly sturdy and gives off a rugged, industrial look that’s actually quite easy to assemble. You just need the right lengths of pipe and some floor flanges to mount it to the wall.
The Hanging Macramé Panel
For those of you who want something lighter and less “heavy” looking, a large macramé hanging is the way to go. You don’t even need to be a pro at knotting; you can find cheap patterns online or even just buy a large woven tapestry. It adds warmth to the room without the bulk of a wooden frame.
Repurposed Pallet Wall
I know, I know, “pallet decor” can feel a bit cliché, but if you do it right, it’s incredibly cheap and looks great. Instead of using the whole pallet, just pull the slats off and arrange them in a random, staggered pattern on the wall behind your bed. It adds a lot of depth and texture.
Padded Leather Tiles
If you want something that feels a bit more “grown-up” and sophisticated, try using faux leather tiles. You can buy these in packs and simply glue them to a piece of thin plywood. It creates a sleek, geometric pattern that looks like it belongs in a high-end boutique hotel.
The Floating Shelf Method
If you are tight on space, stop trying to build a massive headboard and just use a long, deep floating shelf. Mount it about six inches above your pillows. It serves the same visual purpose as a headboard but gives you a functional surface to set your phone, a glass of water, or your reading light.
The Bottom Line on DIY Headboards
Stop chasing the “Pinterest aesthetic” and focus on stability; a headboard that looks cool but wobbles every time you move is just wasted effort and money.
Always audit your workspace and tools before starting; if you don’t have the right drill bit or enough scrap wood, don’t start the project halfway through.
Prioritize multi-use materials—if you can use the leftover wood for a small shelf or a planter later, you’ve actually won the budget game.
Stop Overpaying for Decor: Low-Cost Headboard Hacks That Actually Work
Look, at the end of the day, your bedroom should be a place where you can actually recharge, not a showroom for expensive furniture you can’t afford. Whether you went with the reclaimed wood look, the budget-friendly fabric wrap, or just some clever lighting hacks, the goal was the same: to create something that looks intentional without draining your bank account. You don’t need a professional interior designer or a massive budget to transform your space; you just need a little bit of grit and the right tools. Remember, if a project takes three weeks and costs more than a new mattress, it’s not a hack, it’s a bad investment.
Don’t let the fear of a “failed” DIY project stop you from even trying. I’ve definitely messed up a few sanding jobs and wasted some good fabric in my time, but honestly? It’s part of the process. The point isn’t to achieve some Pinterest-perfect, airbrushed aesthetic that looks good in a photo but feels fake in real life. The point is to build a life that actually works for you. So, grab your multi-tool, clear off your workspace, and just start building. You’ve got this.
Frequently Asked Questions
How do I make sure a DIY headboard is actually sturdy enough so it doesn't fall over in the middle of the night?
Look, nothing ruins a good sleep like your headboard wobbling or, even worse, collapsing. If you’re building one, don’t just lean it against the wall and pray. You need to anchor it. Use L-brackets to bolt it directly to your bed frame or screw it into the wall studs if you’re making a wall-mounted version. If it’s a freestanding unit, ensure the base is heavy or wide enough to prevent tipping. Build for stability, not just looks.
Are there any cheap ways to attach these to a bed frame without drilling permanent holes in the wall?
Look, I get it. If you’re renting a cramped studio or just don’t want to lose your security deposit, drilling into the walls is a nightmare. Skip the power drill. Use heavy-duty Command strips if the headboard is lightweight, or better yet, use industrial-strength Velcro strips. If it’s a heavier wooden DIY build, I usually just lean it against the wall and use some non-slip rubber furniture pads on the bottom to keep it from sliding around. Simple, cheap, and no holes.
What’s the best way to clean a fabric or upholstered headboard if I’m living in a small, dusty apartment?
Look, if you’re in a cramped apartment, dust is your worst enemy. Don’t go buying expensive chemical sprays that just leave a sticky residue. Grab a vacuum with an upholstery attachment first—get deep into the crevices. If there are actual spots, mix a tiny bit of mild dish soap with warm water, use a microfiber cloth, and dampen it, don’t soak it. Blot, don’t rub. It’s about being efficient, not making a mess.
I'm on a super tight budget—is it even worth buying tools for this, or should I just stick to things like command strips and glue?
Look, I get it. When you’re counting every cent, a new drill feels like a luxury. But here’s the reality: Command strips and glue are fine for lightweight stuff, but they’re a band-aid, not a solution. If you want something that won’t fall on your head at 3 AM, you need basic tools. Don’t buy a whole kit—hit a thrift store or Facebook Marketplace for a used screwdriver set and a hammer. It’s an investment in stability.
