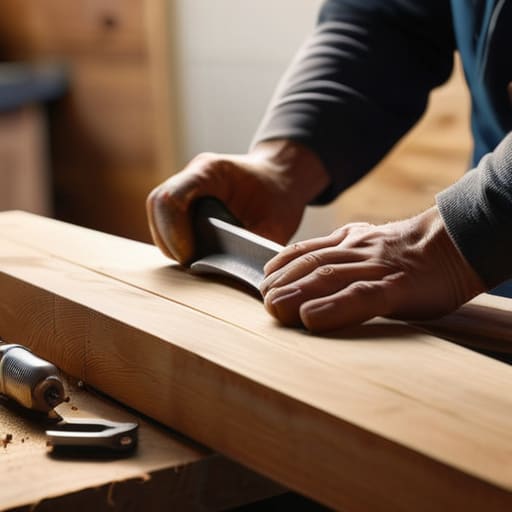
Stop scrolling through those Pinterest boards filled with $2,000 custom walnut workbenches that look more like art installations than actual tools. If you think you need a massive workshop and a huge budget just to figure out how to build a workbench, you’ve been lied to. I spent years trying to fix my mechanical keyboards and tinkering with electronics on a wobbly kitchen table that shook every time I applied pressure, and honestly, it was exhausting. You don’t need a master carpenter’s toolkit or expensive hardwoods to create a solid surface; you just need something that won’t collapse when you’re actually putting it to use.
In this guide, I’m stripping away the fluff and showing you how to construct a heavy-duty, functional station using nothing but basic construction-grade lumber and a few standard fasteners. We aren’t chasing “aesthetic” here—we’re chasing stability and utility. I’ll walk you through the exact dimensions and assembly steps to get a workspace that can handle your projects without breaking the bank. Let’s stop dreaming about the perfect studio and actually build something that works.
Guide Overview
Tools & Supplies
- Circular saw or handsaw to cut lumber to length
- Power drill and bits for driving screws
- Tape measure for precise marking
- Speed square to ensure corners are 90 degrees
- Level to ensure a flat work surface
- 2×4 lumber (approx. 8-10 boards)
- 4×4 lumber (2 posts for heavy-duty legs)
- 3/4 inch plywood (1 sheet for the tabletop)
- Wood screws (various lengths)
- Wood glue for reinforced joints
Step-by-Step Instructions
- 1. First, stop scrolling through Pinterest for “aesthetic” workshop builds and just get your materials together. You don’t need exotic hardwoods or designer finishes; head to the local hardware store and grab some 2x4s and a sheet of thick, high-quality plywood. I personally swear by construction-grade lumber because it’s cheap, and if you scratch it up while you’re working, it’s not going to break your heart or your bank account.
- 2. Measure and cut your frame using a simple rectangular design. You want a sturdy base, so don’t get fancy with complex joinery that requires a specialized workshop you probably don’t even have. Just aim for a solid, boxy frame that sits low enough to be comfortable but high enough that you aren’t hunching over like a gargoyle while you’re trying to fix a keyboard or a gadget.
- 3. Now, it’s time to assemble the skeleton. Use heavy-duty wood screws—not those tiny, flimsy ones—to connect your 2x4s. If you want this thing to actually last, I highly recommend pre-drilling your holes first. It takes an extra five minutes, but it prevents the wood from splitting, which saves you from having to redo the whole damn thing because you were being impatient.
- 4. Attach your work surface. This is where that plywood comes in. Lay it flat across your frame and secure it with more screws. Make sure the surface is completely level before you tighten everything down; if your bench is wobbly, every single project you work on afterwards is going to be a nightmare of frustration.
- 5. Add some stability by installing cross-braces near the bottom. This is the part people usually skip because it looks “ugly,” but it’s the most important step for preventing that annoying side-to-side wobble. I usually just screw a couple of 2x4s horizontally between the legs to create a rock-solid foundation that can handle the weight of your tools.
- 6. Finally, don’t waste time on built-in organizers or complex drawer systems. Just screw a couple of cheap heavy-duty hooks into the side of the frame or grab a basic pegboard. The goal here is maximum utility with minimum effort; you need a place to hang your pliers and your multi-tool, not a museum-grade display case for your gear.
Skip the Fluff Choosing Heavy Duty Workbench Design Over Trends
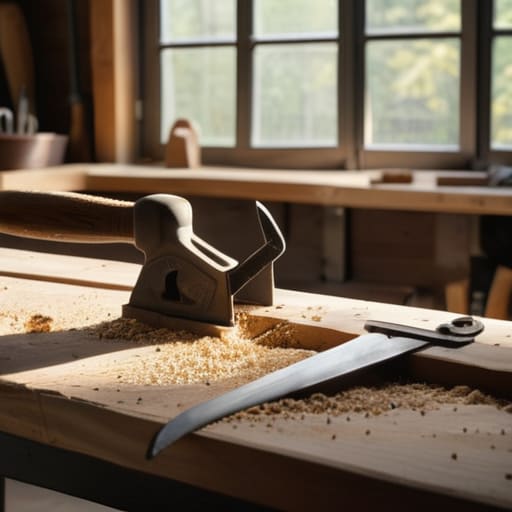
Look, I see these Pinterest-perfect woodworking workbench plans all over my feed, and honestly? Most of them are a waste of your time and money. They look great in a minimalist studio, but the second you try to actually saw something or hammer a nail, that flimsy, aesthetic table is going to wobble like crazy. If you’re serious about this, you need to prioritize a heavy duty workbench design over anything that just looks “clean.” I grew up in a tiny apartment where every square inch had to earn its keep, so I learned early on that if a piece of furniture can’t handle real stress, it’s just clutter.
Don’t get distracted by fancy joinery or expensive hardwoods that you’ll never actually use. When you’re building a sturdy work table, focus on mass and stability. Use thick, construction-grade lumber and prioritize a wide footprint. You want something that stays put when you’re working. Also, don’t overcomplicate your workshop organization solutions right out of the gate. You don’t need a built-in, custom-milled tool wall yet. Just build a solid surface with enough clearance to move around, and maybe add some basic pegboard later. Focus on the bones of the build, not the decorative trim.
Essential Woodworking Tools for Beginners to Get the Job Done
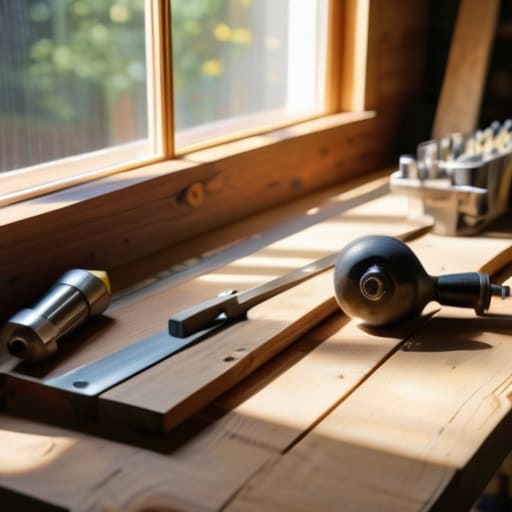
Look, you don’t need a garage full of $500 power tools to get started. I see people getting paralyzed by choice, thinking they need a specialized router or a high-end table saw before they even lay the first piece of lumber. That’s a trap. For building a sturdy work table, you really only need the basics: a decent drill/driver, a circular saw (or even a handsaw if you’ve got the patience), a speed square, and a solid tape measure. If you can drive a screw straight and make a relatively clean cut, you’re already halfway there.
Don’t get caught up in fancy essential woodworking tools for beginners that promise “professional results” but just end up gathering dust in a corner. Focus on the tools that actually do the heavy lifting. A good set of clamps is non-negotiable; you can never have too many, and they’ll save you more frustration than any expensive gadget. My advice? Buy mid-range tools that work, then upgrade only when you actually find yourself hitting a wall because your gear can’t keep up. Work smarter, not more expensive.
5 Real-World Rules for a Workbench That Won't Fail You
- Don’t obsess over a perfect finish. You’re going to spill glue, scratch it with tools, and dent it with heavy parts. A cheap way to handle this is to just throw a heavy-duty rubber mat or a sacrificial piece of scrap plywood on top so you aren’t stressing every time you make a mistake.
- Prioritize weight over aesthetics. If your bench is too light, it’s going to slide across the floor every time you try to saw something or hammer a nail. If you don’t have space for a massive heavy build, screw some heavy weights or even old sandbags to the bottom shelf to anchor it down.
- Build in more storage than you think you need. I learned this the hard way in my tiny apartment. If you don’t have a dedicated spot for your drill bits, screwdrivers, and multi-tools, they’ll end up scattered all over your workspace, and you’ll waste half your project time just looking for stuff.
- Skip the expensive specialized clamps for now. You don’t need a $200 setup to start. Grab a few decent C-clamps or even some heavy-duty spring clamps from a hardware store. They do the job, they’re easy to store, and they won’t break the bank when you’re just starting out.
- Leave room for your tech. Since I spend half my time fixing hardware and the other half tinkering, I always make sure there’s a clear corner for a power strip and a spot to set down a laptop or a tablet. If you can’t plug in your tools or your computer, the bench isn’t actually functional.
The Bottom Line: Don't Overcomplicate It
Stop chasing the “aesthetic” workbench you saw on Pinterest; if it isn’t sturdy enough to handle a heavy drill or a messy project, it’s a waste of your time and money.
Prioritize function over finish—use construction-grade materials that do the job, and save your “fancy” budget for the tools that actually make your life easier.
Build for the space you actually have, not the dream workshop you wish you owned; a compact, solid setup is infinitely better than a massive, wobbly one that takes up your whole apartment.
Stop Overthinking and Start Building
Look, we’ve covered the ground. You don’t need a masterclass in carpentry or a garage full of expensive power tools to get this done. We talked about why you should ditch the aesthetic “Pinterest-perfect” designs and focus on a heavy-duty, functional frame that won’t wobble the second you put some weight on it. We went over the essential kit—the stuff that actually moves the needle, not the luxury gadgets that just sit in your drawer. At the end of the day, a workbench is just a platform for your projects, and as long as it’s sturdy and level, you’ve already won half the battle.
My advice? Stop scrolling through tutorials and just grab that plywood. Your first build isn’t going to be a museum piece, and honestly, it shouldn’t be. It’s going to get covered in sawdust, oil stains, and maybe a few accidental scratches, but that’s how you know it’s actually being used. The goal isn’t to have a workspace that looks good in a photo; it’s to have a place where you can actually get things done without breaking the bank. So, pull out your multi-tool, check your measurements one last time, and just get to work.
Frequently Asked Questions
How do I stop my workbench from wobbling if I'm building it on an uneven floor?
Look, uneven floors are a nightmare, especially in old apartments. Don’t bother trying to sand your floor down—that’s a losing battle. Instead, build adjustable leveling feet directly into your bench legs. You can buy heavy-duty screw-in levelers online for cheap, or if you’re on a zero-dollar budget, use some thick rubber scraps or even shim it with plywood offcuts. Just make sure you use a spirit level; if it’s not level, your tools will slide and your sanity will vanish.
Is it actually worth spending more on a better vise, or can I just DIY one for now?
Look, if you’re tight on cash, don’t drop $200 on a brand-name vise just because a YouTuber told you to. You can absolutely DIY a basic woodworking vise using some scrap hardwood and heavy-duty bolts. It won’t be pretty, and it might not be perfect for heavy metalwork, but for basic assembly? It’ll do the job. Save that extra money for better sandpaper or more wood. Buy the real deal once your projects actually demand it.
What’s the best way to organize my tools on the bench without turning it into a cluttered mess?
Look, don’t go buying those overpriced, aesthetic pegboard kits you see on Pinterest. They look great in photos but they’re a nightmare to actually use. Just grab some heavy-duty magnetic strips for your screwdrivers and pliers, and use a few cheap, sturdy bins for the small stuff. If you can’t grab a tool in three seconds, your system is broken. Keep the surface clear for actual work; everything else lives on the walls or in drawers.
Can I use cheaper scrap wood for the frame, or will the whole thing collapse under pressure?
Look, I grew up fixing stuff with whatever was lying around, so I get the urge to scavenge. You can use scrap for the frame, but don’t get reckless. If the wood is bowed, split, or structurally compromised, your whole setup is going to wobble like a cheap desk. Use the scrap for bracing or lower shelves, but for the main legs and load-bearing frame? Buy decent, straight lumber. Don’t build a headache.
