Stop wasting your paycheck on those “aesthetic” particle-board desks that wobble if you breathe on them too hard. I spent my early twenties working out of a cramped corner in a tiny apartment, trying to squeeze a dual-monitor setup onto a wobbly kitchen chair and a folding table that felt like it was one heavy laptop away from a total meltdown. I learned the hard way that you don’t need a massive workshop or a designer budget to create a solid workstation; you just need to know how to build a desk that actually fits your gear and your space without the corporate markup.
In this guide, I’m stripping away all the fluff and the “must-have” expensive power tools you definitely don’t need. I’m going to show you how to source decent materials on a budget and assemble a setup that is built to last. We’re focusing on structural integrity and cable management that actually works, not just something that looks good in a filtered photo. If you want a workspace that handles your tech and your hustle without breaking the bank, let’s get to work.
Guide Overview
Tools & Supplies
- Power Drill and bits for assembly
- Circular Saw or Hand Saw for cutting wood
- Sandpaper for smoothing surfaces
- Tape Measure for accurate sizing
- Wood Desktop (1 piece)
- Wooden Legs or Sawhorses (4 pieces)
- Wood Screws (1 pack)
- Wood Glue (1 bottle)
- Sandpaper (various grits)
Step-by-Step Instructions
- 1. First, stop scrolling through Pinterest and grab a tape measure. You need to measure your actual available floor space, not the “dream” space you wish you had. Once you know your limits, decide on your desktop material. I highly recommend a thick piece of plywood or a butcher block from a hardware store; don’t bother with particle board unless you want your desk to sag and die within six months.
- 2. Next, we need to talk about the legs. You could try to build wooden legs, but if you want to actually finish this project today, just buy some heavy-duty steel hairpin legs or pre-made metal trestles online. It’s a total cheat code that saves you hours of frustration and ensures your setup is actually stable when you’re typing away.
- 3. Sanding is the part everyone tries to skip, but don’t be that person. Take some medium-grit sandpaper and go over your desktop until it feels smooth to the touch. If you leave it rough, you’re going to end up with splinters in your forearms every time you reach for your mouse, and that’s a problem we don’t need.
- 4. Now, apply a finish. If you’re on a budget, a simple polyurethane coat will protect the wood from coffee spills and scratches without breaking the bank. Don’t go overboard with fancy oils and waxes; just get a functional sealant that does its job so you can get back to your actual life.
- 5. Flip your desktop over (get a friend or use some old pillows so you don’t scratch the surface) and mark where your legs are going to sit. I usually leave about two inches of overhang on each side to keep it looking clean. Use a drill to pre-drill your holes; if you skip this, the wood will split, and you’ll have wasted all that money on the materials.
- 6. Screw the legs into place using the hardware provided. Make sure everything is tight and there’s no wobbling. If you’re using a heavy desktop, I suggest adding a few extra reinforcement brackets just to be safe. I’ve seen too many “aesthetic” desks collapse under the weight of a single monitor.
- 7. Finally, cable management. Since I’m a systems admin, I can’t stand a nest of wires. Don’t just let them hang; grab some cheap adhesive cable clips or even just some heavy-duty zip ties to tame the chaos underneath the desk. A clean workspace isn’t about looking “minimalist” for a photo; it’s about making sure you don’t trip over a power strip when you’re trying to get up.
Choosing the Best Wood for Office Desks Without Overspending
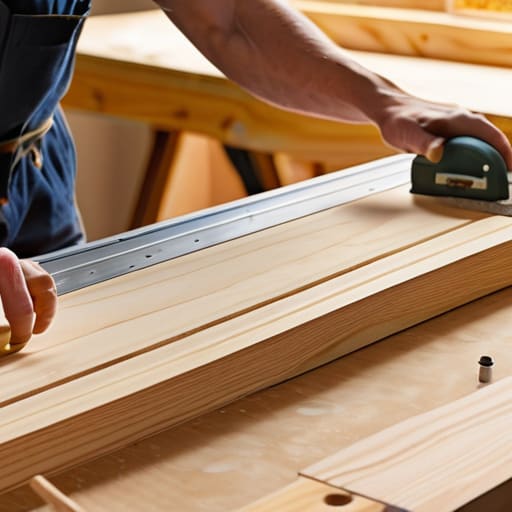
Look, don’t let the big-box hardware store aisles intimidate you with all those expensive hardwoods. If you walk in looking for solid walnut or cherry, you’re basically throwing money down the drain before you even start. For a functional setup, you really just need something stable and flat. I usually recommend starting with construction-grade pine or even a high-quality birch plywood. It’s cheap, it’s accessible, and if you mess up a cut, it’s not a financial catastrophe. If you’re aiming for a more polished look, you can always sand it down and hit it with a decent stain, but let’s be real: the goal is a sturdy surface for your gear, not a museum piece.
When you’re scouting for the best wood for office desks, keep an eye out for knots and warping. You want something straight so your monitor doesn’t wobble every time you type. If you’re building a computer workstation, stability is everything—nothing kills my productivity like a desk that feels like a seesaw. Also, don’t go overboard with the fancy grain patterns; stick to minimalist desk design ideas that prioritize a clean, flat surface. You want a workspace that actually works for your hardware, not one that looks pretty in a photo but fails the moment you set down your heavy PC tower.
A Custom Desk Dimensions Guide for Maximum Efficiency
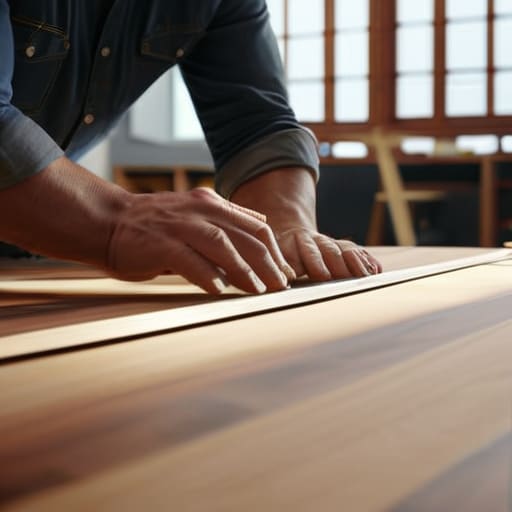
Look, don’t just eyeball your measurements and hope for the best. I’ve seen too many people waste money on lumber only to realize their new setup feels like a cramped cockpit or a massive, unusable wasteland. If you’re building a computer workstation, the most important thing is your ergonomics. Standard desk height is usually around 29 to 30 inches, but if you’re tall or short, you need to adjust that to prevent your shoulders from hunching up like a gargoyle. Measure your chair height first; your elbows should hit the surface at a 90-degree angle when you’re typing.
Depth is where most people mess up. If you go too shallow, your monitor is going to be right in your face, causing massive eye strain. Aim for at least 24 to 30 inches of depth so you actually have room for your keyboard, a mousepad, and maybe a notebook without feeling like you’re playing Tetris. This custom desk dimensions guide isn’t about making it look pretty for a photo; it’s about making sure you don’t end up with chronic back pain in six months. Measure your gear, check your clearance, and prioritize your actual physical workspace over a Pinterest aesthetic.
5 Real-World Tips to Keep Your Desk from Becoming a Total Disaster
- Don’t skip the cable management. If you don’t drill a few holes for grommets or mount a power strip underneath, you’re just building a glorified nest for dust bunnies and tangled wires.
- Sanding is non-negotiable. I know, it’s tedious, but if you don’t sand that wood down properly, you’re going to end up with splinters every time you reach for your coffee.
- Overbuild your support system. A thin leg setup might look “minimalist” on Pinterest, but if your monitor and PC are heavy, you want heavy-duty brackets or thick legs so the whole thing doesn’t wobble every time you type.
- Think about your peripherals. Leave extra room for your mousepad and maybe a headphone hook; there’s nothing worse than realizing your “perfect” desk is too cramped for your actual gear.
- Protect your investment with a decent finish. Whether it’s a cheap polyurethane or just some wax, you need a barrier so that a spilled drink doesn’t ruin your hard work in five minutes.
The Bottom Line: Don't Overcomplicate It
Prioritize stability over aesthetics; a desk that wobbles while you’re typing is a waste of your time and money, so invest in solid materials and heavy-duty hardware.
Measure twice, buy once, and don’t forget to account for your actual workflow—if you need room for a second monitor and your mechanical keyboard, make sure the dimensions actually reflect that.
Stop chasing the “Pinterest look” and focus on utility; a simple, sturdy plywood setup will serve you way better in the long run than a flimsy, overpriced piece of “aesthetic” furniture.
Stop Overthinking and Start Building
Look, we’ve covered the essentials: you don’t need a massive budget to get a solid workspace, you just need the right materials and a plan that actually fits your body. We talked about skipping the overpriced designer woods in favor of something functional like plywood, and we nailed down the dimensions so you aren’t stuck with a desk that’s too small for your monitors or too high for your chair. At the end of the day, it’s about the utility of the build. If your desk is sturdy, fits your gear, and didn’t drain your savings account, you’ve already won. Don’t get caught up in trying to make it look like a Pinterest board; just make sure it actually works for your workflow.
I know it feels intimidating to pick up a drill or make that first cut, especially if you aren’t a “handy” person, but trust me—you’re more capable than you think. I grew up fixing things in tiny apartments because I had to, and that’s how I learned that perfection is the enemy of progress. Your first desk might have a slightly uneven edge or a screw that’s a little too deep, but that doesn’t matter. What matters is that you built something that serves you. So, stop scrolling, grab your tools, and go create a space that’s built for your life, not for a photo op.
Frequently Asked Questions
I don't have a garage or a workshop; can I actually pull this off in a tiny apartment using just a few basic tools?
Look, I grew up in a shoebox apartment, so I get it. You don’t need a workshop; you just need a strategy. Grab a heavy-duty folding table or even some sturdy boxes to act as your makeshift workbench. As long as you have a drill, a screwdriver, and a measuring tape, you’re golden. Just keep a trash bag handy for sawdust and work near a window. If I can do this in a cramped studio, you definitely can.
How do I make sure the desktop doesn't sag in the middle if I'm planning on putting a heavy PC tower and multiple monitors on it?
Look, if you’re stacking a heavy tower and multiple monitors, a thin slab of wood is going to bow like a banana within a month. Don’t let that happen. You need structural support. Either screw a stiffening rail (an apron) along the underside of the desk, or grab some heavy-duty steel L-brackets. If you’re using plywood, double up the thickness where the weight hits. It’s not about looks; it’s about making sure your gear doesn’t end up on the floor.
What’s the cheapest way to get a smooth, professional-feeling finish without spending a fortune on high-end stains or expensive power sanders?
Look, you don’t need a $200 orbital sander or boutique wood stains to make this look legit. Grab a decent random orbital sander from a hardware store—or better yet, check Facebook Marketplace for a used one. For the finish, skip the fancy oils and just use a high-quality poly столешница (polyurethane) and some fine-grit sandpaper. Sand between coats. It’s tedious, yeah, but it’ll give you that smooth, professional feel for a fraction of the cost.
If I end up using a budget-friendly wood like pine, how do I stop it from getting scratched up or dented by my keyboard and mouse?
Look, pine is soft. If you just leave it raw, your mechanical keyboard is going to leave battle scars on that surface within a week. Don’t waste money on fancy oils, either. Just grab a decent polyurethane or even a basic water-based sealant from the hardware store. Apply two or three thin coats. It creates a hard protective layer that handles the daily grind without making it look like a high-gloss showroom piece.
