Look, I didn’t grow up with a massive backyard or a garage full of expensive power tools; I grew up in a tiny apartment where every square inch had to earn its keep. Most of the “DIY” content you see online is just people buying expensive lumber to make something that looks pretty on a Pinterest board but falls apart if you actually touch it. I’m over the fluff. If you’re looking into beginner woodworking projects, you shouldn’t be trying to build a mahogany dining table on day one. You should be focusing on things that solve real problems, fix your clutter, and actually fit into your budget without requiring a specialized workshop.
In this post, I’m breaking down 8 specific projects that are high-utility and low-stress. We aren’t chasing aesthetics here; we are building stuff that works. I’m going to show you how to tackle projects that teach you the fundamental skills—like measuring twice and cutting once—while giving you something immediately useful for your home. By the end of this list, you’ll have a roadmap of projects that turn scrap wood into functional gear, helping you master the basics without wasting a single cent on junk you don’t need.
The "No-Frills" Desktop Organizer
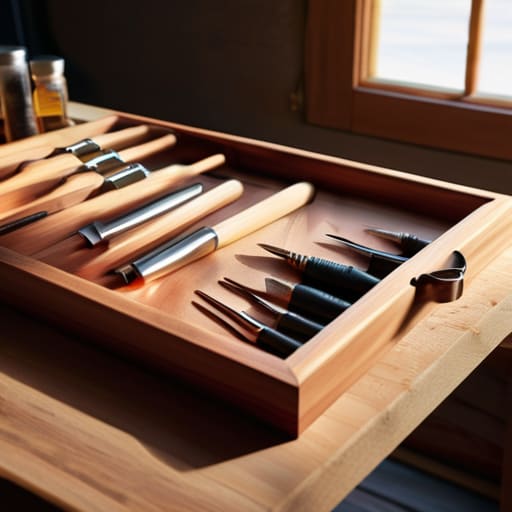
If your workspace looks like a tech graveyard of cables, dongles, and loose pens, you need this. Forget those expensive, overpriced acrylic organizers you see in lifestyle ads; they crack easily and look cheap after a month. Instead, grab some scrap plywood or even some leftover cedar and build a simple, tiered tray system that actually fits your specific gear.
Heavy-Duty Floating Shelves
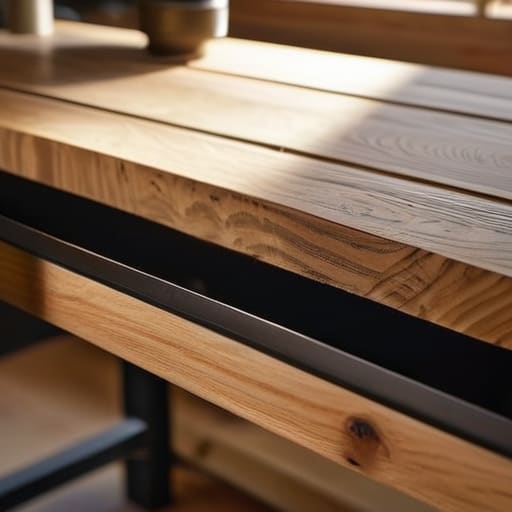
Most store-bought floating shelves are basically glorified cardboard held up by hope. If you’re trying to store actual books or heavy tech components, you need something that won’t sag under the weight. I started making my own using solid wood scraps and heavy-duty mounting brackets because I was tired of seeing my stuff end up on the floor.
The Modular Herb Planter Box
Since I live in a small space, I can’t exactly have a backyard garden, so I built these modular planter boxes to maximize my windowsill real estate. Instead of buying those flimsy plastic pots that leach chemicals and crack in the sun, use some untreated pine to create sturdy, stackable units.
A Rugged Tool Caddy
I keep a multi-tool on my keychain, but I also have a collection of screwdrivers and pliers that I constantly misplace. A basic wooden caddy is a game changer for anyone who actually uses their tools rather than just collecting them. It keeps everything upright and visible so you aren’t digging through a messy drawer every time a screw comes loose.
The Minimalist Laptop Stand
If you’re working from a desk or a kitchen table, your ergonomics are probably trash, and your neck is definitely feeling it. A custom wooden laptop stand can elevate your screen to eye level, but don’t go out and buy a designer one for sixty bucks. You can make a solid, angled riser using just a few pieces of hardwood and some wood glue.
Sturdy Coaster Sets
This might seem like a “small” project, but it’s the perfect way to practice your sanding and finishing skills without the pressure of a massive build. I use these to protect my desk from coffee rings and condensation, which is essential if you’re working with real wood surfaces.
The "Everything" Charging Station
We all have too many cables, and seeing them tangled in a heap is a total productivity killer. I built a small wooden docking station that hides the power strip and provides specific slots for my phone, tablet, and smartwatch. It turns a chaotic mess of wires into a single, organized hub.
A Basic Step Stool
In a small apartment, you’re constantly reaching for things on high shelves, and those flimsy plastic stools are a death trap. A simple, two-step wooden stool is a project that actually pays off in terms of safety and longevity. It’s a great way to learn about basic structural stability and how to use screws effectively.
The Bottom Line: Build for Function, Not for the 'Gram
Stop chasing complex designs; focus on projects that solve a specific problem in your space, like extra storage or a better workspace.
Don’t let “gear envy” stop you—start with the basic tools you already have or can find cheap at a thrift store, and only upgrade when your current kit actually fails you.
Prioritize utility over aesthetics; if a piece of furniture doesn’t save you time, money, or clutter, it’s just more junk taking up precious square footage.
Stop Waiting for the Perfect Workshop
Look, we’ve covered a lot of ground here, from basic shelving to custom tool organizers, but the takeaway is the same: you don’t need a massive garage or a professional-grade lathe to start making stuff that actually matters. Whether you’re building a simple spice rack for your kitchen or a sturdy workbench to hold your gear, the goal isn’t to create a museum piece; it’s to create something functional and durable. Don’t get bogged down trying to master every complex joinery technique before you’ve even learned how to drive a screw straight. Focus on these projects because they solve real problems in your space without draining your bank account or wasting your weekends on useless fluff.
At the end of the day, the most important tool you have isn’t in your toolbox—it’s your willingness to mess up and try again. Your first few projects are probably going to be a little wonky, and honestly? That’s fine. A slightly uneven shelf still holds your books just as well as a perfect one, and it’s a hell of a lot better than buying some cheap, particle-board junk from a big-box store that falls apart in six months. Stop overthinking the aesthetics and just start building. The confidence comes from the doing, not the dreaming. Now, grab your multi-tool, clear off a corner of your desk, and get to work.
Frequently Asked Questions
Do I really need a workshop, or can I actually get this done on my kitchen table without ruining it?
Look, I get it. I spent my first year living in a studio where my “workbench” was a folding card table. You don’t need a dedicated shop to start, but you do need to protect your surfaces. Get a heavy-duty cutting mat or even a thick piece of scrap plywood to lay down first. Just watch the fine sawdust—it gets everywhere. If you’re careful with your clamping and cleanup, your kitchen table will survive.
Which tools are worth spending money on right away, and which ones can I just borrow or skip?
Look, don’t go dropping a paycheck on a fancy table saw just yet. Spend your money on the basics that you’ll use every single time: a solid drill/driver set and a decent tape measure. If they’re cheap, they’ll break or give wrong readings, and that’s just wasted money. Everything else? Borrow a miter saw from a neighbor or rent a sander from the hardware store. If you aren’t using it weekly, don’t own it.
How do I stop myself from wasting expensive wood on my first few mistakes?
Look, I learned this the hard way when I tried to build my first custom desk. Stop buying walnut and oak right out of the gate. You’re going to mess up a measurement or blow a hole with your drill; don’t let that cost you fifty bucks. Scour Facebook Marketplace for scrap pine or hit up a local construction site for offcuts. Use the cheap stuff to fail fast and learn the tools before you touch the expensive lumber.
What's the cheapest way to finish a project so it doesn't look like a total DIY disaster?
Look, skip the expensive boutique stains and high-end polyurethane. If you’re on a budget, go for a simple wipe-on oil finish like linseed or tung oil. It’s cheap, hard to mess up, and hides those tiny imperfections that make a project look “amateur.” Just sand your wood more than you think you need to—smoothness is what actually makes it look professional, not the brand of finish you use. Keep it functional, not fancy.