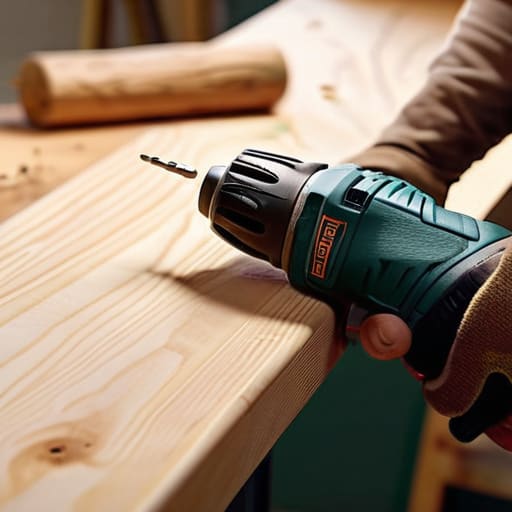
I was halfway through trying to mount a basic floating shelf in my tiny apartment when the drill slipped, sent a screw flying into my herb garden, and left a jagged, ugly hole in my drywall. I stood there staring at the mess, realizing that most “beginner” tutorials make this tool look way easier than it actually is. Here’s the truth: knowing how to use a drill isn’t about having the most expensive cordless model or a perfectly organized workshop; it’s about controlling the torque so you don’t end up destroying your project (and your sanity) in five seconds flat.
I’m not going to bore you with a lecture on the history of power tools or show you a pristine, aesthetic workspace that looks like a Pinterest board. Instead, I’m giving you the raw, functional basics that actually matter when you’re working in a cramped space on a budget. We’re going to cover everything from picking the right bit to the exact grip you need to keep things steady. If you want to stop guessing and start actually fixing things around your place without wasting money on ruined materials, let’s get into it.
Guide Overview
Tools & Supplies
- Power drill (cordless or corded)
- Drill bits (assorted sizes for drilling and driving)
- Workpiece (wood, metal, or plastic)
- Screws or fasteners (appropriate for material)
Step-by-Step Instructions
- 1. First, you need to pick the right bit. Seriously, don’t just grab the first thing you see in the dusty plastic case. If you’re drilling into wood, use a brad point bit; if it’s metal, you need something specifically rated for it. Using the wrong bit is the fastest way to ruin your project and your mood.
- 2. Grab your drill and tighten the chuck. You do this by twisting the sleeve at the front of the drill. Make sure the bit is seated dead center in those three little jaws. If it’s even slightly crooked, you’re going to end up with a hole that looks like a disaster and a drill that vibrates like crazy in your hands.
- 3. Mark your spot. Do not just wing it. Use a pencil to make a tiny dot where you want the hole, and if you want to be a pro, use a center punch or even a nail to make a tiny indentation first. This prevents the bit from skating across your surface the second you pull the trigger.
- 4. Get your stance right. Hold the drill firmly with both hands if you can—one on the handle and one on the back or the side grip. You want to apply steady, even pressure against the material. If you push too hard, you’ll burn out the motor; if you don’t push enough, the bit will just slide around and do nothing.
- 5. Start slow. Don’t just hammer the trigger like you’re playing a video game. Start with a low speed to get the bit biting into the surface. Once you’ve established a groove, you can increase the speed. This is the secret to not stripping the material or making a mess.
- 6. Pull the bit out frequently. If you’re drilling deep, don’t just keep going until you hit the other side. Pull the bit out every few seconds to clear out the debris (the sawdust or metal shavings). If that junk builds up, it creates heat, and heat is the enemy of your tools.
- 7. Check your work and back out slowly. Once you’re through, don’t just yank the drill away. Let the drill spin in reverse for a second as you pull it out. It makes the exit hole much cleaner and ensures you don’t snag the material on the way out.
Mastering Drill Bit Types and Uses for Every Project
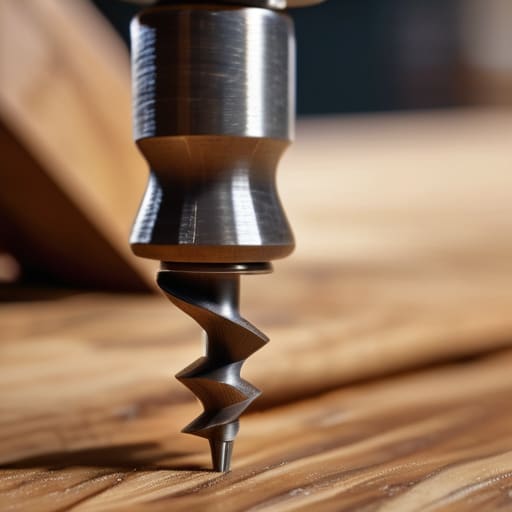
Look, I’ve seen too many people ruin a perfectly good piece of wood or a masonry wall because they grabbed the first bit they saw in the bin. If you want to stop wasting materials, you need to actually understand drill bit types and uses before you pull the trigger. For standard wood projects, stick to twist bits or spade bits, but if you’re working with metal, you’ll need something harder like HSS. And please, for the love of everything functional, always start by drilling pilot holes. It prevents the wood from splitting and makes driving your screws way smoother, which saves you from having to patch up a mistake later.
The tool itself matters too. Don’t try to force a standard driver to do a job it wasn’t built for; knowing the difference between a hammer drill vs driver drill is a total game-changer. If you’re trying to figure out how to drill into concrete for a shelf or a mounting bracket, a standard drill will just burn out your bit and leave you frustrated. You need that hammering action to pulverize the stone. Also, don’t ignore your settings—adjusting drill torque settings is the easiest way to ensure you don’t strip a screw head or crack a delicate surface. It’s about working smarter, not harder.
The Real Difference Between Hammer Drill vs Driver Drill
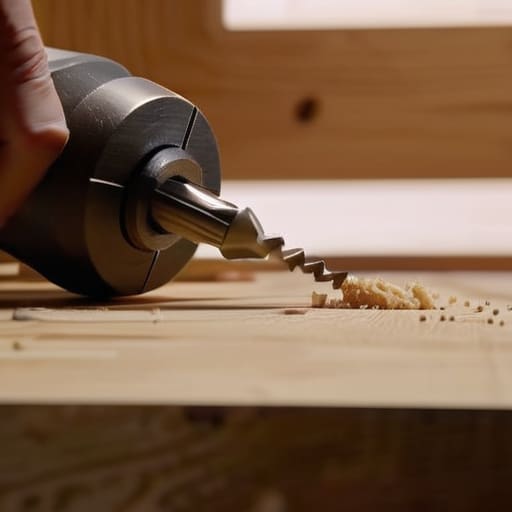
Look, if you walk into a hardware store and just grab the first thing that looks heavy, you’re probably going to regret it by the time you get home. The biggest point of confusion is usually the hammer drill vs driver drill debate. A standard driver drill is your bread and butter; it’s what you use for 90% of your life, like assembling furniture or mounting a shelf into a wooden stud. It’s all about precision and control. If you try to use a hammer drill for delicate tasks, you’re just going to end up making a mess and potentially cracking something you didn’t mean to.
However, if you’re staring at a brick wall or a foundation and wondering how to drill into concrete, a standard driver won’t cut it—you’ll just burn out your motor and your patience. That’s where the hammer drill comes in. It adds a rapid pulsing action that literally hammers the bit into the material while it spins. It’s aggressive and loud, but it’s the only way to get through masonry without losing your mind. Just remember: once you’re done with the heavy lifting, switch back to your driver for the fine-tuned work. Don’t use a sledgehammer to crack a nut, and don’t use a hammer drill to hang a picture frame.
5 Pro Tips to Stop You From Ruining Your Projects (and Your Drill)
- Stop treating the trigger like an on/off switch. If you slam it full throttle the second you touch the screw, you’re going to strip the head or crack the wood, and then you’re just staring at a mess you have to fix. Start slow, build the pressure, and only go full speed once you’ve actually bit into the material.
- Mark your spot with a center punch or even just a nail before you start. If you try to “eyeball it” and start drilling, the bit is going to skitter across the surface like a panicked ice skater, leaving a permanent scratch on whatever you’re working on.
- Don’t fight the drill; let the tool do the heavy lifting. If you’re leaning your entire body weight into it, you’re probably using the wrong bit or your speed is way too high. Apply firm, steady pressure, but if you have to wrestle it to get it to work, something is wrong.
- Check your depth so you don’t drill straight through your project. If you’re working on something expensive or a piece of furniture, wrap a little bit of painter’s tape around the drill bit at the desired depth. It’s a low-tech hack, but it beats the hell out of accidentally punching a hole through the other side of a shelf.
- Keep your bits clean. I see people using dull, dirty bits all the time, and then they complain the drill isn’t “powerful enough.” A bit clogged with sawdust or metal shavings won’t cut; it’ll just create friction and heat. Wipe them down and keep them sharp if you actually want to get the job done efficiently.
The TL;DR: Don't Break Your Tools (Or Your Spirit)
Stop guessing on bits—using a wood bit on masonry is a fast way to ruin your hardware and waste twenty bucks you don’t have. Match the bit to the material every single time.
Know your drill’s limits. If you’re hitting a brick wall, don’t try to muscle through it with a standard driver; you need a hammer drill or you’re just going to end up frustrated and exhausted.
Safety isn’t just for the movies. Keep your grip steady, use the side handle if the drill gives it to you, and don’t be a hero—if it feels like it’s slipping, stop and reset.
Stop Overthinking and Just Start
Look, we’ve covered a lot, but if you remember nothing else, remember this: don’t be lazy with your tool selection. Using a driver bit when you actually need a masonry bit isn’t just a mistake; it’s a total waste of your time and energy. You now know how to distinguish between a hammer drill and a driver, how to pick the right bit, and how to keep your hardware from stripping. The goal isn’t to become a master carpenter overnight; it’s to have the right setup so you can finish the job, fix the shelf, or hang that heavy mirror without ending up with a pile of ruined drywall and a headache. Just keep your bits organized and always double-check your torque settings before you pull the trigger.
At the end of the day, tools are just things—they aren’t meant to be intimidating museum pieces or aesthetic decor for your workbench. They are there to serve you and make your life easier. I spent years watching people struggle with DIY projects because they were too afraid to actually use their gear, and honestly, that’s the biggest waste of all. Stop waiting for the “perfect” moment or a professional setup to tackle that project you’ve been putting off. Grab your drill, use what you know, and just get it done. You’ve got this.
Frequently Asked Questions
My drill keeps stalling or feeling weak—is my battery dying or am I just using the wrong setting?
Look, don’t panic and go buy a new battery just yet. First, check your clutch setting—if you’re on a low number, the drill is literally designed to stop spinning to prevent stripping your screw. If that’s not it, check your speed selector. If you’re trying to drive a massive lag bolt on “speed two,” you’re gonna stall. If it’s still acting sluggish even on high torque, then yeah, your battery is probably toast.
How do I stop the drill from slipping and scarring my walls when I'm trying to hang something?
Look, nothing ruins my mood faster than a gouged drywall. If your bit is skidding, stop forcing it. First, use a center punch or even a nail to make a tiny divot where you want to drill; it gives the bit a place to sit. Also, don’t go full speed immediately. Start with a low speed and light pressure to establish the hole, then ramp it up once you’re actually in.
Is there a way to tell if I'm applying too much pressure and about to snap a bit?
Honestly, if you feel like you’re wrestling the tool, you’re doing it wrong. You shouldn’t have to lean your entire body weight into it. If you feel a sudden, jarring vibration or hear a high-pitched screeching, back off immediately—that’s the bit struggling or heating up. A good rule of thumb: let the bit do the work. If it isn’t biting into the material steadily, you’re just asking for a snapped bit and a ruined project.
Can I use a standard drill for everything, or am I going to ruin my project if I don't buy specific bits for metal and masonry?
Look, if you try to use a standard wood bit on masonry, you aren’t just wasting time—you’re literally melting the bit and ruining your project. It’s a total money pit. If you’re working with metal, you need high-speed steel; if it’s brick or concrete, you absolutely need carbide-tipped masonry bits. Don’t be cheap here. Buying the right bit upfront saves you the headache of a ruined surface and a trip back to the hardware store.