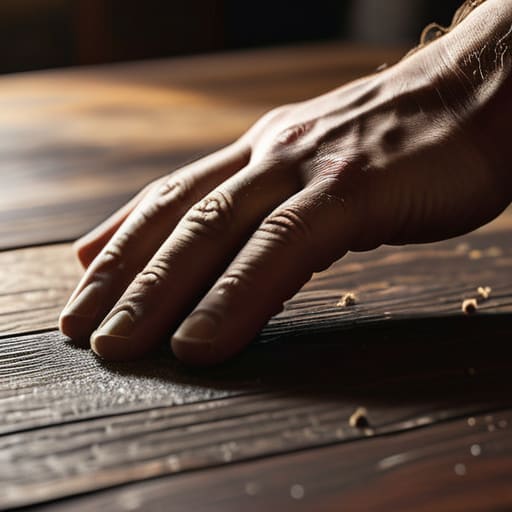
I was staring at my thrifted coffee table last Tuesday, absolutely gutted because I’d managed to gouge the surface with my heavy mechanical keyboard during a late-night coding session. My first instinct was to panic and Google some expensive, professional refinishing service, but then I remembered: I didn’t grow up with a massive budget, so I learned to actually fix things instead of replacing them. Most people think you need a workshop full of power tools or a degree in carpentry to handle surface damage, but that’s a total lie. Learning how to fix scratched wood doesn’t require a massive investment or a weekend-long project; it just requires knowing which cheap, accessible tools actually work and which ones are just aesthetic fluff.
In this guide, I’m skipping the fluff and the “perfectly curated” DIY Pinterest fails to give you the real-deal methods. I’ll show you how to tackle everything from light scuffs to deep gouges using stuff you probably already have in your junk drawer or can grab at a corner store for a few bucks. We’re focusing on functional repairs that save your furniture and your wallet. No hype, no expensive machinery—just straightforward, no-nonsense solutions that get the job done so you can get back to your life.
Guide Overview
Tools & Supplies
- Sandpaper (various grits for smoothing)
- Microfiber cloth (for cleaning dust)
- Wood filler or wax stick (small container)
- Wood stain or touch-up marker (1 pen/bottle)
- Furniture polish or wax (small tin)
Step-by-Step Instructions
- 1. First, you need to figure out how deep we’re actually talking. Take a clean fingernail and run it over the scratch. If your nail doesn’t catch in the groove, you’re in luck—that’s just a surface scuff that’s going to be an easy fix. If your nail drops into it, you’ve got a real dent, and you’ll need to be a bit more patient with the repair process.
- 2. Clean the hell out of the area before you touch anything else. I’m talking about using a damp microfiber cloth to get rid of any dust, oils, or leftover furniture polish. If you try to fix a scratch over a layer of built-up grime, you’re just going to end up with a muddy-looking mess that won’t hold the repair.
- 3. For those shallow, annoying scuffs, skip the expensive kits and grab a walnut. Seriously. Take a raw walnut half, flip it over, and rub the meat of the nut directly into the scratch. The natural oils will seep into the wood and help mask the discoloration. It’s a weirdly effective hack that costs basically nothing and works surprisingly well on most dark woods.
- 4. If the scratch is a bit deeper and the walnut trick isn’t cutting it, it’s time to reach for some furniture repair markers or even a high-quality permanent marker if you’re in a pinch and the colors match. Start by applying the color lightly and incrementally. Don’t just go ham with it; you want to build up the pigment slowly until it blends with the surrounding grain.
- 5. If you’re dealing with a real gouge that actually removed some wood, you’ll need a bit of wood filler. Don’t buy the fancy stuff in a jar if you can avoid it; just find a filler that’s a shade lighter than the wood, because it’ll darken as it dries. Use a putty knife (or even an old credit card if you’re desperate) to press it firmly into the gap, making sure there are no air bubbles trapped inside.
- 6. Once the filler is dry, you’ll probably have a weird little bump sticking out. Take a piece of fine-grit sandpaper—like 220 or 320—and sand it down until it’s perfectly flush with the rest of the surface. Go easy here; you don’t want to accidentally sand away the actual finish of the furniture while you’re trying to fix a single scratch.
- 7. Finally, you need to seal the deal so the repair doesn’t just flake off in a month. Rub a tiny bit of furniture wax or even a bit of beeswax over the spot to restore the sheen. This helps protect the repair and makes the whole thing look like it happened naturally rather than looking like a DIY patch job.
Mastering Wood Filler Application Techniques for Lasting Results
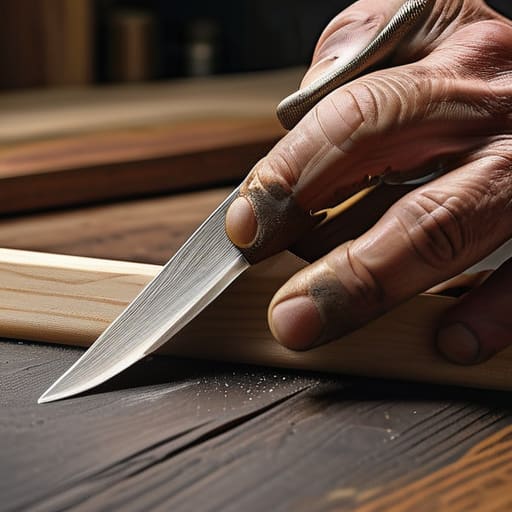
Look, anyone can smear some putty into a crack and call it a day, but if you want this to actually look decent, you need to get intentional about your wood filler application techniques. The biggest mistake I see is people applying too much at once. You aren’t trying to build a mountain; you’re trying to level a valley. I always recommend applying the filler in thin, slightly overfilled layers. It’s much easier to sand down a small bump than it is to scrape out a massive, dried-up glob that’s stuck in the grain. If you’re working on something older, keep in mind that the filler might shrink slightly as it cures, so that extra bit of “overfill” is your best friend.
Once the filler is dry, don’t just rush straight to the stain. This is where most people mess up the process of restoring wood finish. You need to sand it flush with the surrounding surface using a fine-grit sandpaper—I usually go for 220 or higher. If you leave any ridges, they’ll catch the light and scream “I tried to fix this,” which is exactly what we’re trying to avoid. Treat the sanding process like you’re smoothing out a glitch in a piece of code; it has to be seamless. Once it’s smooth to the touch, you’re finally ready to tackle the color matching.
Matching Wood Stain Colors Without Wasting Expensive Supplies
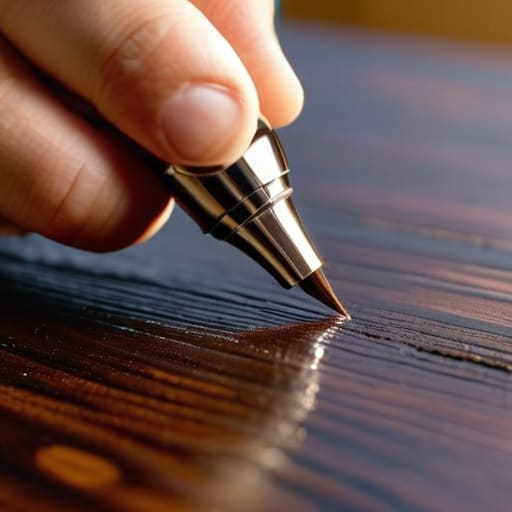
Look, the biggest mistake I see people make is running straight to the hardware store and buying the most expensive can of stain they can find. Most of the time, you don’t need a full overhaul; you just need to bridge the gap between the scratch and the original finish. Instead of guessing, grab a handful of cheap, assorted stain markers or even some specialized touch-up pens. They are way more precise for matching wood stain colors on small nicks than trying to brush on a liquid stain that’s going to bleed into the surrounding grain and ruin everything.
If you’re dealing with a larger area where you’ve already used some wood filler, remember that the filler itself is usually a different color than the wood. You can’t just slap a dark stain over a light patch and expect it to look seamless. My trick? Layer it. Start with a lighter shade to build the base, then use a darker tone only on the deepest parts of the indentation. It’s all about building depth rather than just covering it up. If you mess up, don’t panic—just wipe it away with a rag dampened with a tiny bit of mineral spirits before it sets. It’s much cheaper than replacing a whole piece of furniture because you got too aggressive with the brush.
5 Pro-Tips to Stop You From Ruining Your Furniture
- Don’t overdo the filler. I’ve seen people try to pack wood filler into a scratch like they’re frosting a cake, but it just ends up looking like a lumpy mess once it dries. Apply it thin, sand it flush, and move on.
- Test your stain on a hidden spot first. Seriously. Don’t just dive into the middle of your coffee table with a new stain color. Grab a scrap piece of the same wood or test it on the underside of the furniture so you don’t end up with a permanent, blotchy mistake.
- Clean the scratch before you touch it. If there’s dust, old wax, or skin oils sitting in that groove, your fix isn’t going to bond properly. Give it a quick wipe with a bit of rubbing alcohol to make sure you’re working with a clean slate.
- Sand with the grain, always. I know it’s tempting to just scrub it all down, but if you sand across the grain, you’re just creating a whole new set of scratches that are way harder to hide than the original ones.
- Keep your multi-tool handy for the tight spots. Sometimes a scratch is tucked into a corner or a joint where a huge sanding block won’t fit. Having a small, precise tool or even just a stiff toothbrush can help you get the debris out of those tiny crevices.
The Bottom Line: Don't Overcomplicate It
Stop looking for a “perfect” match in a store; most scratches can be fixed with a bit of wax, a walnut, or a tiny bit of filler you mix yourself to save cash.
Focus on function over aesthetics—if the scratch is gone and the surface is smooth, you’ve won, even if it’s not a museum-quality restoration.
Always test your stain or filler on a hidden spot first so you don’t end up ruining a piece of furniture because you were too impatient to check.
Stop Overthinking It and Just Fix It
Look, at the end of the day, you don’t need a workshop full of professional-grade equipment to save a piece of furniture from the trash. We’ve covered the essentials: stop panicking over surface scuffs, use the right wood filler so it actually stays put, and don’t go overboard with the stain—just find a match that works with what you already have. The goal isn’t to make the piece look like it just came off a showroom floor; the goal is to make it look functional and cared for without draining your bank account. If you followed these steps, you’ve already done more than most people who would just give up and buy something new.
I know it feels intimidating when you’re staring at a deep gouge in a table you actually love, but remember that imperfections are part of the process. My apartment is full of stuff that’s been patched, sanded, and stained more times than I can count, and honestly? I prefer it that way. It has character, and more importantly, it’s mine because I took the time to maintain it. Don’t let a little bit of damaged wood convince you that your things are disposable. Grab your tools, get to work, and make it last.
Frequently Asked Questions
Can I use a regular marker or even a Sharpie if I don't want to buy a whole set of stains?
Look, I get the temptation—it’s fast and it’s sitting right there in your junk drawer. But honestly? Don’t do it. A Sharpie is way too aggressive; the ink is basically dye that’s going to bleed into the grain and look like a permanent bruise. If you’re on a budget, grab a cheap furniture repair marker or even just a tiny bit of leftover wood stain. It’s worth the extra two bucks to avoid ruining the piece.
How do I know if the scratch is too deep to fix with filler and actually needs a full sanding?
Look, I’ve learned the hard way that trying to “patch” a disaster just makes it look worse. If your fingernail catches in the groove or you can actually see the structural grain of the wood splintering, filler isn’t going to save you. That’s a structural issue, not a surface scuff. If the scratch goes deeper than the finish, stop messing with the putty and grab the sandpaper. It’s more work, but it’s the only way to avoid a total eyesore.
Will these fixes show up under direct sunlight or bright lights once they dry?
Look, I’ll be real with you: if you’re looking for perfection, you’re in the wrong place. Under harsh sunlight, you might see a slight difference in sheen or color if the patch doesn’t perfectly match the surrounding grain. But honestly? Unless you’re sitting in a literal spotlight, most people won’t notice. My advice: test your stain on a hidden spot first. It’s better to spend ten minutes testing than to regret a visible patch later.
Is it worth trying to fix a piece of furniture that's already been varnished, or will the new stuff just peel off?
Look, don’t just slap new varnish over the old layer—that’s a recipe for a peeling, sticky mess. If you try to paint or coat directly over an existing finish, it won’t bond, and you’ll be back at square one in a week. You have to sand it down first. It’s a bit of extra work, but once you’ve scuffed that old surface, the new stuff will actually stick. Sand, clean, then coat. It’s worth it.