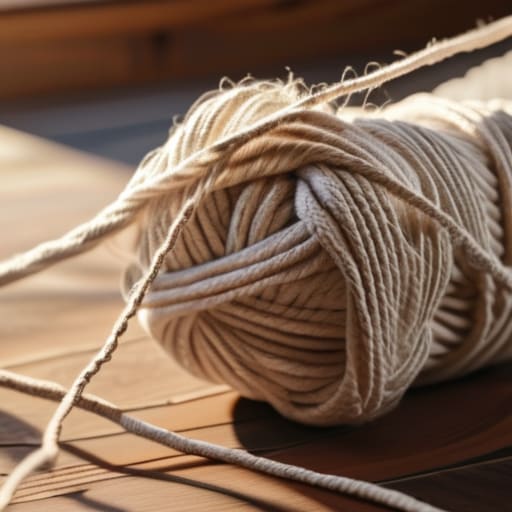
Stop scrolling through those Pinterest boards filled with $80 “starter kits” that only contain enough cord to finish one tiny, useless keychain. Honestly, most of the tutorials you see online make macrame look like this effortless, magical flow, but let’s be real: if you don’t have the right tension, you’re just going to end up with a tangled, lopsided mess of string. I learned that the hard way in my tiny apartment, trying to make a plant hanger out of literal scraps because I didn’t want to blow my paycheck on decor. If you’re looking into macrame for beginners, you don’t need a curated studio setup or a mountain of expensive supplies; you just need to understand the actual mechanics of the knots.
I’m not here to sell you on a “boho aesthetic” or tell you that this is a spiritual journey. I’m here to show you how to pick the right cord, how to avoid the most common mistakes that waste your time, and how to finish a project without losing your mind. This guide is about functional DIY—learning the few essential knots that actually matter so you can make stuff that looks good and actually holds your heavy ceramic pots.
Guide Overview
Tools & Supplies
- Scissors [for cutting cord]
- Measuring tape [for length accuracy]
- S-hooks or dowel [to hang work]
- Cotton macrame cord [1 roll/spool]
- Wooden dowel or ring [1 unit]
Step-by-Step Instructions
- 1. First things first, stop looking at those $50 “starter kits” on Amazon. They’re mostly filler and cheap cord that frays the second you touch it. Just grab a spool of single-strand cotton cord (3mm or 4mm is the sweet spot) and a pair of sharp scissors. If you don’t have a wooden dowel, literally just find a sturdy branch outside, clean it off, and call it a day. The goal is to start making, not to collect more plastic junk.
- 2. You need a way to hold your work so your hands aren’t cramping after five minutes. If you don’t have a dedicated macrame stand, don’t bother buying one yet. Just grab an S-hook from your toolbox and hang your cord from a door handle, a shower curtain rod, or even a command hook. You need enough tension to work with, but you don’t need a professional studio setup to get the job done.
- 3. Cut your cords to about eight times the length of the finished piece you’re aiming for. I know, it feels like a massive waste of string, but you’re going to be folding them in half, and you’ll regret it deeply if you cut them too short. Use a piece of masking tape to mark your “fold point” so you don’t lose track of where the knotting actually begins.
- 4. Now, let’s tackle the Square Knot. This is the bread and butter of everything you’ll ever make. Take four strands: two in the middle (the core) and one on each side. Take the left cord, cross it over the middle ones to make a shape like a ‘4’, then take the right cord, pass it over the left cord, under the middle ones, and up through the loop. Pull it tight. Repeat the whole thing starting with the right cord. If it looks wonky, you probably didn’t pull it evenly tight, so just undo it and try again.
- 5. If you want to add some texture without a massive learning curve, try the Lark’s Head knot to attach your cord to your branch or dowel. Fold your cord in half, lay the loop over the rod, and pull the two tail ends through that loop. It’s stupidly simple, but it’s the foundation of every single hanging you see on Pinterest.
- 6. Once you’ve got a few rows of square knots down, you’ll want to finish the bottom. Instead of trying to tie complex decorative tassels, just trim the ends with your scissors. If you want that “boho” look, use a fine-tooth comb to brush out the cord ends into a fringe. It’s a five-second hack that makes a cheap project look like it actually cost something.
- 7. Finally, take a look at what you’ve made and be honest: is it functional? If it’s a plant hanger, make sure it can actually hold the weight of your pot before you hang it over your favorite rug. If it’s just a wall hanging, hang it up and move on with your life. Don’t spend three weeks obsessing over one knot; the point is to finish the project and get back to something useful.
The Only Essential Macrame Tools List You Actually Need
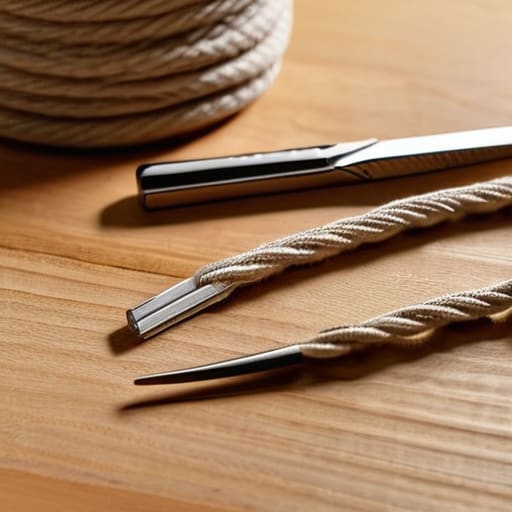
Look, I see those massive “all-in-one” craft kits on Amazon, and honestly? Save your money. Most of those kits come with cheap, scratchy string and tools you’ll never use again. If you want to actually finish a project without wanting to throw your multi-tool at the wall, you only need a few things. Grab a decent pair of sharp fabric scissors—don’t try to use your kitchen shears, they’ll chew the cord—and a few wooden dowels or even just a sturdy branch from outside. For a real essential macrame tools list, I’d also add some masking tape to secure your workspace. It’s cheap, it works, and it keeps your cord from sliding around while you’re trying to focus.
When it comes to the actual string, this is where most people mess up. Don’t get distracted by the fancy, colorful braided stuff you see on Pinterest. Stick to the basics: look for macrame cord types for beginners like single-twist or 3-ply cotton. If you’re just starting out, a 3mm or 4mm weight is the sweet spot. Anything thinner is a nightmare to hold, and anything thicker becomes a massive, heavy beast before you’ve even mastered your first knot. Keep it simple, keep it functional, and you’ll actually see progress.
Decoding Cotton Cord Weight Guide to Avoid Costly Mistakes
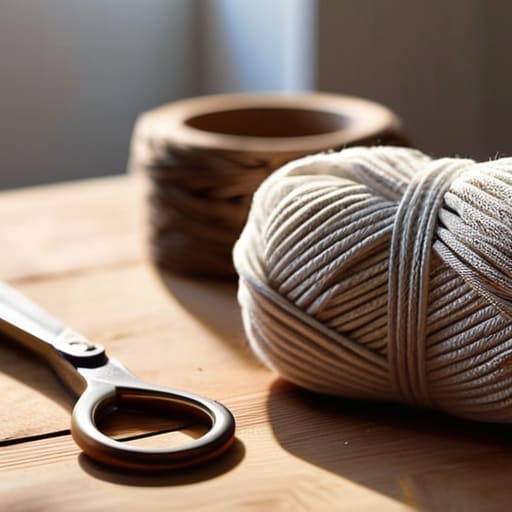
Look, the biggest mistake I see people make when they first dive into this is treating all cotton cord like it’s the same. It’s not. If you buy a massive spool of super thin cord thinking you’re saving money, you’re going to end up frustrated because your project will take ten years to finish and look like a tangled mess of spiderwebs. On the flip side, if you grab something massive and heavy-duty for a tiny keychain, you’ll be fighting the tension the entire time. You need to actually look at a cotton cord weight guide before you hit “add to cart.”
For your first few macrame project ideas for novices, I highly recommend sticking to a 3mm or 4mm single-strand cord. It’s the sweet spot. It’s thick enough to hold your basic macrame knot patterns without feeling like you’re threading a needle, but light enough that you won’t blow out your wrists from the strain. If you’re planning a larger macrame wall hanging tutorial, that’s when you can start scaling up to 5mm or even 6mm. Just remember: match the cord weight to the scale of the project, or you’re just wasting your time and your hard-earned cash.
5 Ways to Stop Wasting Time (and Money) on Your First Projects
- Stop trying to make a giant wall hanging for your first go. You’ll run out of cord halfway through and end up with a pile of expensive trash. Start with a keychain or a tiny plant hanger to get the muscle memory down first.
- Don’t buy those fancy, pre-packaged “macrame kits” on Amazon. They charge a massive markup for the exact same cord you can buy in bulk for half the price. Just get the cord and a pair of sharp scissors; you don’t need a curated box to learn a knot.
- Use a heavy-duty clip or even a command hook to hold your work steady. If you’re trying to knot something while it’s just dangling from a door handle, your tension is going to be all over the place and the whole thing will look wonky.
- Learn to embrace the “good enough” tension. Beginners always obsess over making every knot identical, but if you pull too hard on one and too loose on another, your project will warp. Aim for consistency, not perfection.
- Keep a scrap pile. Don’t throw away the leftover cord bits immediately. You can use them to practice new knot patterns or even braid them into something small later. In a tiny apartment, every inch of material counts.
The Bottom Line: Don't Overcomplicate It
Stop scrolling through Pinterest for “aesthetic” setups; just grab one decent cord, learn three basic knots, and actually finish something so you don’t waste your money on half-done projects.
Don’t get sucked into buying those overpriced “all-in-one” macrame kits—most of the tools are junk you don’t need, and you’re better off spending that cash on high-quality cotton cord.
Focus on function over perfection; if your knot is a little wonky but it holds the plant up and stays within your budget, you’ve actually won.
Stop Overthinking It and Just Start
Look, if you’ve made it this far, you already know that you don’t need a studio full of expensive supplies or a degree in design to make something cool. We’ve covered the basics: grab the right cord weight so you aren’t fighting your hands the whole time, stick to the essential tools like sharp shears and a measuring tape, and master those few core knots. Don’t get caught in the trap of trying to replicate those insanely complex, $200 wall hangings you see on Pinterest. The goal here isn’t perfection; it’s about building something functional that actually looks good in your space without draining your bank account. Once you have the fundamentals down, everything else is just extra noise.
At the end of the day, macrame is just a way to take some cheap string and turn it into something useful for your home. It might look a little messy when you first start, and your knots might be uneven, but that is perfectly fine. I’ve spent way too many hours tinkering with mechanical keyboards and tiny herb gardens, and the lesson is always the same: you learn by doing, not by watching tutorials on loop. So, grab your cord, clear off a small corner of your desk, and just make something. You’ll figure out the rest as you go.
Frequently Asked Questions
How do I stop my knots from looking messy and uneven?
Look, messy knots usually happen because you’re rushing or your tension is all over the place. If one knot is tight and the next is loose, your whole project looks amateur. Stop trying to finish in ten minutes. Slow down, use a measuring tape to keep your cord lengths consistent, and practice pulling each knot to the exact same tightness. It’s about muscle memory, not magic. Consistency is what makes it look professional.
Is there a way to do this without spending a fortune on specialized hangers or driftwood?
Honestly, please don’t go out and buy those expensive wooden dowels or “aesthetic” driftwood just for the look. It’s a total waste of money. Just scavenge. A sturdy, clean branch from your local park works perfectly—just give it a quick scrub and let it dry. If you want something more uniform, even an old metal curtain rod or a thick piece of copper pipe from a hardware store does the job. Function over fashion, always.
How do I figure out how much cord I actually need so I don't run out halfway through a project?
Look, nothing kills my vibe faster than being mid-knot and realizing I’m out of cord. Don’t trust those “estimated” amounts on Pinterest. My rule of thumb? Always buy 20% more than you think you need. If you’re doing a wall hanging, measure your total length, multiply it by the number of strands, and then add that extra buffer. It’s better to have a leftover spool for my next project than to waste money on shipping a single roll.
Can I use leftover scraps from old projects, or is that a waste of time?
Absolutely, use the scraps. In fact, if you’re throwing away leftover cord, you’re literally throwing money in the trash. I’m all about maximizing what you already have. Those small pieces are perfect for practicing new knots or making tiny keychains—which, honestly, are way more useful than some massive wall hanging you’ll never finish. Just keep a little scrap bin organized so you aren’t digging through junk every time you want to practice.
